Sega — Wondermega
Someone else's Victor RG-M1 Wondermega, JVC's branding of the Sega Wondermega, sent in for refurbishment and described as fully functional. It arrived with a blown supercapacitor and a loose capacitor rattling around inside the shell, later traced to a pad beside the DC input jack where the machine had taken a hard knock. Carts played happily but it would not read a single CD. A full recap followed, roughly 70 capacitors across every board, with white vinegar and isopropyl baths, flux and fresh solder over dodgy vias and the regulators, and DeoxIT through the karaoke pots and microphone jacks. The cart side came back fine, the CD side did not. A detour along the way cured the vertical jailbars on the composite and S-video outputs with an Oleg Endo RGB kit, tapping the Sony CXA1145M encoder and swapping the stock S-video port for a Saturn-style DIN. The supercapacitor was replaced and later superseded by an F-RAM install. The CD fault survived a complete chassis swap, a clean bill of health on every board and a working spindle motor, which left the laser. The owner sourced new old stock, and once it was fitted and its board recapped in turn, the machine read both originals and backups. Finished with UV protectant and packed up.
Today we're going on another journey through Wondermega town, as someone sent me their unit for refurbishment; boy was it a PITA. It started off with a blown up supercapacitor and something rolling around inside the shell. It was allegedly fully functional... #retrogaming #sega
The thing rolling around on the inside turned out to be a capacitor from an, somewhere I'd discover later.
I powered it on and it worked but only with cartridges. It would refuse to read any CDs. Maybe it would be a simple fix but my experience with Mega-CD systems was telling me otherwise. I haven't personally seen one cured of this with a recap, so I was assuming dead laser.
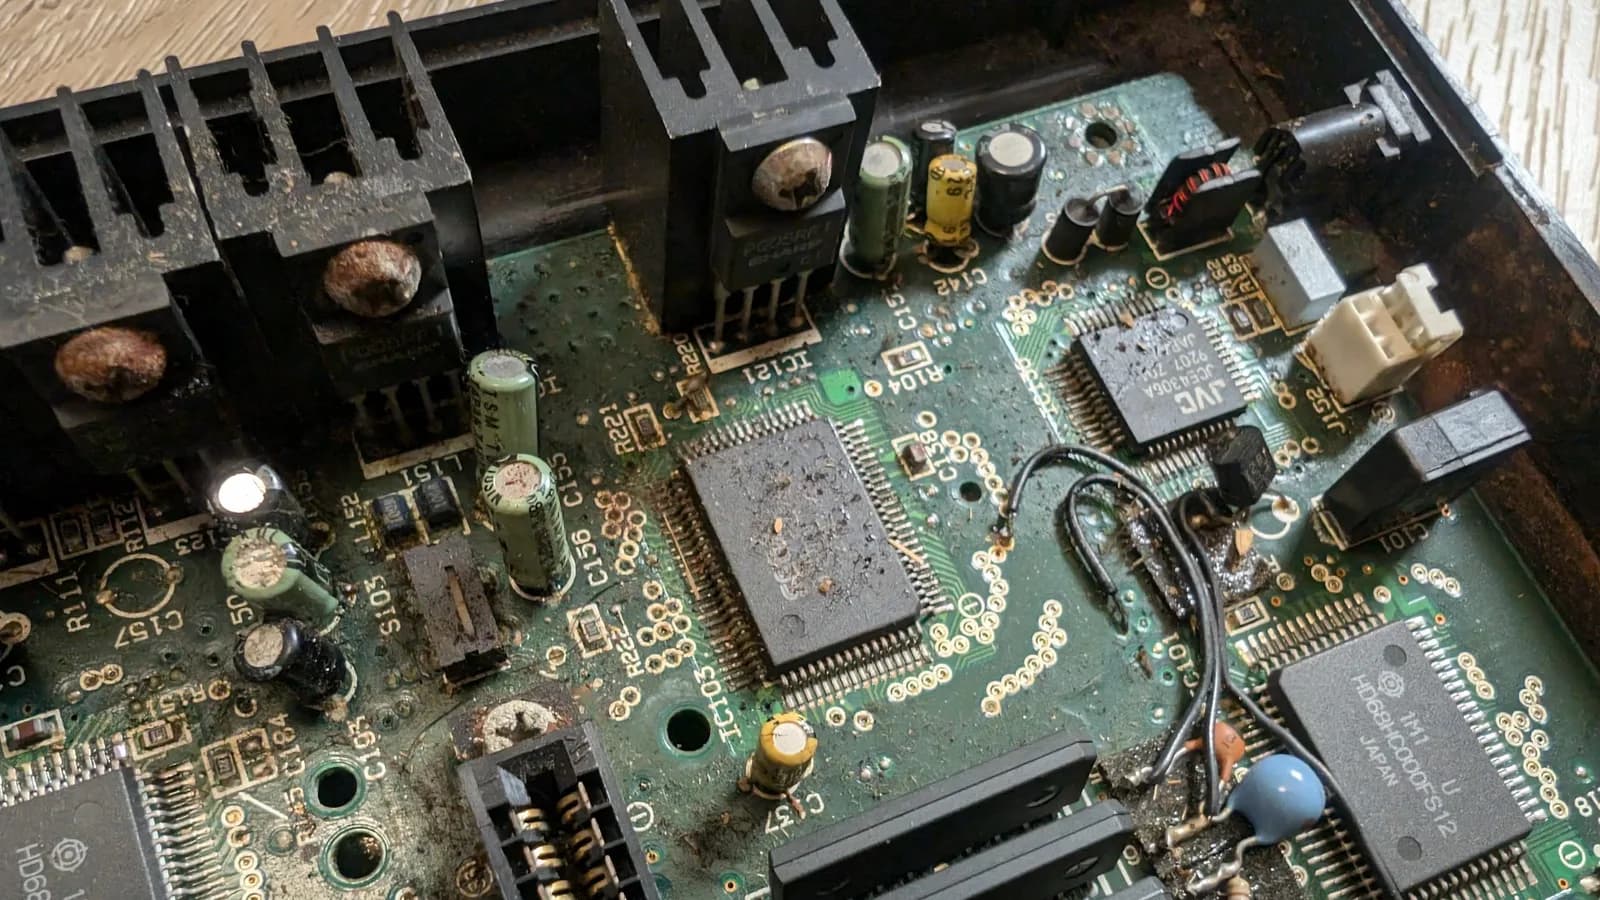
I proceeded with disassembly and inspection and found some problem areas on the board that would need treating.
Inspecting the underside, I managed to find our missing capacitor's location, right next to the DC input jack. My assumption is this thing took a hard knock. As you can see, there's some adhesive beneath the SMD components.
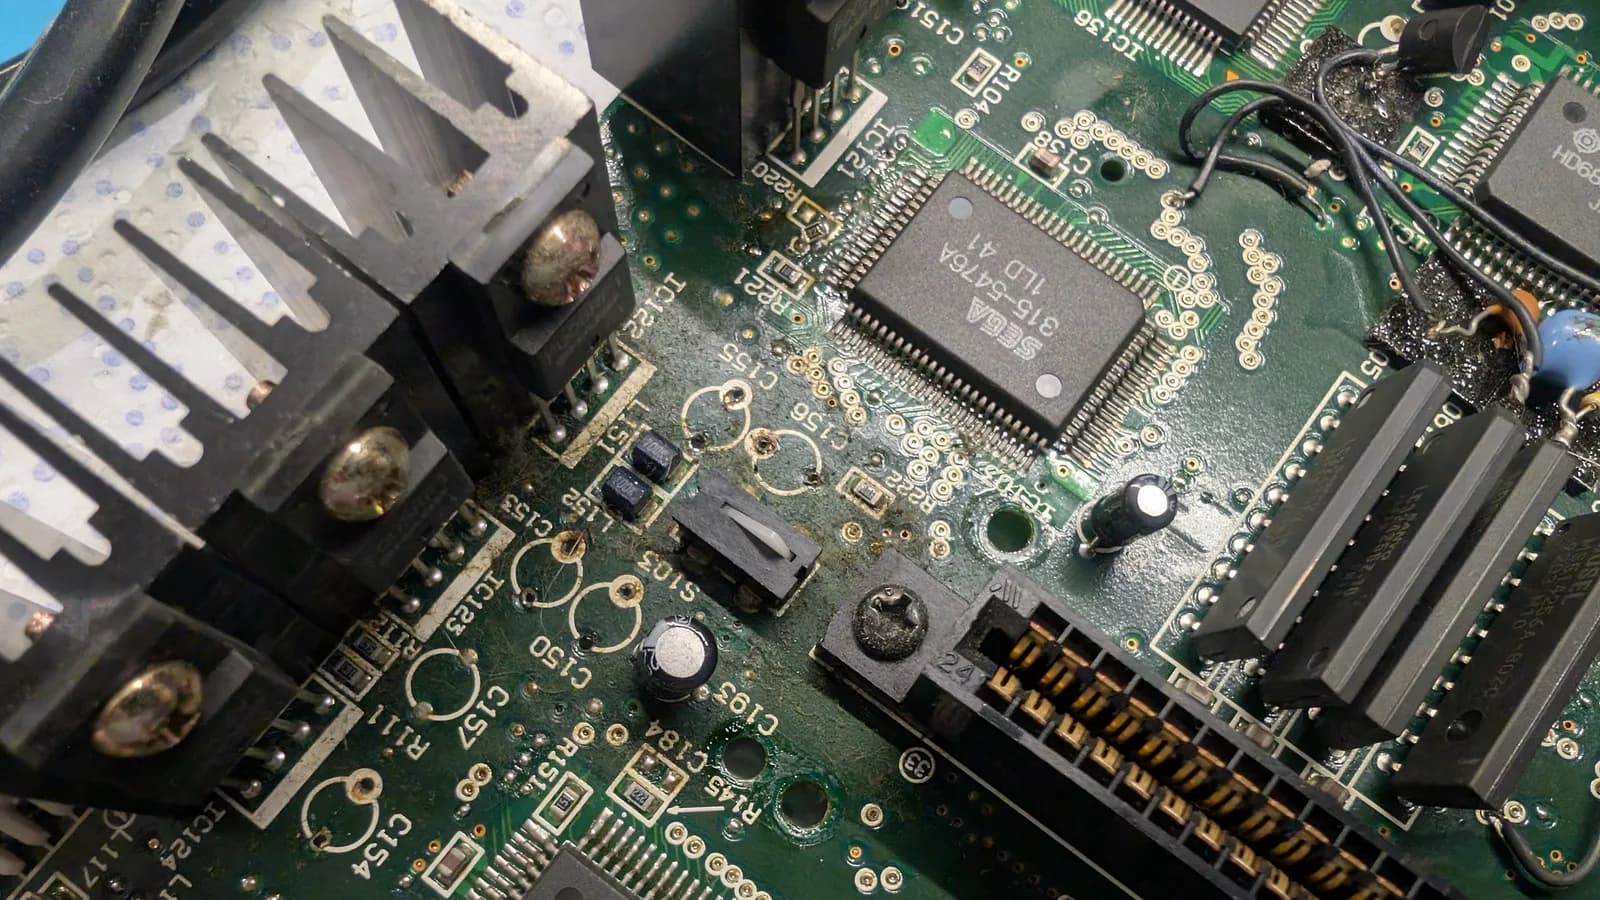
With that out of the way, I proceeded with the removal of the old electrolytics and treating the boards with white vinegar, followed by an isopropyl rinse. There were a lot of capacitors giving off a fishy smell on removal.
Afterwards, I proceeded to treat the problem areas with flux and new solder. Refurbishing and covering up some dodgy looking vias and surface components, as well as all the regulators, which usually get attacked too. After cleaning, both boards from the right side got a recap.
At this stage, I ran quick validation test. Just to see if everything was as expected.
Next up, we move to the left side (CD-side) of the console to apply the same treatment. White vinegar and isopropyl baths and busting out the Deoxit, for the pots for the karaoke effects and microphone jacks. Also fully recapped the audio control board.
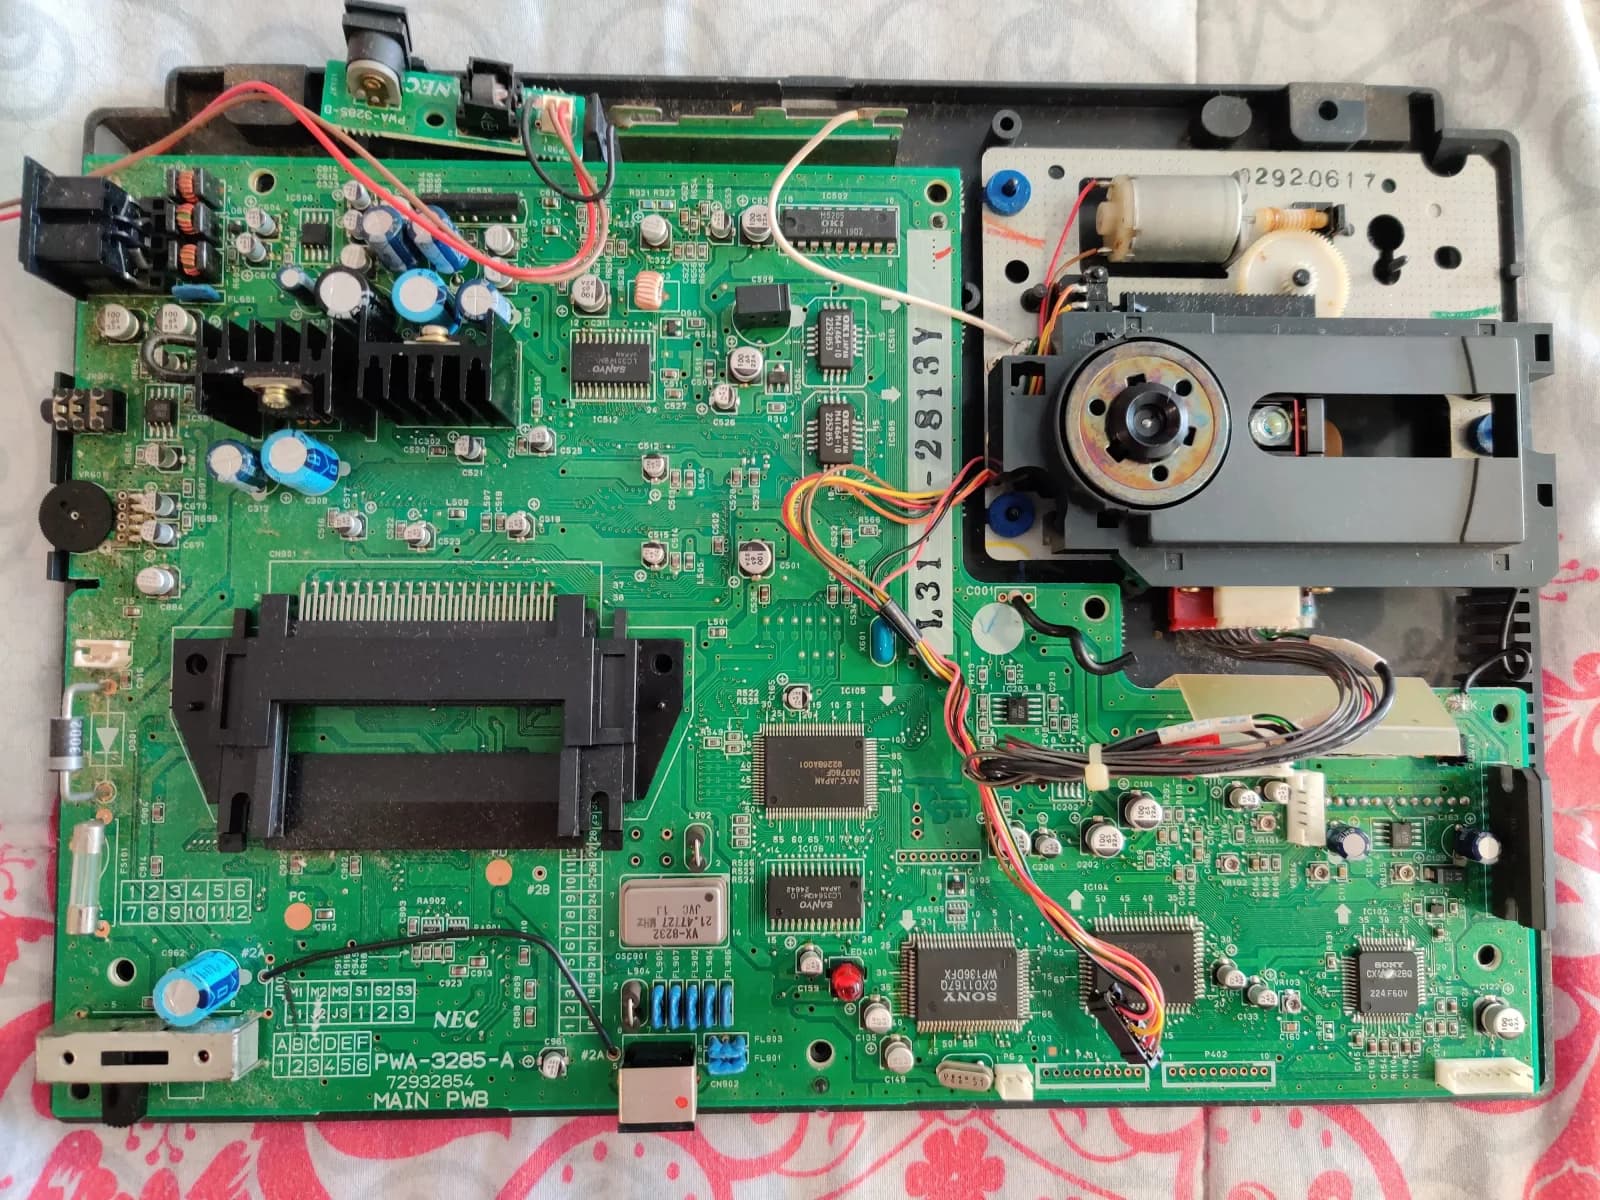
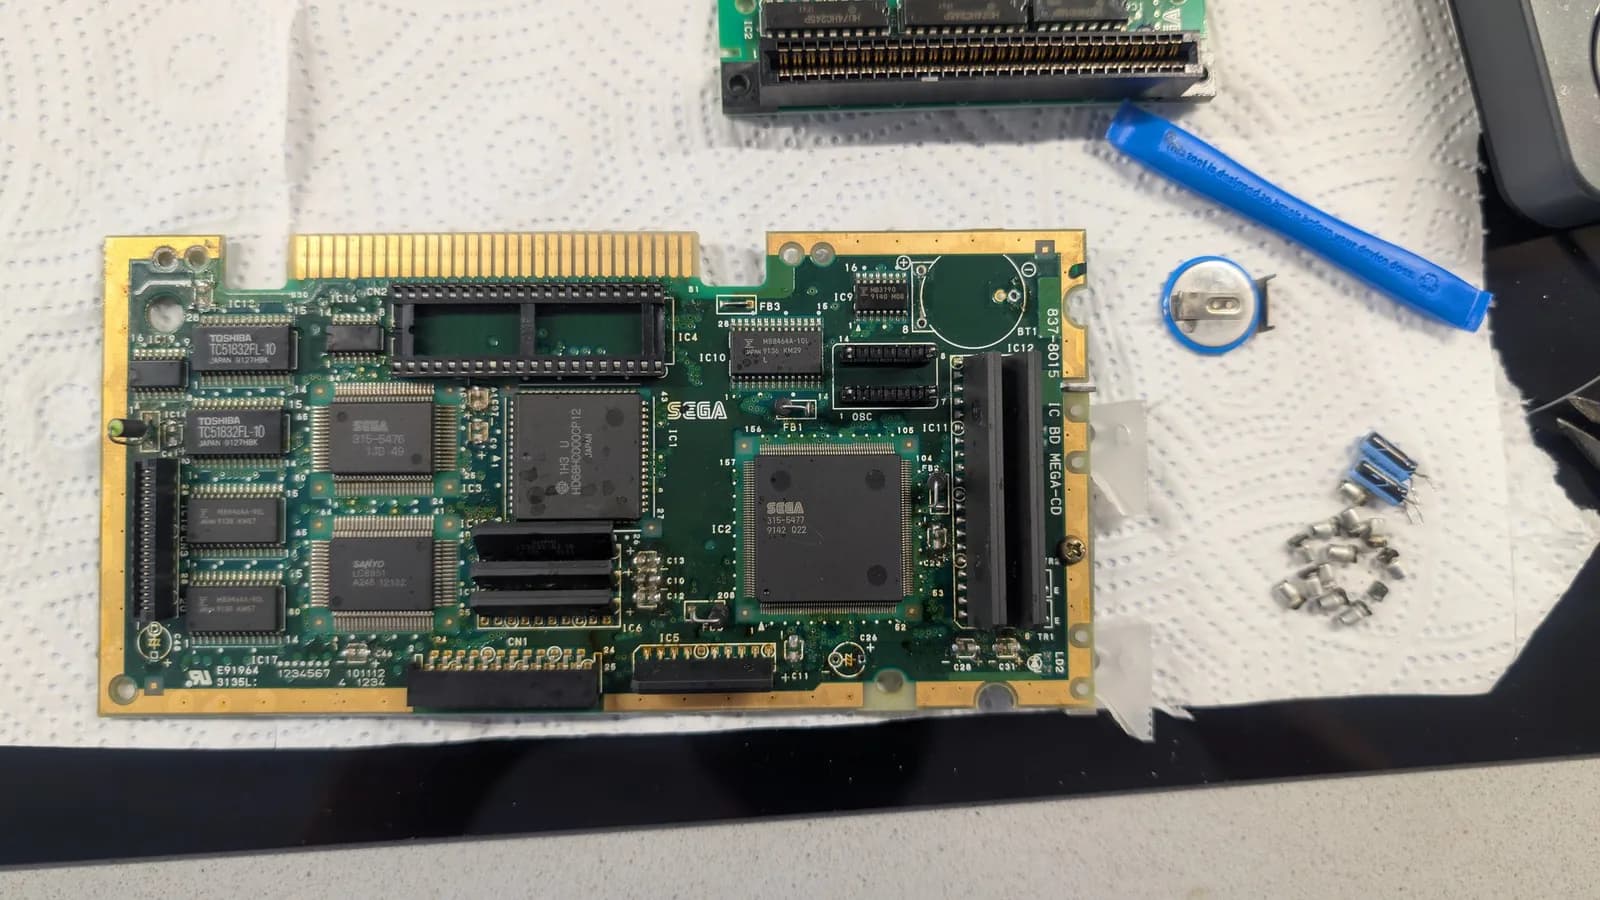
Here we can see a fully recapped CD-ROM board and laser, so we're close to the finish line, maybe, lol.
Now it was fully recapped, it was the moment of truth... FYI, there's 70 caps worth of work in these bowls.
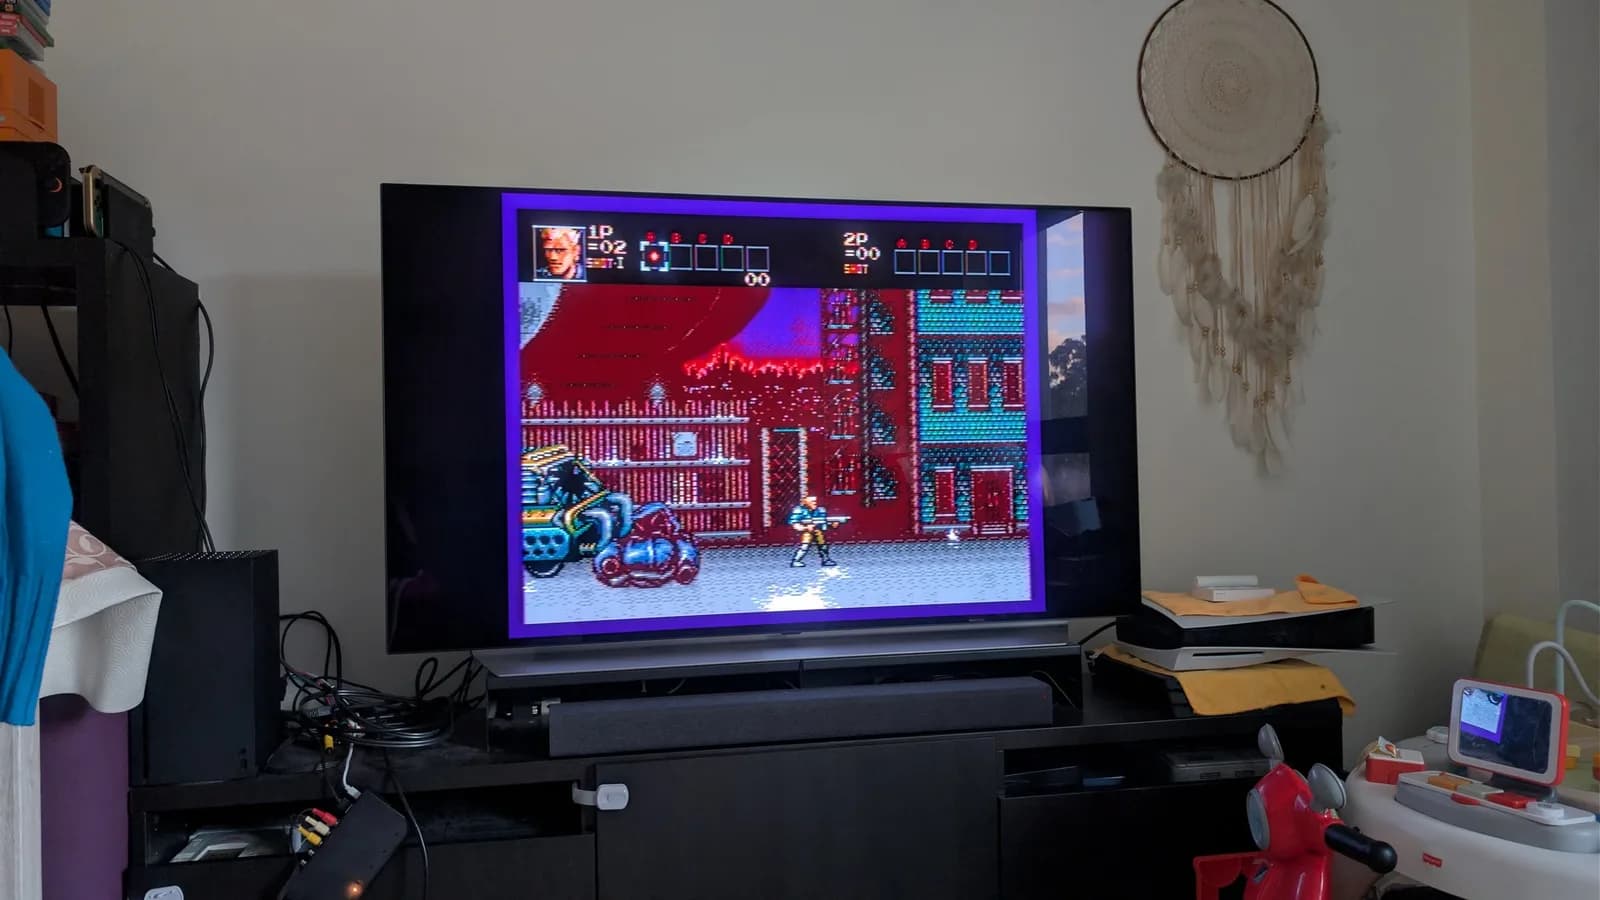
So, does it work, well... yeah, partially as I expected, still nothing from the CD side. Streets of Rage 2 and Earthion were kicking ass though.
In the meantime, we take a detour to handle this. I don't know if it will make it past the compression algorithm but this thing has vertical jailbars (composite and S-video) on the native outputs. First 2 pics are from my BVM, the other 2 are from a RetroTINK 5X Pro.
How do we fix this, you say? Well, it's easy, you install an RGB kit from Oleg Endo.
The kit comes with a QSB that solders on to the Sony CXA1145M encoder. This is what taps into the RGB signals.
After that, you remove the OEM bodge-wire and S-video ports, to make way for the new Saturn-style DIN.
Then you wire-up composite, left and right audio and, power to the QSB that houses the new DIN.
Then you route the ribbon cable as shown in the pics, underneath the plastic structure that holds the motor and gears for the CD-ROM's motorized lid. Make sure the V-shaped cut on the black portion of the ribbon faces the back side of the console, when inserting into the DIN QSB.
Now we admire the results. First pic is from BVM, the rest is from the TINK, all using Jeff Chen's NTSC Saturn to VGA dongle.
Just look at that, how pretty, no visible jailbars. ☺️
At some point I did replace the supercapacitor too. This was later superseded by an F-RAM chip installation.
And here is said F-RAM installation.
Now all that was left to do, was figure out the CD-ROM situation... 🙄 I tried various things, measuring various components on the boards, cleaning ribbons, switches and the lot. Ultimately, I ended up completely swapping chassis and proving every board faultless.
Then I tested the motor for the spindle too and it was fine. So... laser it was... as I feared
Here's a video of the spindle working.
The owner eventually supplied a NOS laser, so off to the races we went again.
Disconnected everything, remove the old laser, put in the new one and voilà. It works!
So then, I have to strip everything down again and recap that too. 😩
A final test, with some CDs, backups and originals.
Then the finishing touch, applying some UV protectant to the shell, packing it up, ready for its new home. What a journey that was!
Sega — Wondermega
Sega — Wondermega
Sega — Wondermega
NEC — PC Engine Duo
Sega — Mega-CD 1
SNK — Neo Geo CD