Sega — Wondermega
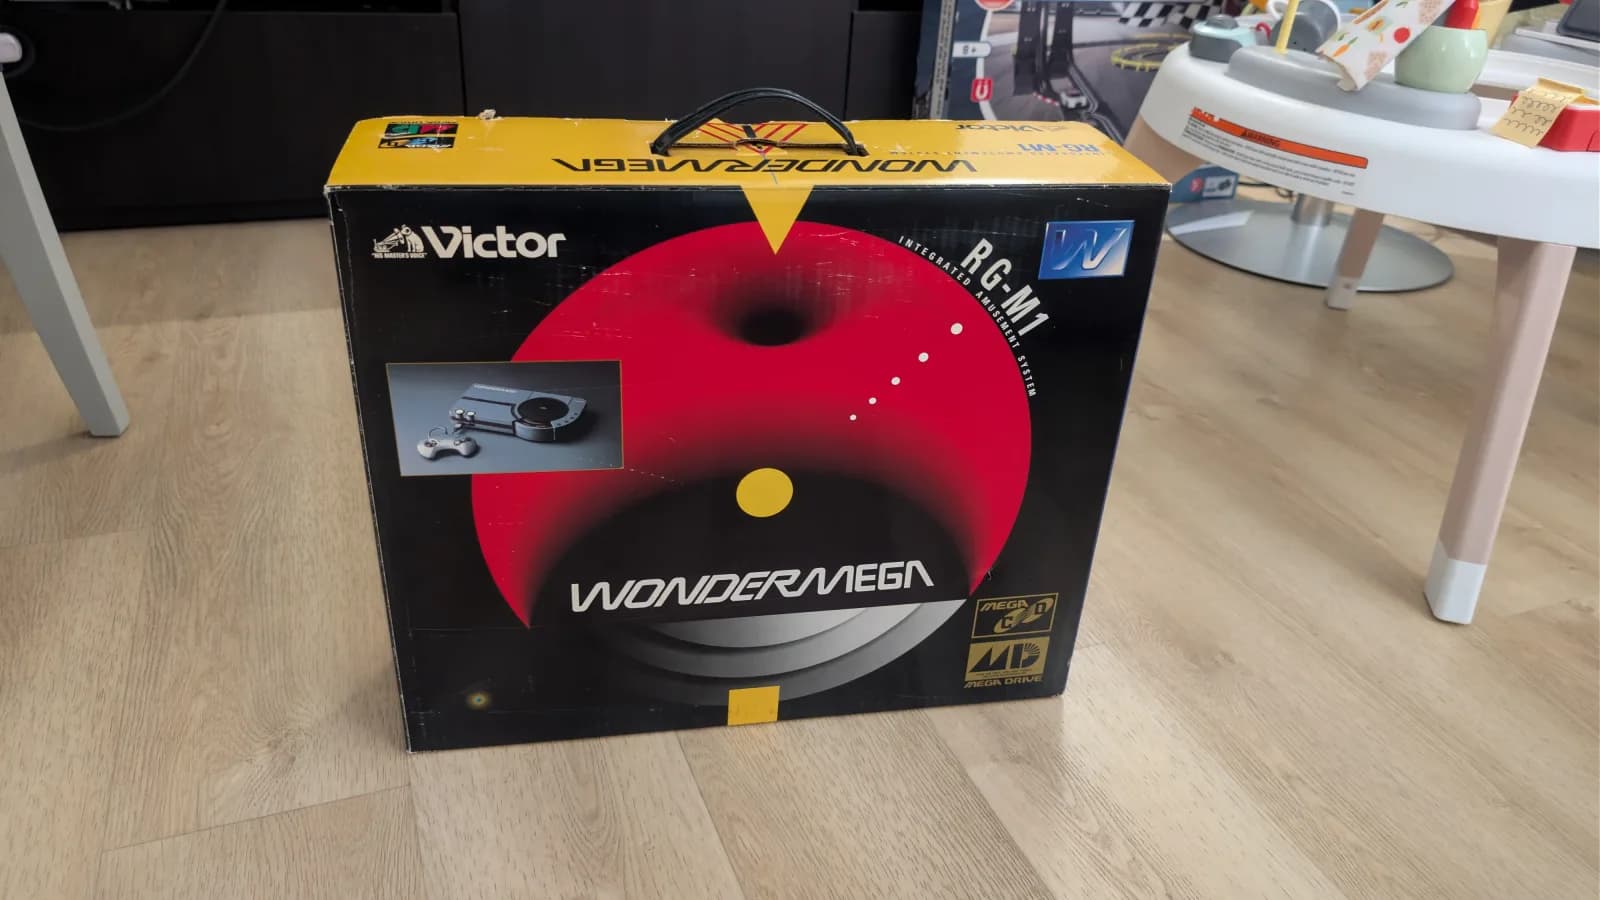
A pig to take apart and put back together, but the end result speaks for itself. Both the Mega Drive and Mega-CD sides of this Sega Wondermega HWM-5010 are fully operational. Later fitted with an Oleg Endo RGB kit: a tap board on the Sony CXA1145M encoder, the factory bodge wire and stock S-video port removed, and a Saturn-style DIN in their place with audio, composite and power wired across. Clean RGB at last, without the artifacts and ringing of the stock composite and S-video outputs.
Little did I know I was about to enter into a world of pain. This thing is kind of a pig to disassemble and reassemble. Nevertheless, onwards we go into a restoration thread. 🧵 #sega #wondermega #megadrive #megacd #retrogaming
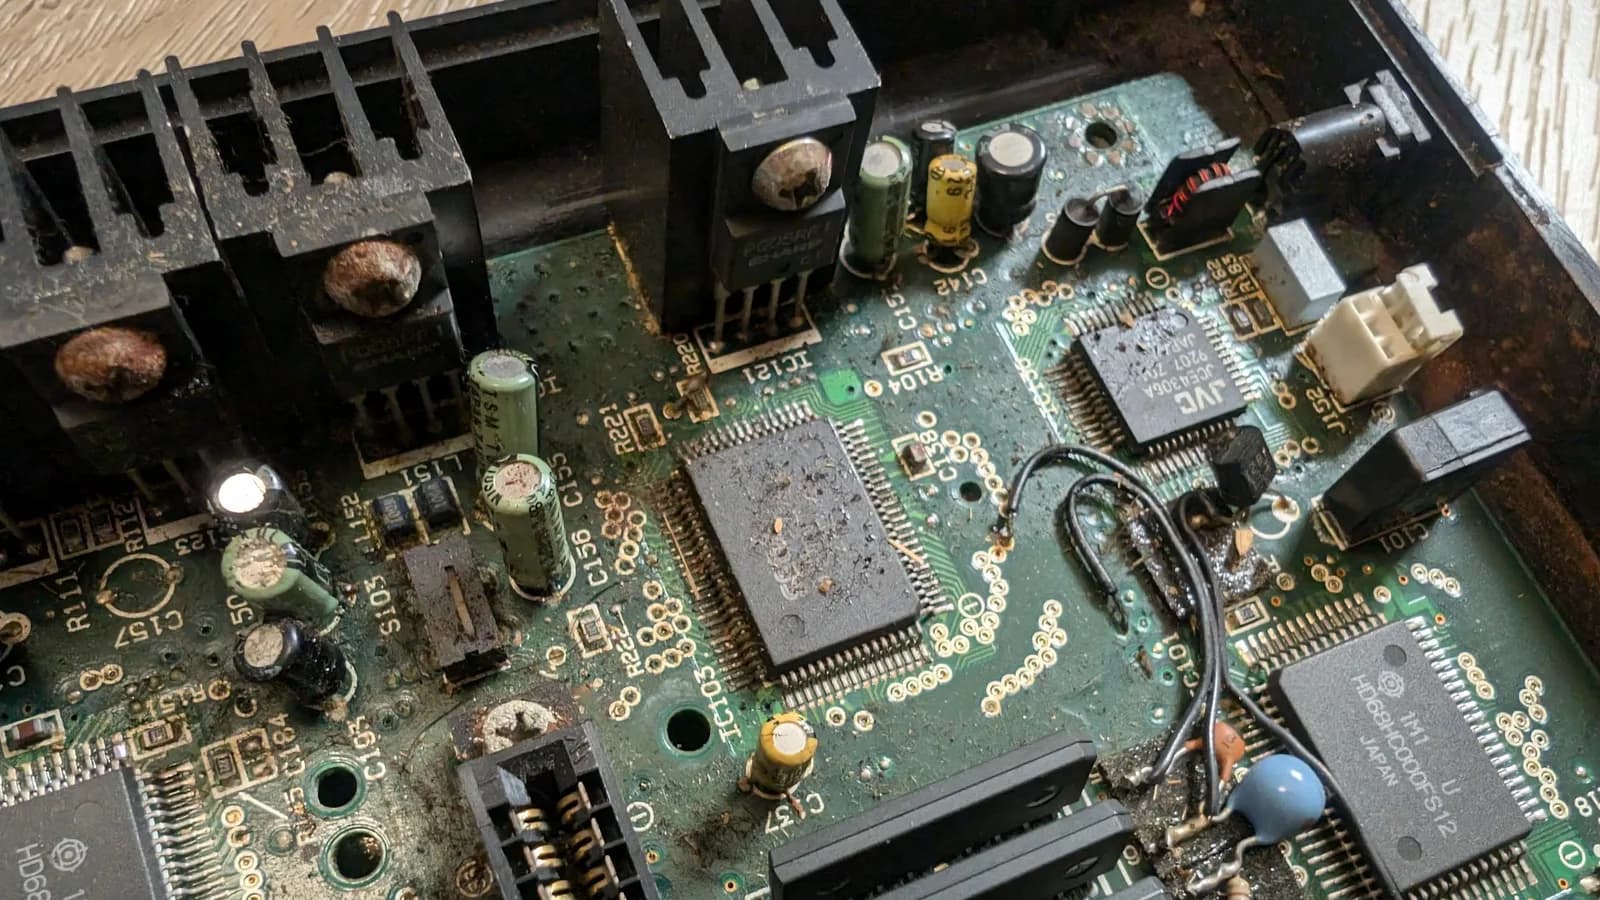
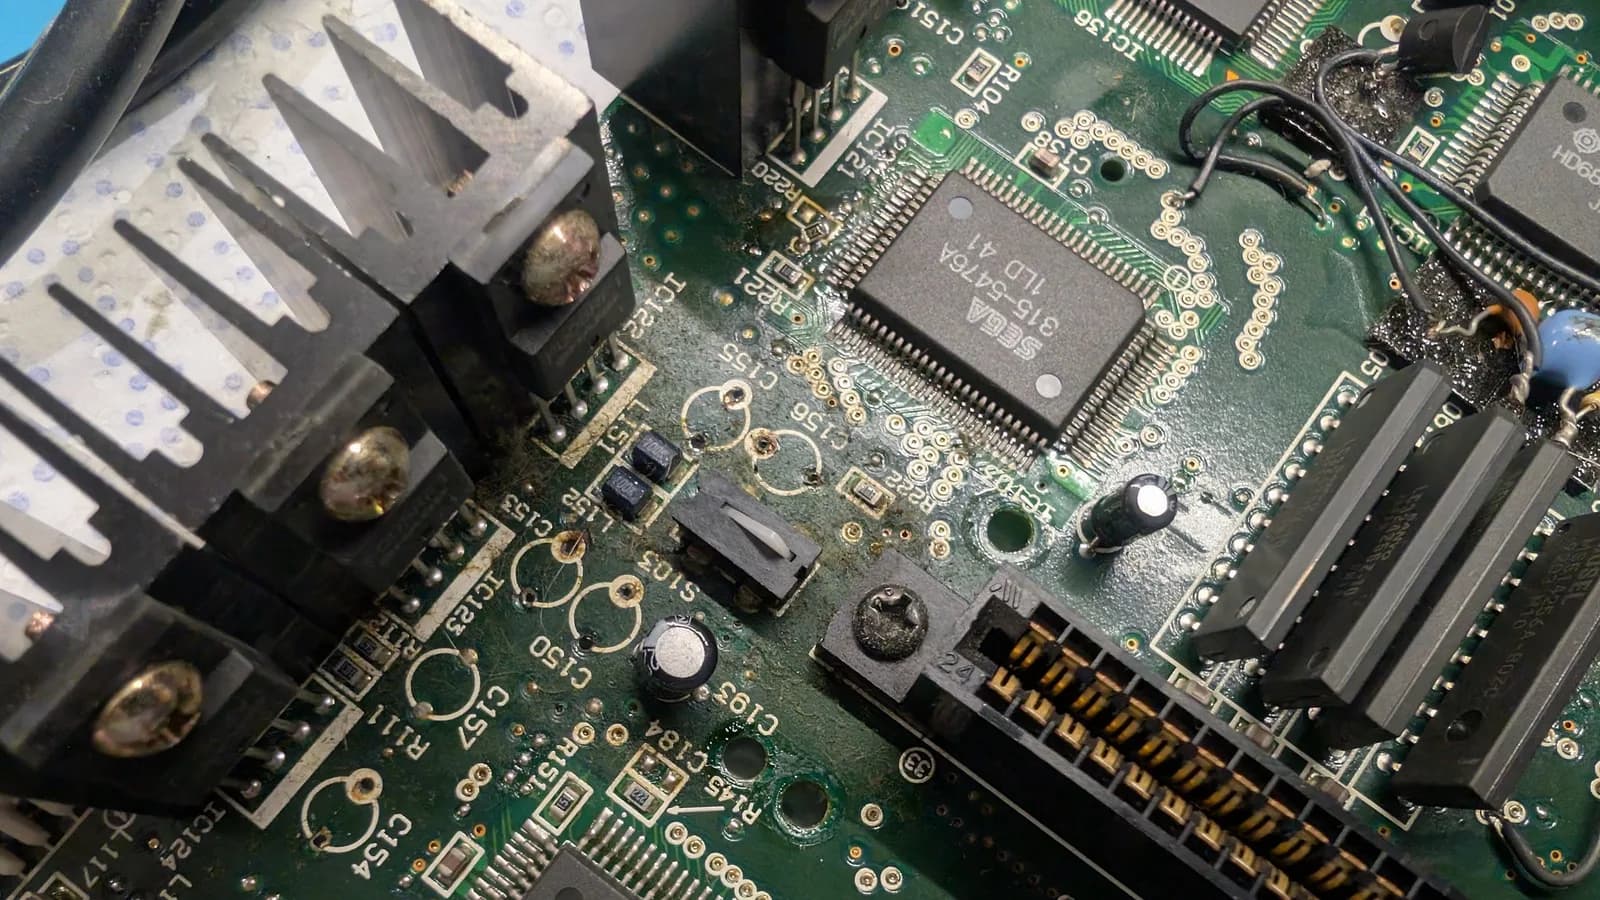
Recapped the Mega Drive side then removed the various regulators for cleaning, as there were some signs of leakage. Out then back and moved into the next board.
Next up, recapped the video board.
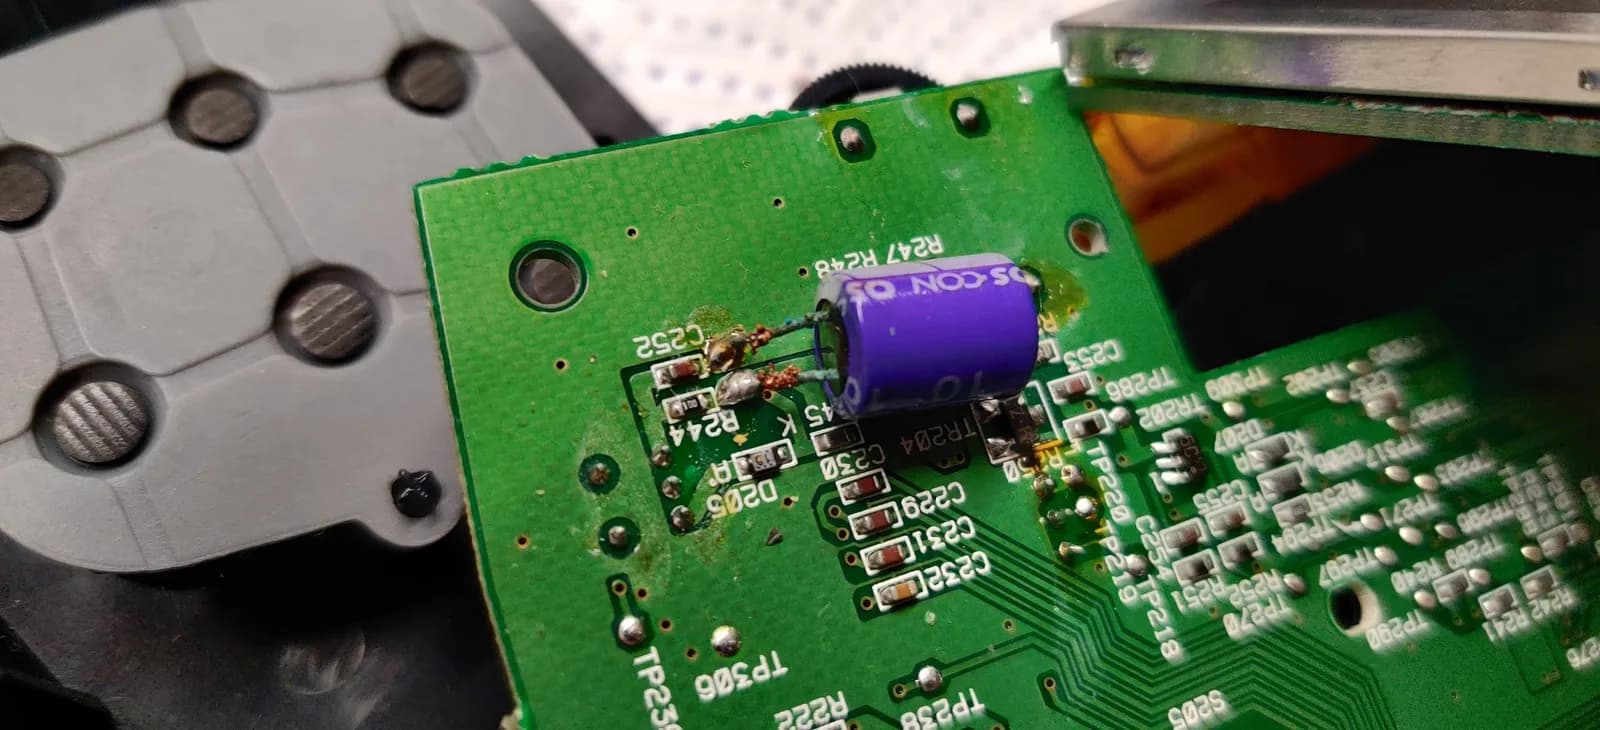
Recapped the laser PCB and lubricated the sled and gears. This is a bit finicky to do as the laser is kind of awkward to remove and the PCB with the caps has a couple of short flexes soldered to it. The pickup is a JVC Optima-5 for those wondering.
Afterwards I moved on with recapping the CD-ROM board.
Finished the recapping process with the sound/control board.
Put on a new belt for good measure.
After removing all this old garbage, here is the end result, it powers up fine. Both the Mega Drive and the Mega-CD side work well Let's test some more.
Contra hard Corps to test the Mega Drive and Silpheed to test the Mega-CD.
Finally, what we're all here for, a video of that motorised tray opening and closing. ☺️ Sega does... 😉
A while back I purchased some Wondermega RGB mod kits from Oleg Endo for the model 1 console. Last week I got around to installing one on a personal system. Let's check it out.
First I solder the board that taps the signals to the RGB encoder, the Sony CXA1145M and, I run the the cable that will take the signals to the output board, through the designated place.
Next, I unsolder the factory bodge wire so that I can remove the stock S-video port and replace it with the kit's Saturn-style DIN. I prep the area and solder the port down, as per the instructions. Then finally, I run the required wires for audio, composite and power.
Last but not least, I test it. I throw Castlevania on there, of course, then Earthion and Star Blade for the CD side. All the while basking in the glory of a beautiful RGB signal, without all the artifacts and ringing that the stock composite and S-video signals display.
Sega — Wondermega
Sega — Wondermega
Sega — Wondermega
Sega — Nomad
Sega — Game Gear
Sega — Game Gear