Thorough cleaning and contact servicing: DeoxIT, ultrasonic, nicotine and grime removal.
20 repair logs
 +41 photosWork in progress
Sharp — X68000 XVI Compact
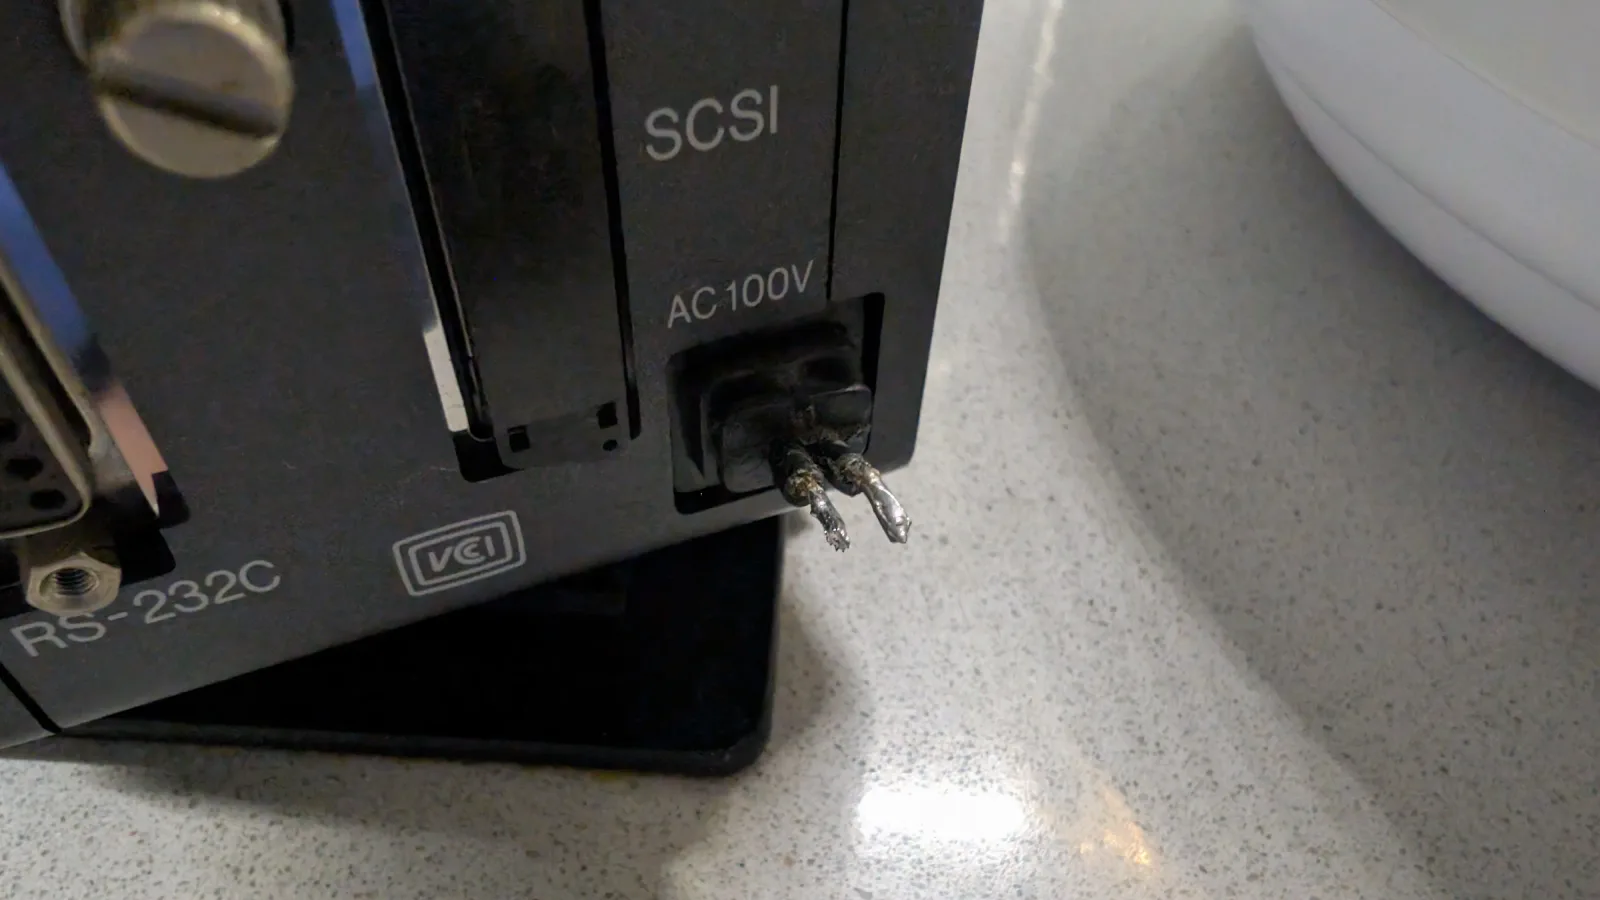
Won at auction with its mains cord cut clean off the PSU, taken as a gamble at a below-market price. A replacement lead was spliced in from another Japanese cord using solder-ring heatshrink sleeves, with extra insulation over the joint. It powered on once, then refused entirely, so the PSU came out for a recap: fully decapped, scrubbed with white vinegar and isopropyl, new capacitors fitted and marked, and every joint on the solder side reflowed. That brought it back reliably and it booted Human68k from disk. The rest of the machine was worse, with electrolyte contamination on every capacitor pad on every board. SMDs came off the mainboard and the expansion card, the pads were reworked with fresh solder, flux and braid until all were clean and none lost, then the through-hole electrolytics followed. The floppy drives had leaked internally and were recapped with their motor shafts cleaned and lubricated, and the peripheral input board's single capacitor was replaced. Still powers on after reassembly, pending fuller testing.
 +84 photosSuccessful repair
Sega — Wondermega
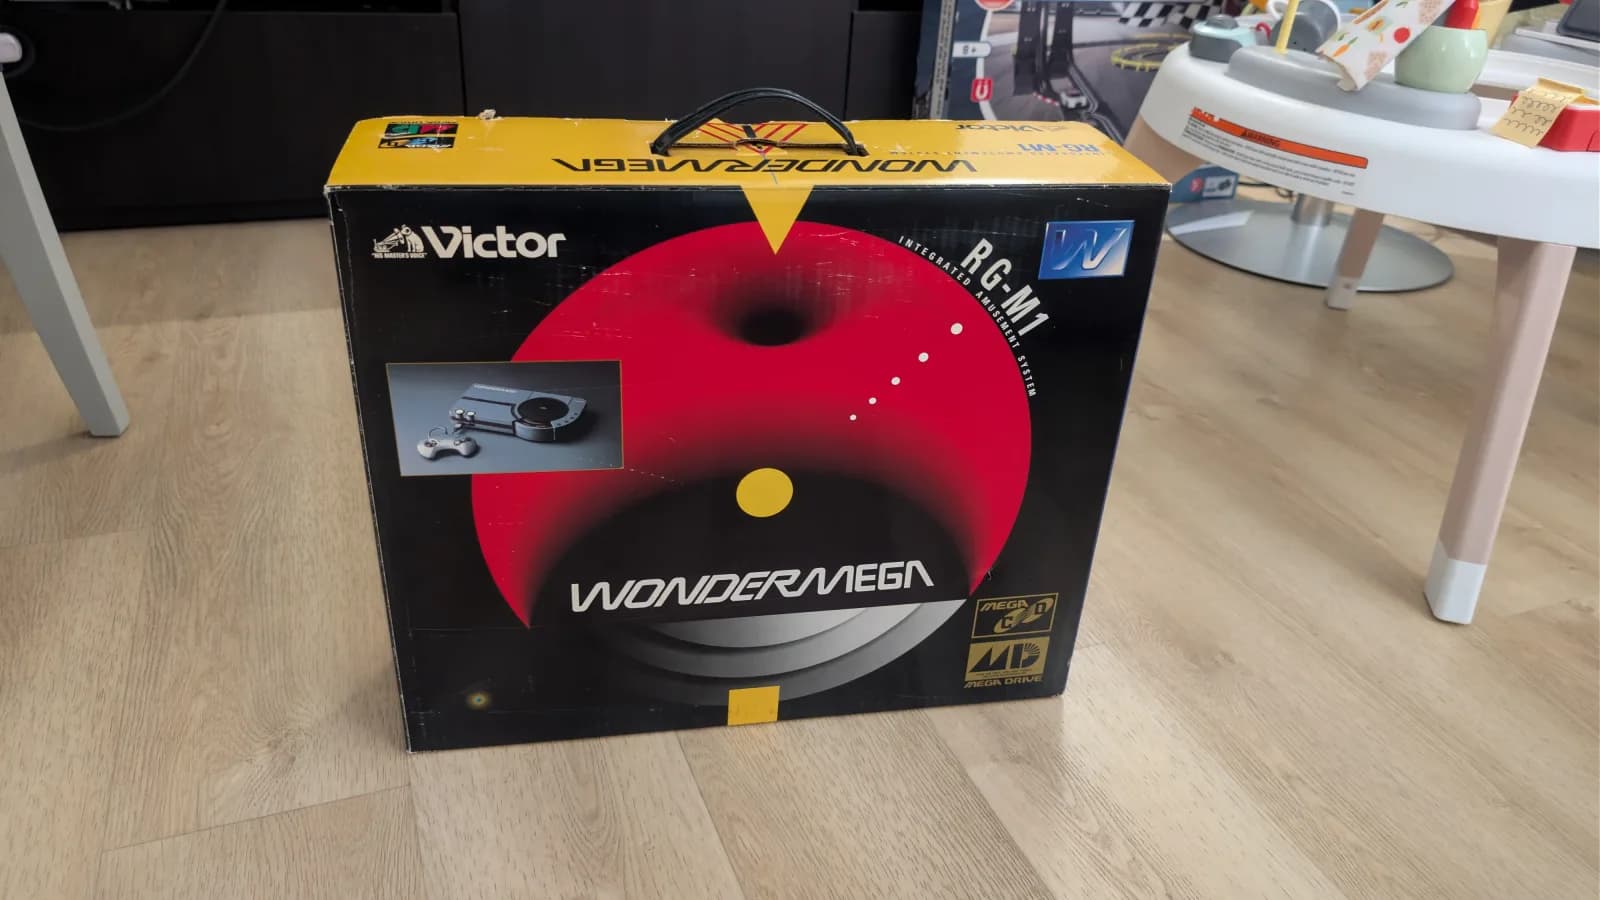
Someone else's Victor RG-M1 Wondermega, JVC's branding of the Sega Wondermega, sent in for refurbishment and described as fully functional. It arrived with a blown supercapacitor and a loose capacitor rattling around inside the shell, later traced to a pad beside the DC input jack where the machine had taken a hard knock. Carts played happily but it would not read a single CD. A full recap followed, roughly 70 capacitors across every board, with white vinegar and isopropyl baths, flux and fresh solder over dodgy vias and the regulators, and DeoxIT through the karaoke pots and microphone jacks. The cart side came back fine, the CD side did not. A detour along the way cured the vertical jailbars on the composite and S-video outputs with an Oleg Endo RGB kit, tapping the Sony CXA1145M encoder and swapping the stock S-video port for a Saturn-style DIN. The supercapacitor was replaced and later superseded by an F-RAM install. The CD fault survived a complete chassis swap, a clean bill of health on every board and a working spindle motor, which left the laser. The owner sourced new old stock, and once it was fitted and its board recapped in turn, the machine read both originals and backups. Finished with UV protectant and packed up.
 +49 photosSuccessful repair
Sony — PlayStation
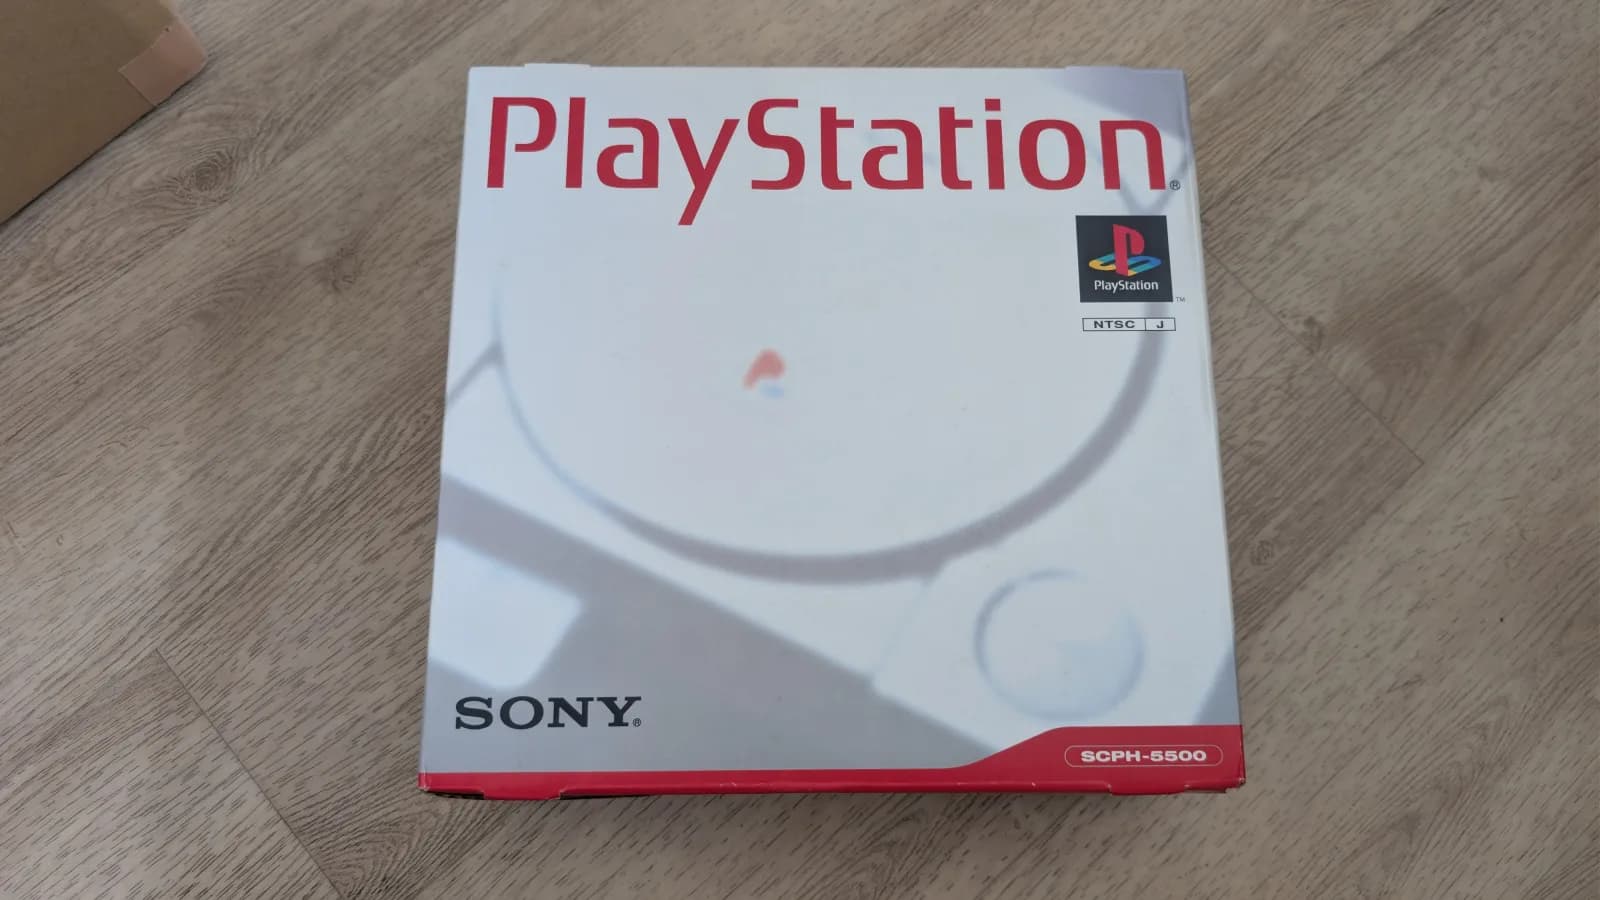
Imported NTSC-J PlayStation sent in for the full works: xStation, MFO and X-Reset installs, plus a recap and a clean. Board and PSU recaps went in without trouble, then the console came up dead, no video and no audio, once the mods were fitted. The MFO had been wired to a pad that is ground on one board revision but not on this PU-18, which shorted the 3.5V rail and blew the PS604 fuse. Rewired correctly and refitted with a fuse taken from another console, with the surrounding fuses and ferrite beads checked for further damage. Finished with a controller clean and recap, lubrication and UV protectant.
 +4 photos
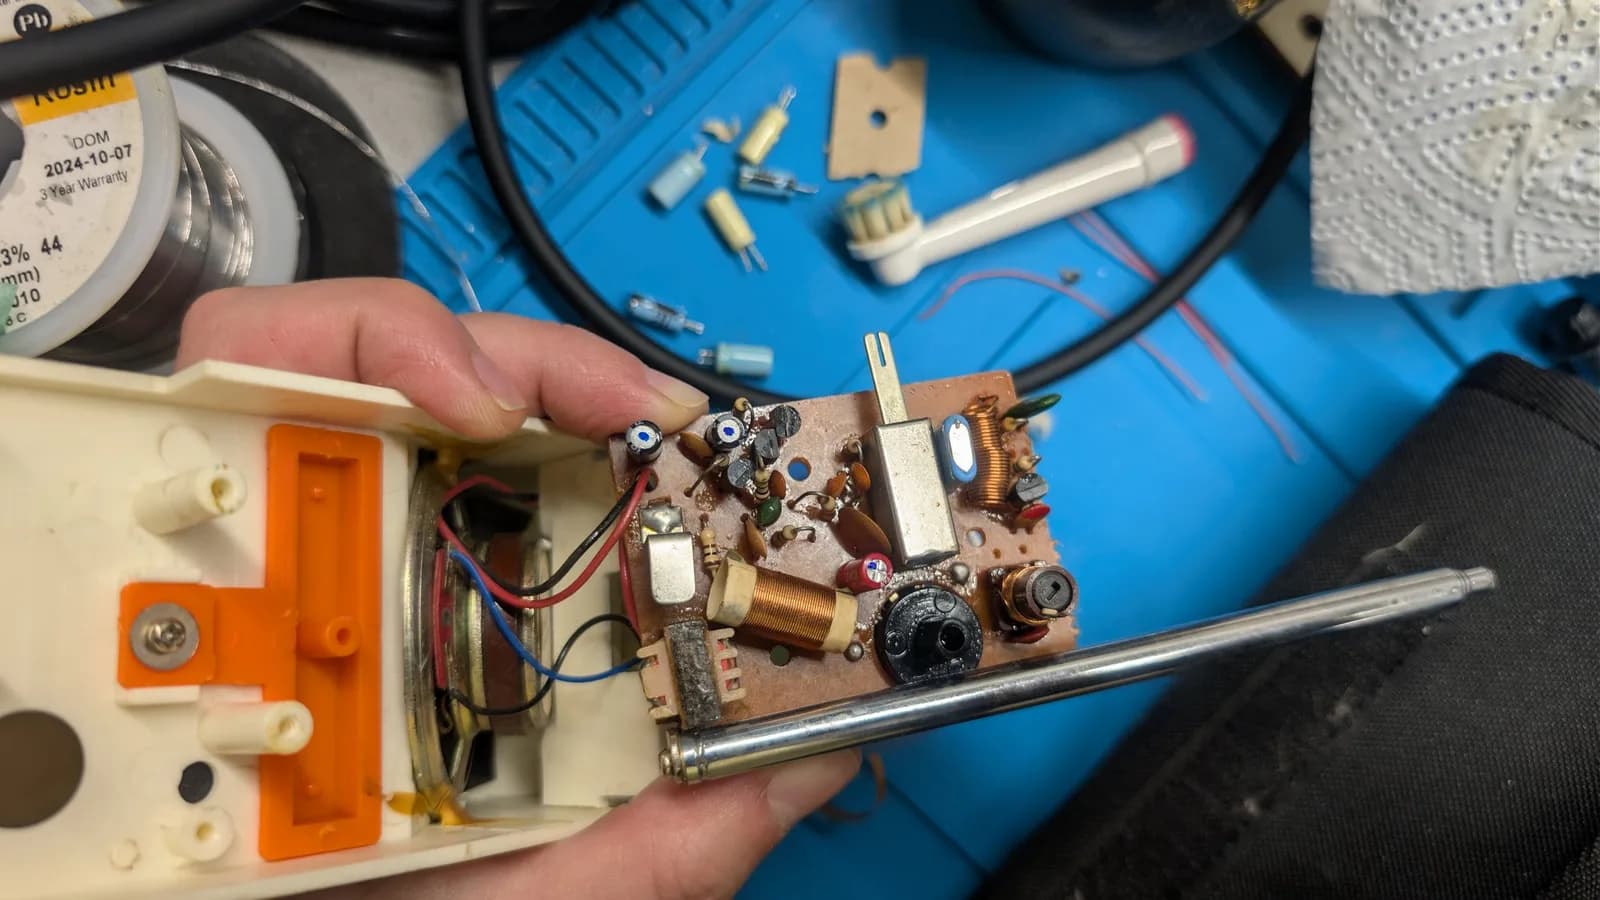
My childhood walkie-talkies, dug out so my daughter could use them for her pretend calls. A recap, some Deoxit and a clean sorted out the reliability issues.
 +33 photosSuccessful repair
Bang & Olufsen (B&O) — Beovision 1
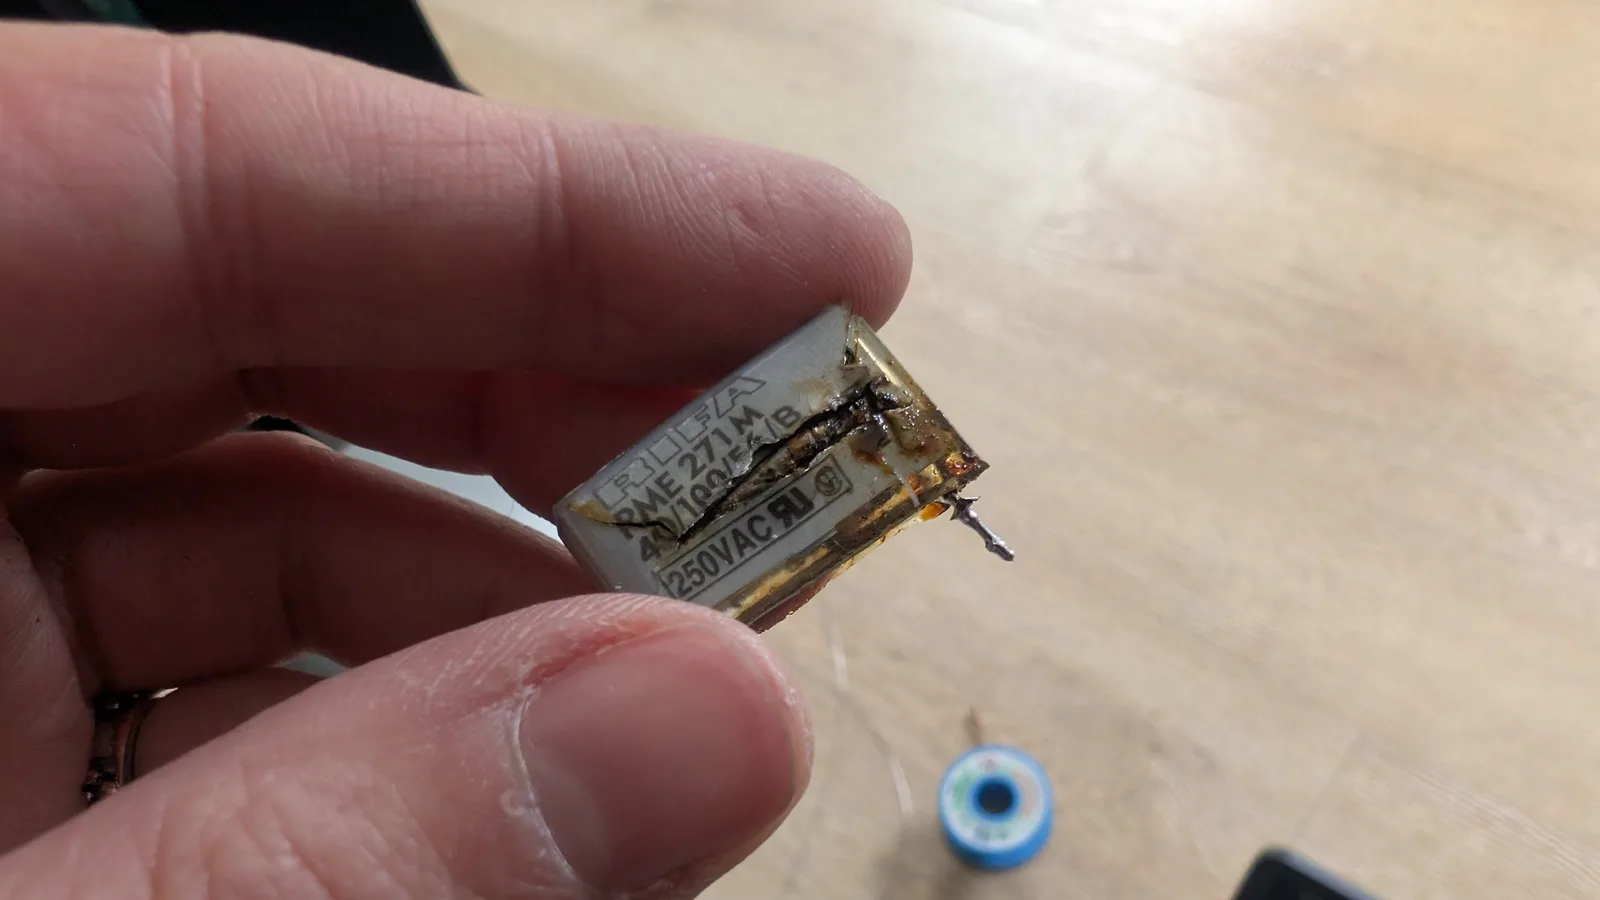
This Bang & Olufsen Beovision 1 CRT TV had the audacity to emit smoke and then carry on displaying a perfect picture. A lengthy investigation eventually uncovered an X2 safety cap that had met a truly spectacular end. Came away with a cleaner TV and a great story.
 +26 photos
Sega — Wondermega
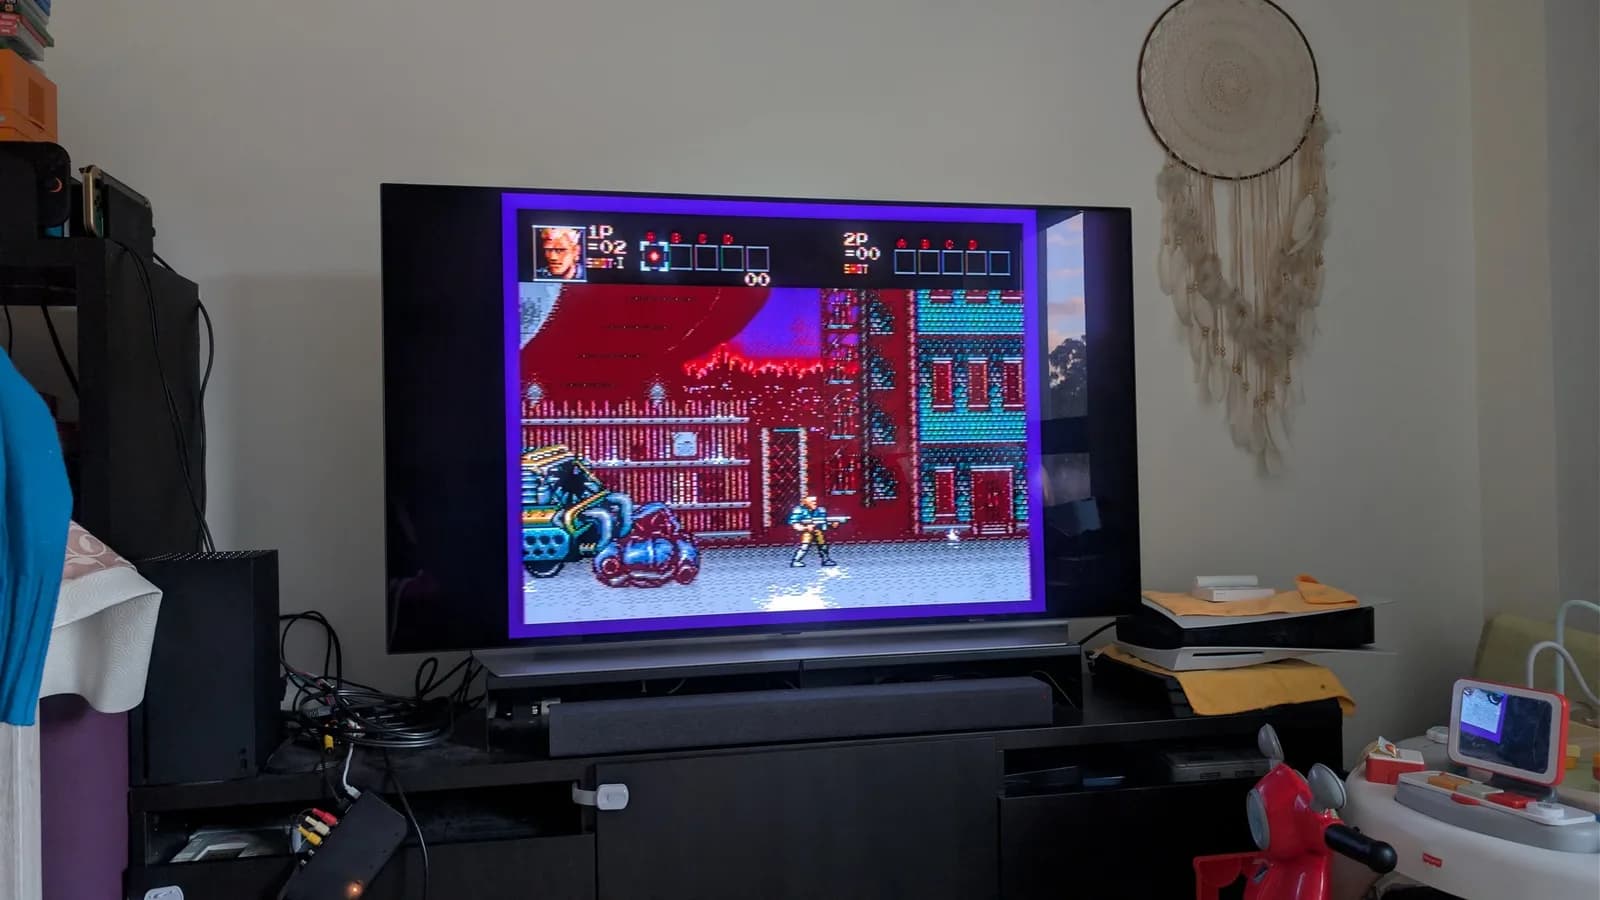
A pig to take apart and put back together, but the end result speaks for itself. Both the Mega Drive and Mega-CD sides of this Sega Wondermega HWM-5010 are fully operational. Later fitted with an Oleg Endo RGB kit: a tap board on the Sony CXA1145M encoder, the factory bodge wire and stock S-video port removed, and a Saturn-style DIN in their place with audio, composite and power wired across. Clean RGB at last, without the artifacts and ringing of the stock composite and S-video outputs.
 +57 photosSuccessful repair
Sega — Game Gear
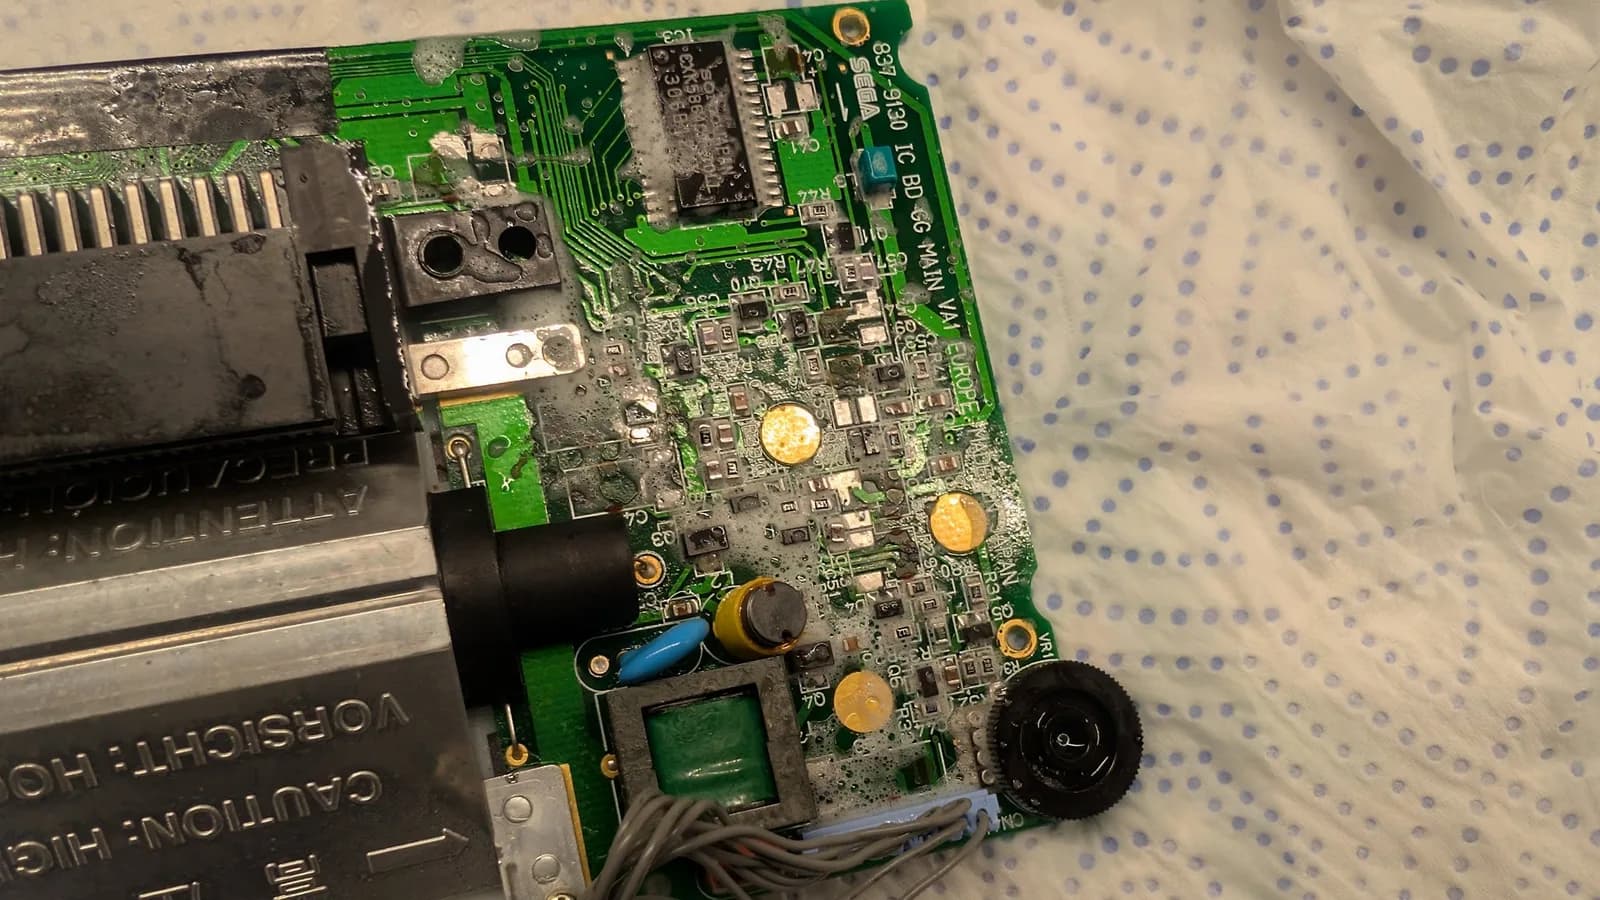
Had lunch with a couple of friends and one of them brought a Sega Game Gear along, wondering if anything could be done with it. Power LED only, nothing else.
 +11 photos
Sega — Mega Drive
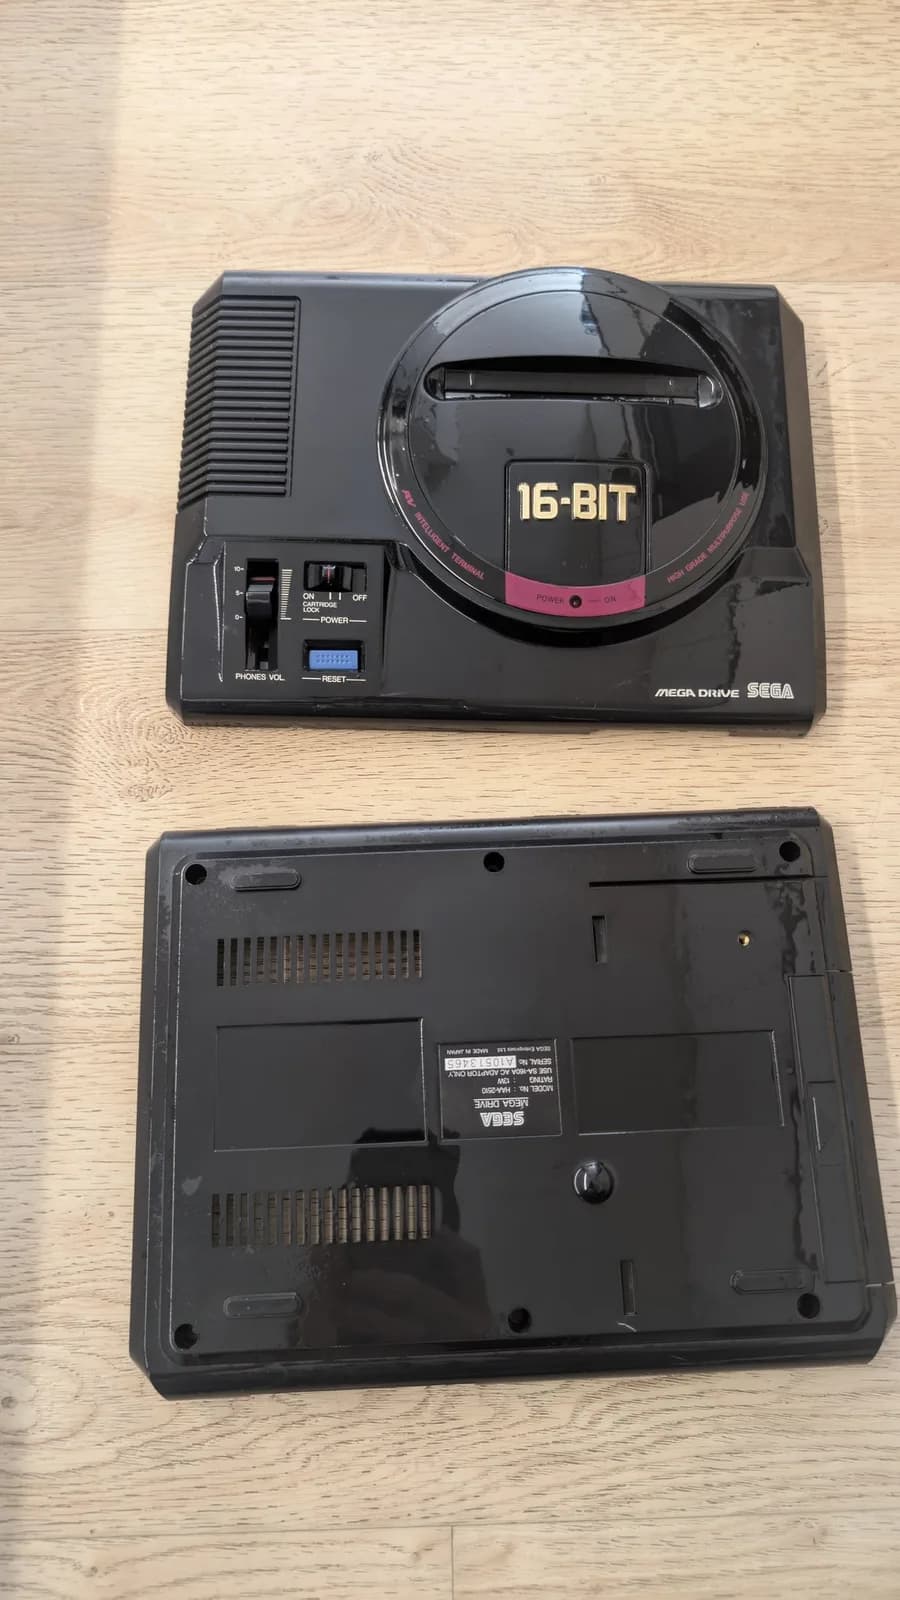
Duplicate Japanese Sega Mega Drive prepped for sale. Power jack and AV connector reflowed, shell cleaned with Aerospace 303, controllers deep cleaned and reassembled. Mainboard had been recapped previously.
 +29 photosSuccessful repair
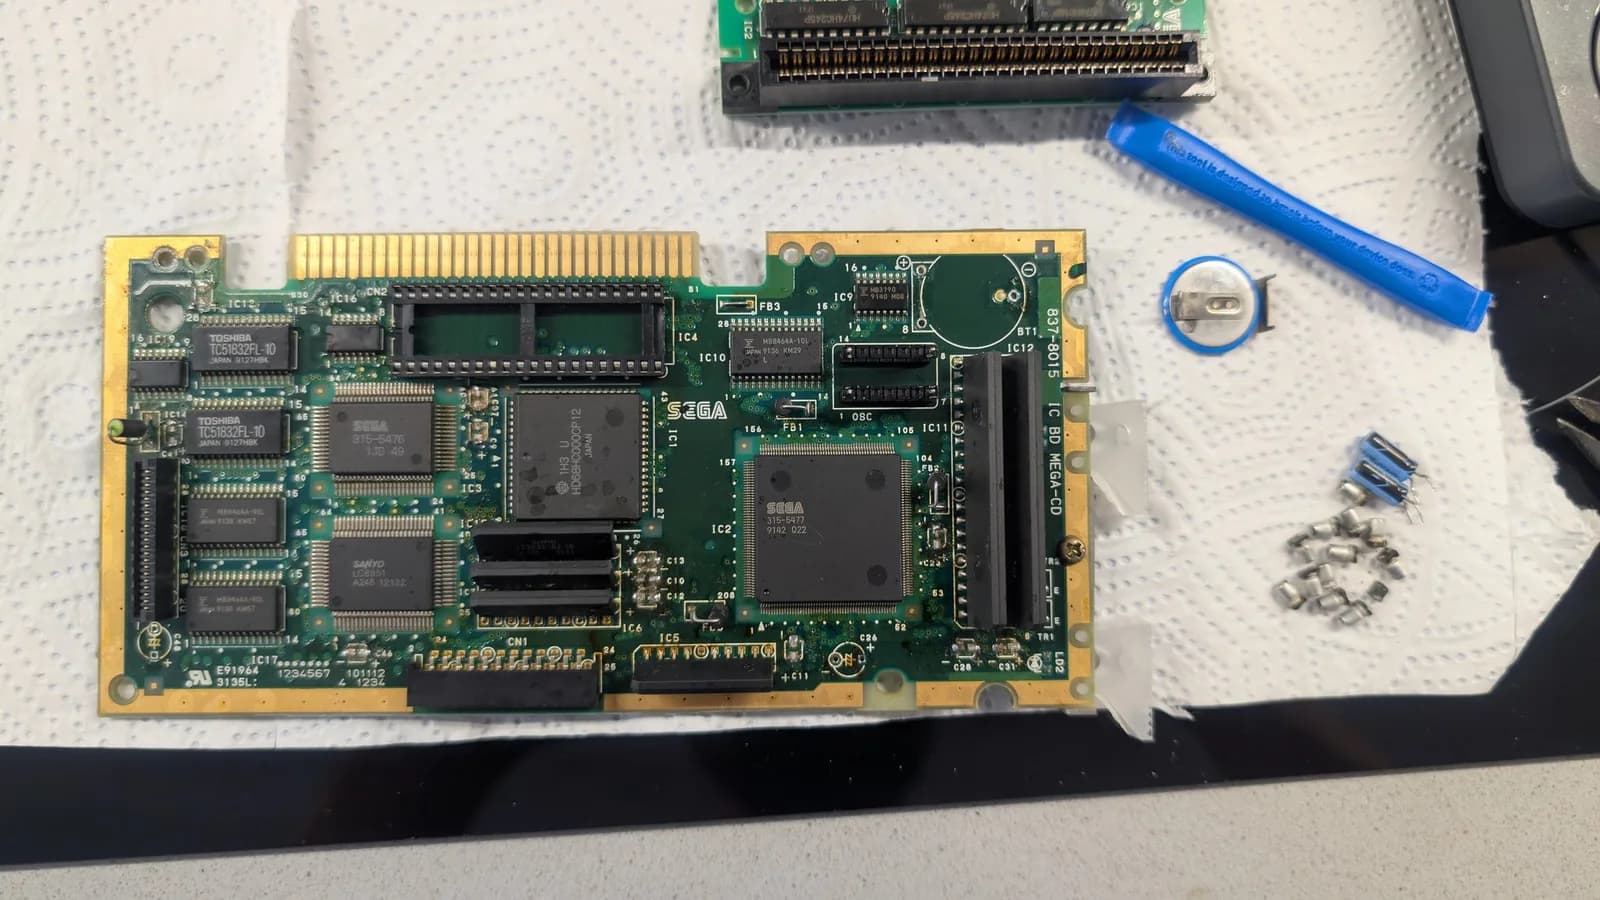
Sega — Mega-CD 1
A second Sega Mega-CD Model 1, bought after my first died from a non-OEM laser: a full recap, deep clean, optical-drive service and joint reflow brought this one back.
 +17 photos
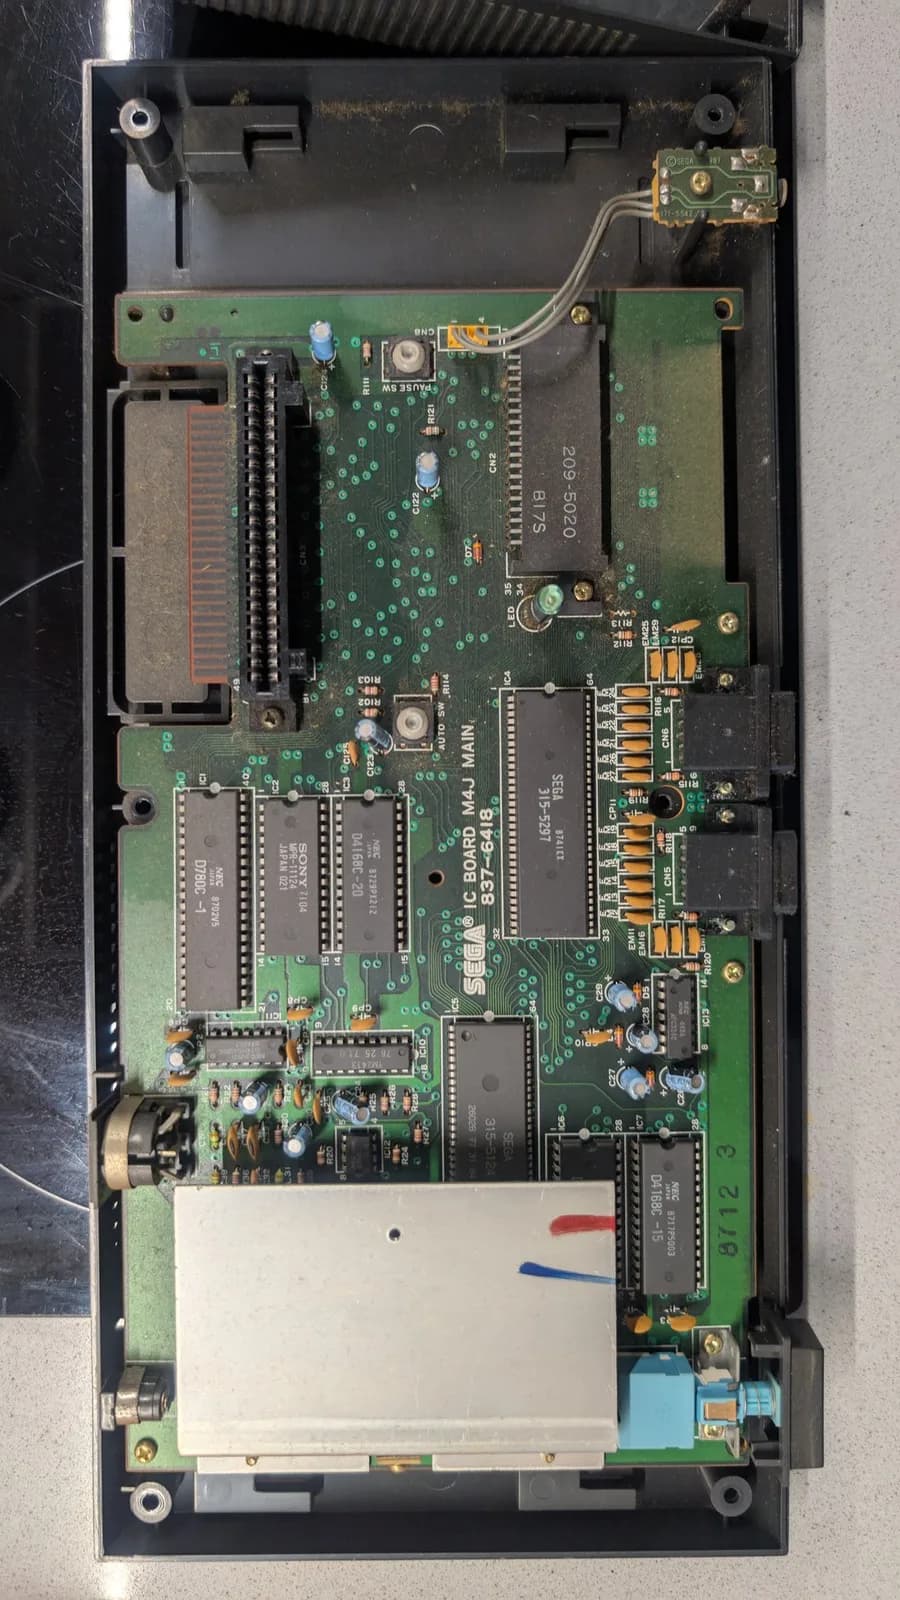
Sega — Master System
Full treatment for a Japanese Sega Master System MK-2000 belonging to a friend: new caps, 7805 voltage regulator, thermal paste, cleaned connectors and controllers. Sent on its way looking and playing like new.
 +3 photos
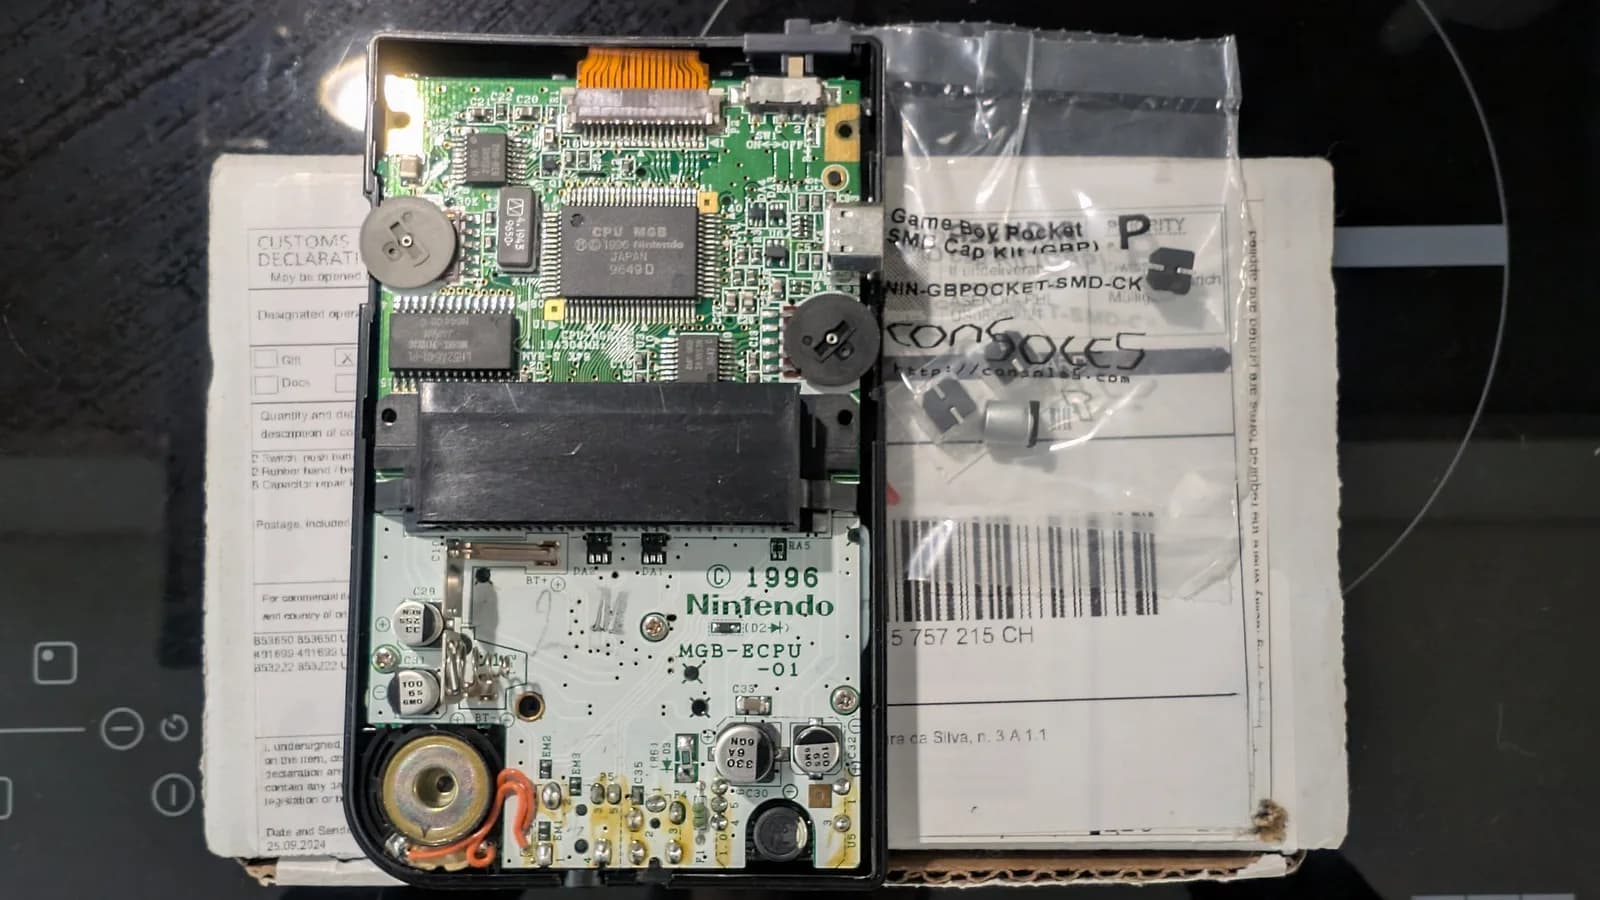
Nintendo — Game Boy Pocket
Thorough once-over on this Nintendo Game Boy Pocket (MGB-001): capacitors, brightness and volume pots, power button, cartridge connector and button membranes all done in one sitting.
 +55 photosCould not fix
Sharp — X68000
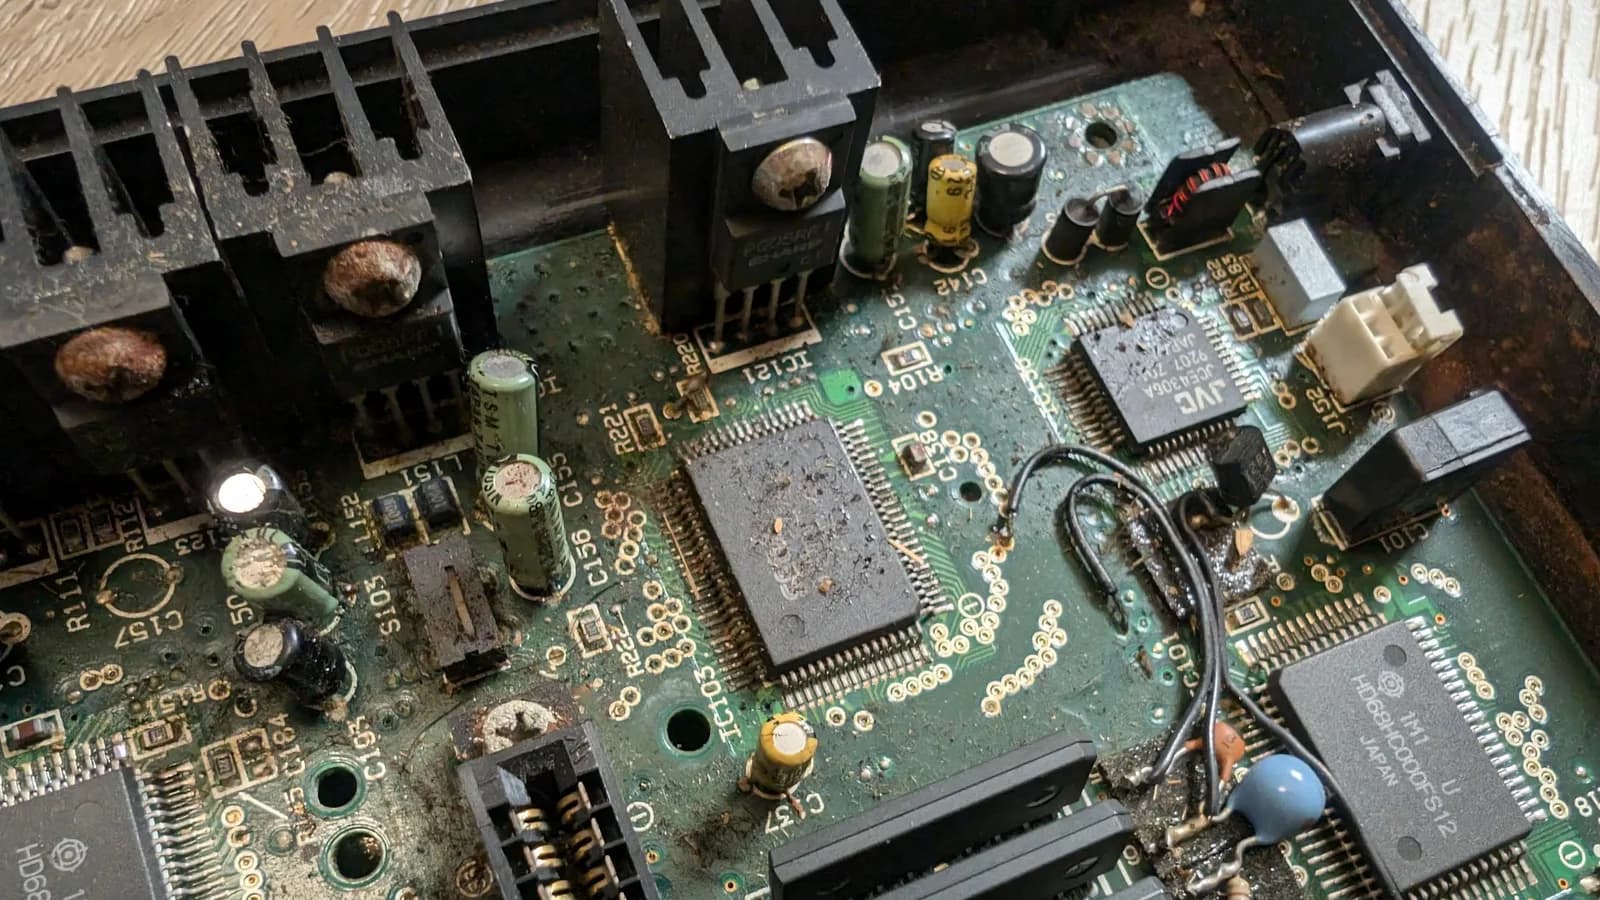
A proper exercise in stubbornness on this Sharp X68000. Two rounds of repair, a full recap, FDD surgery (one of the floppy drives had clear signs of a blown capacitor with charring on the PCB), a new oscillator, and still no picture. The X68000 remains on the 'future date' pile.
 +135 photosPartial fix
Sega — Wondermega
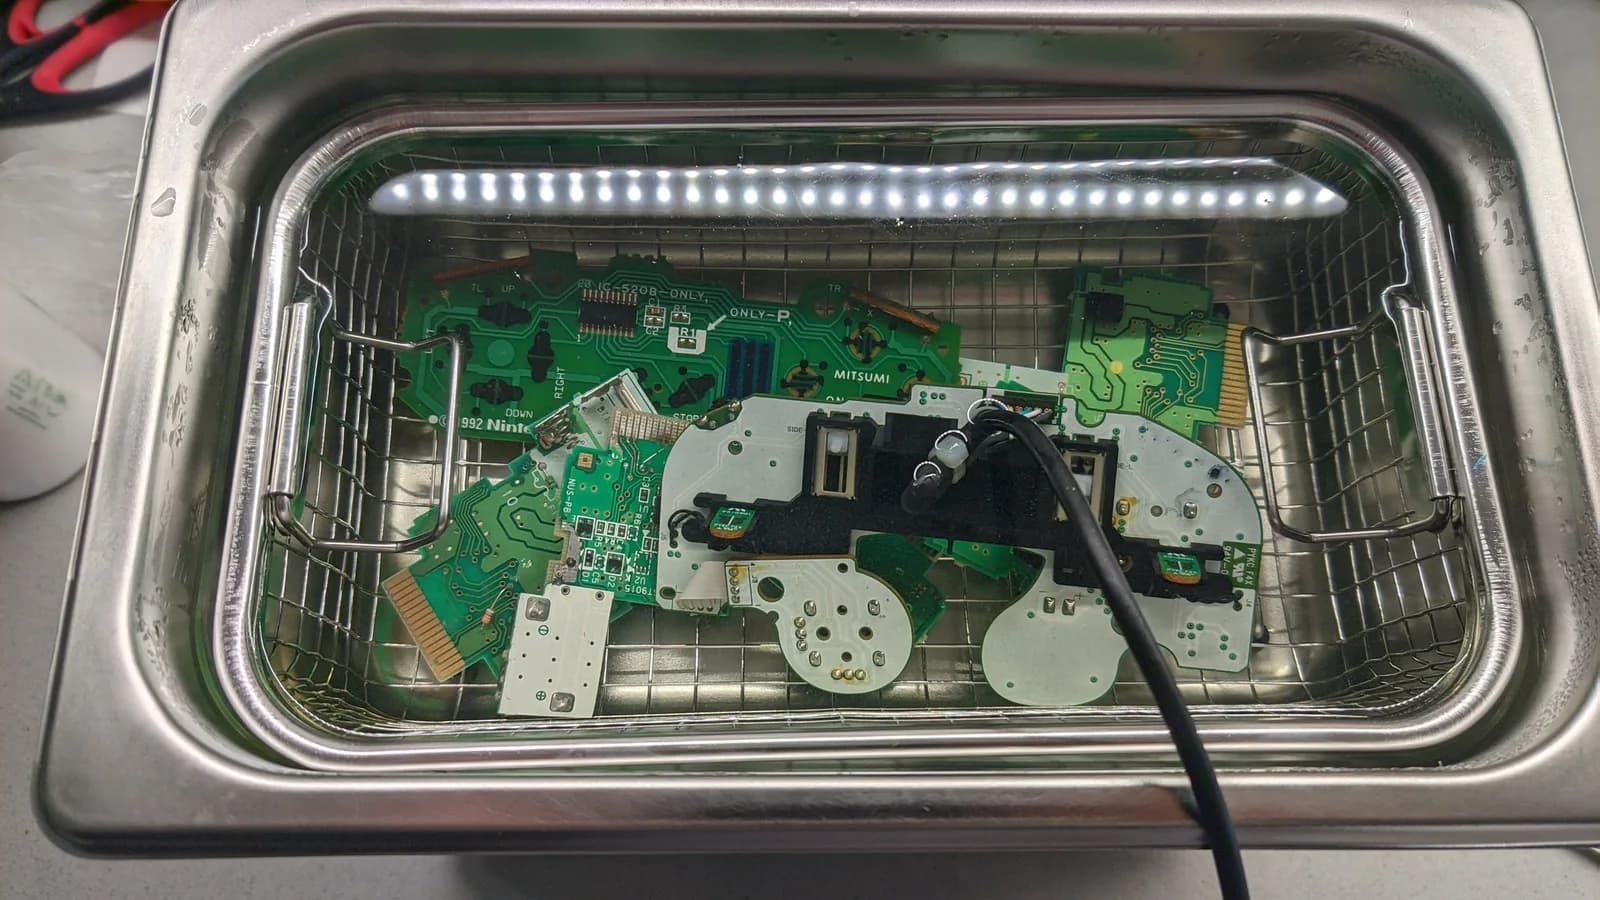
Absolute labour of love on this Sega Wondermega HWM-5010 from Japan: corrosion, missing components, broken traces and a RAM package with broken legs. The Mega Drive side eventually came back to life; the Mega-CD side continues to freeze on the BIOS animation, defying everything thrown at it.
 +11 photos
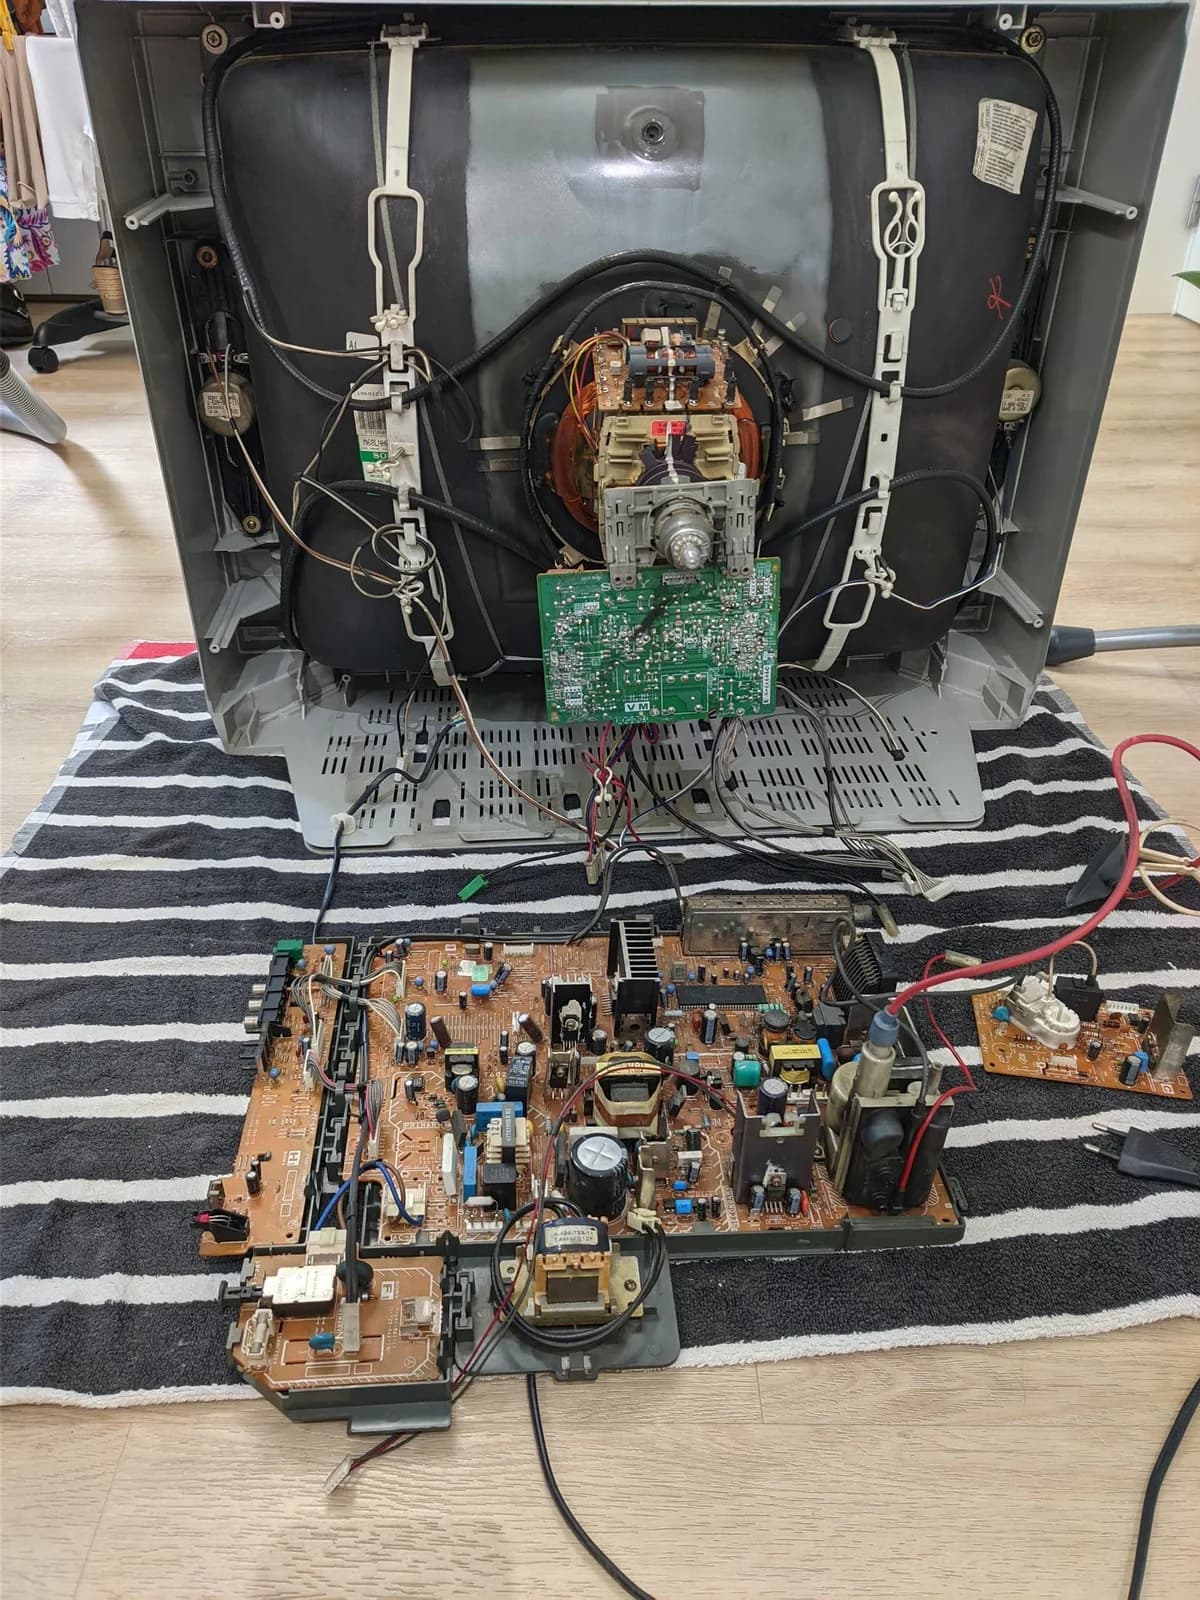
First outing for the ultrasonic cleaner. Started cautiously with some PCBs, then got braver with controller shells. Very satisfying to watch the crud disappear.
 +8 photos
Sony — KV-29FX30E
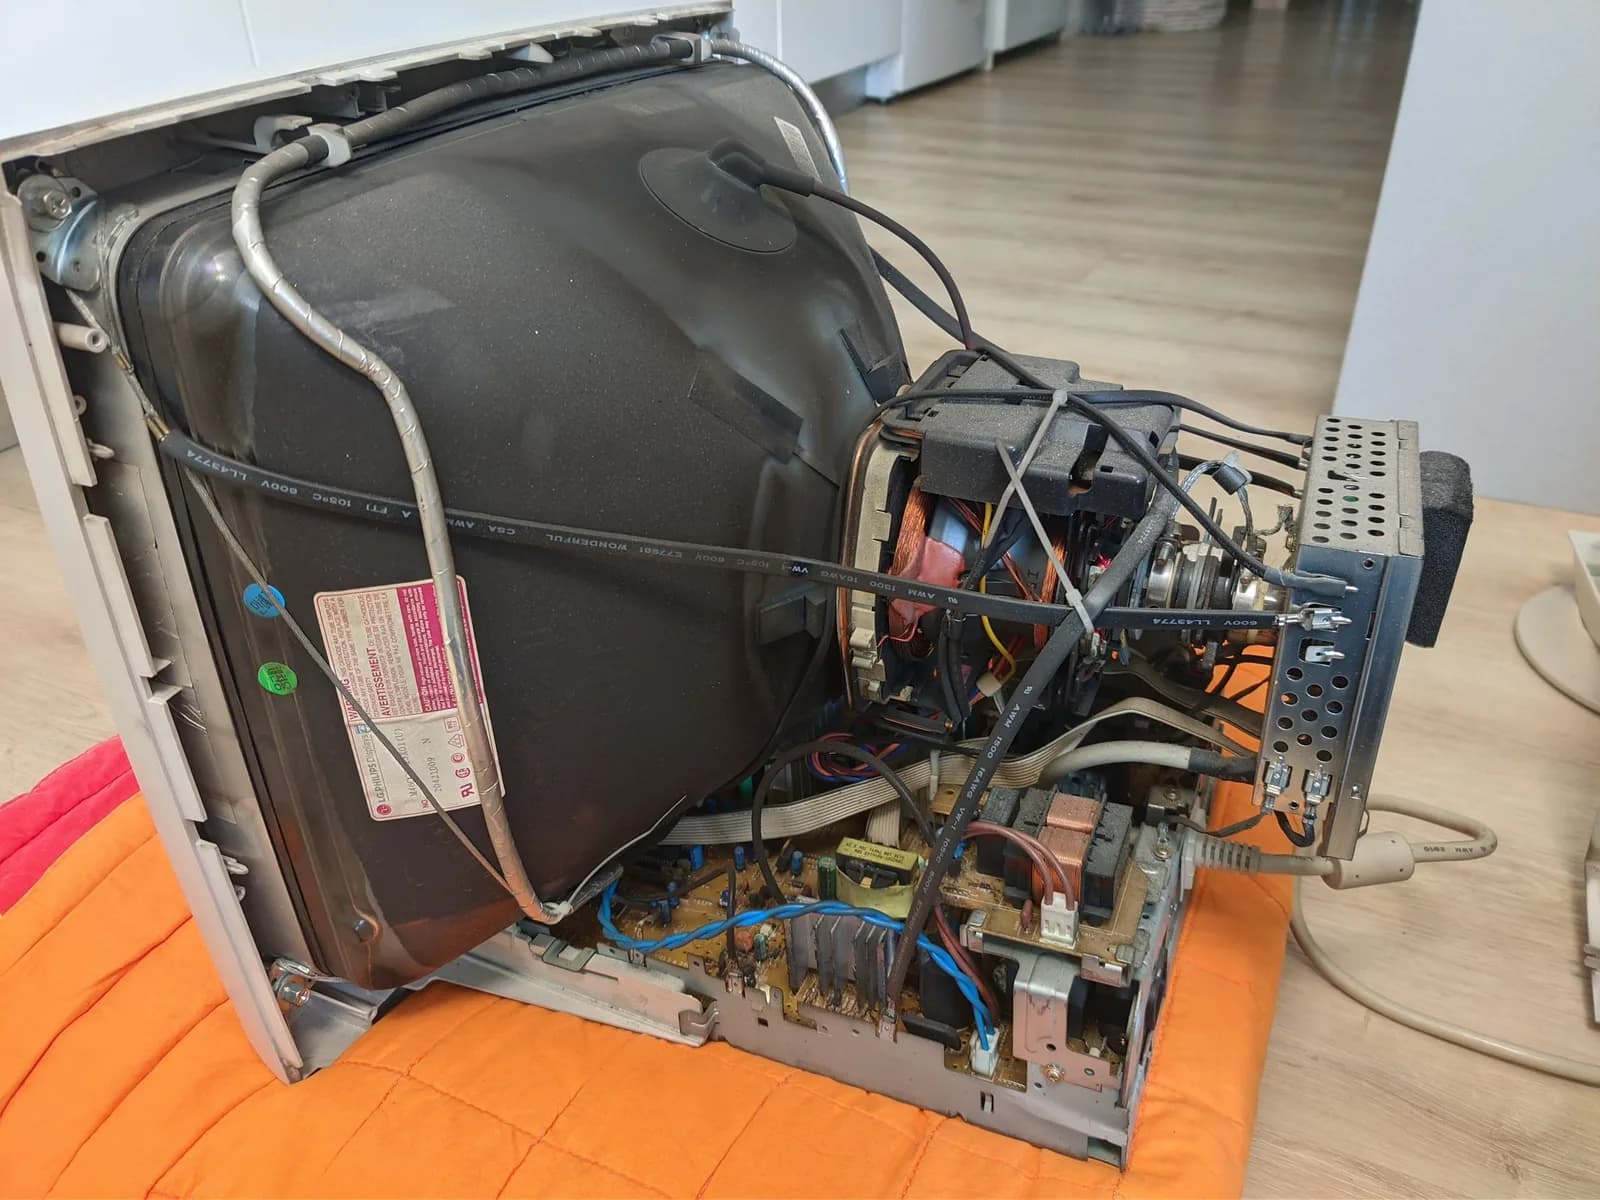
29-inch Sony KV-29FX30E flatscreen FD Trinitron CRT TV, acquired for 20€ to use in lightgun gaming sessions with friends (for the screen real estate). Full recap and deep clean (looked like a kitchen TV from the dust and grease); anode cap dielectric-greased.
 +39 photos
Philips — 109S4
19-inch Philips 109S4 shadow mask CRT PC monitor with a nicotine habit and a surprisingly decent picture. Good for aperture grille vs shadow mask comparison content, but eventually lost out to the Sony contingent for daily use.
 +38 photosSuccessful repair
Sony — PlayStation
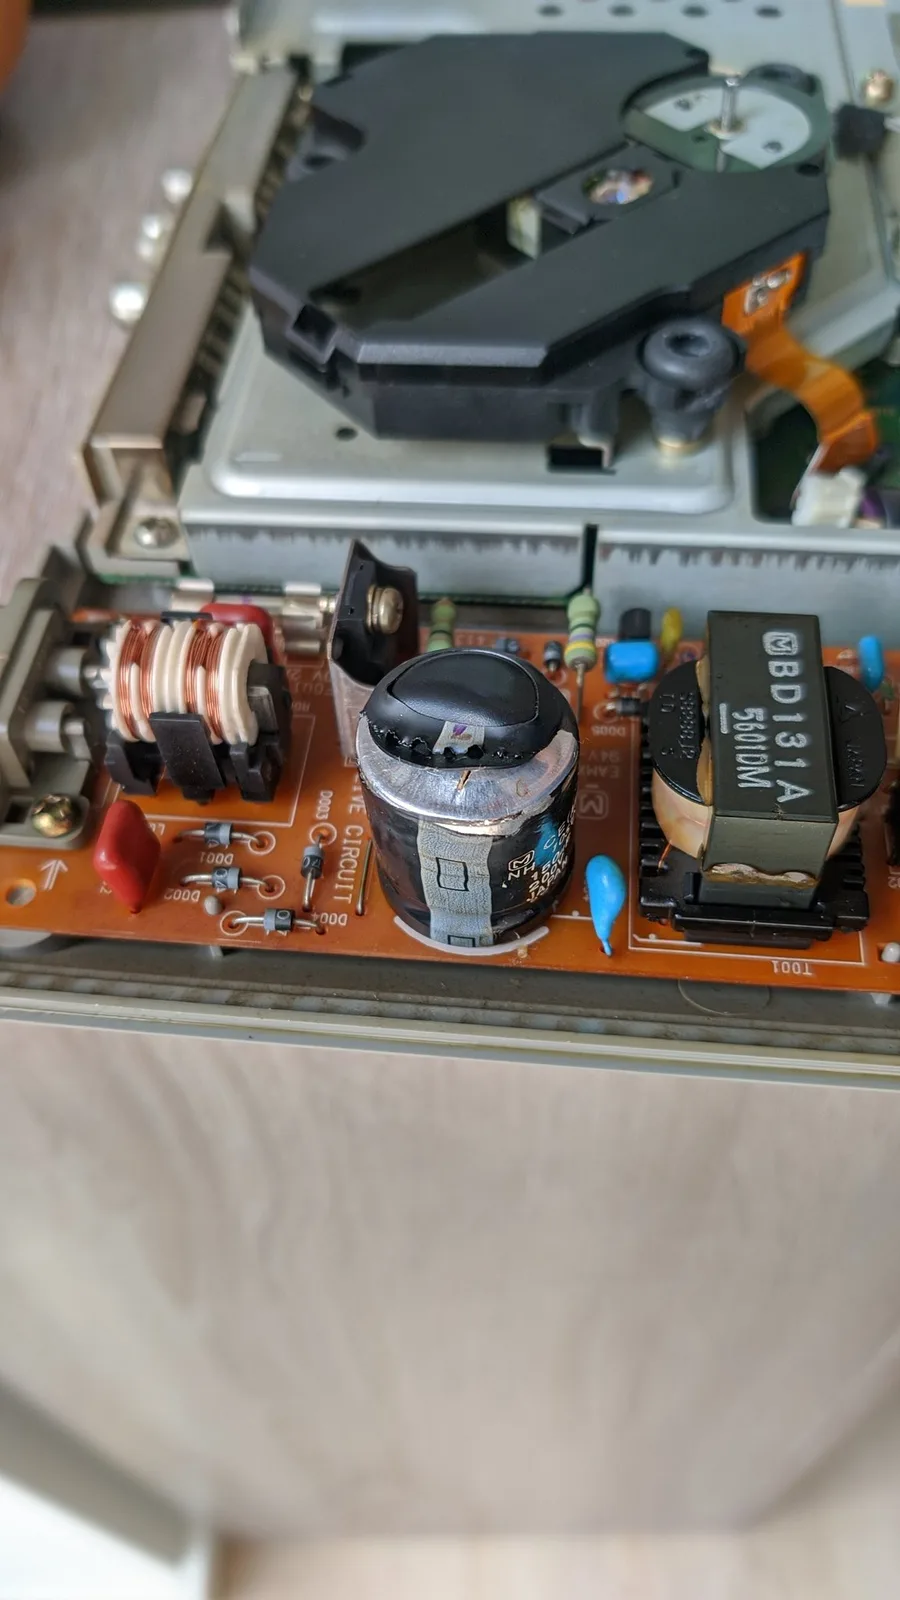
Don't mix PSUs with incorrect mains voltages, kids. I accidentally did that on this Sony PlayStation NTSC-J in 2022, while repairing and testing the controller ports on a friend's PAL PS1. Years later, once PU-7 QSBs finally existed, it got the mod it was bought for: an xStation from a kit by Romain Brami, with DSP pins lifted, the resistor and filter by the master clock removed, three more resistors cleared from the QSB footprint, then the QSB soldered and the FFC folded up to the top side. An X-Reset QSB followed. Shortly after, the PSU turned hard to switch on, which was corrosion inside the power switch: stripped, scraped with a fiberglass pen, cleaned with isopropyl, then DeoxIT on the contacts and grease on the plunger.
 +4 photosSuccessful repair
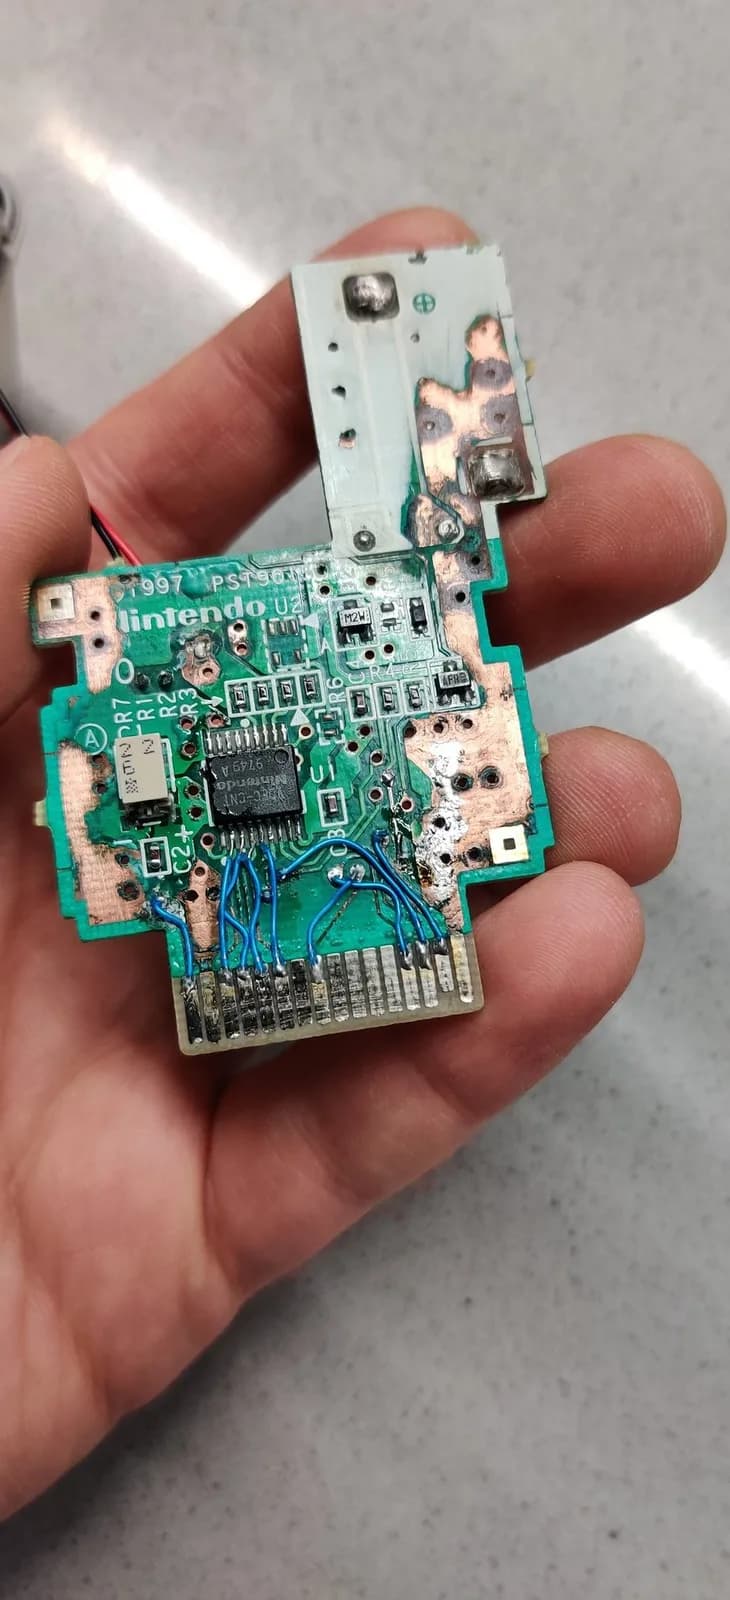
Trace repair on an N64 Rumble Pak that had suffered from leaking batteries. Short job, satisfying result.
 +4 photos
Nintendo — Game Boy Color
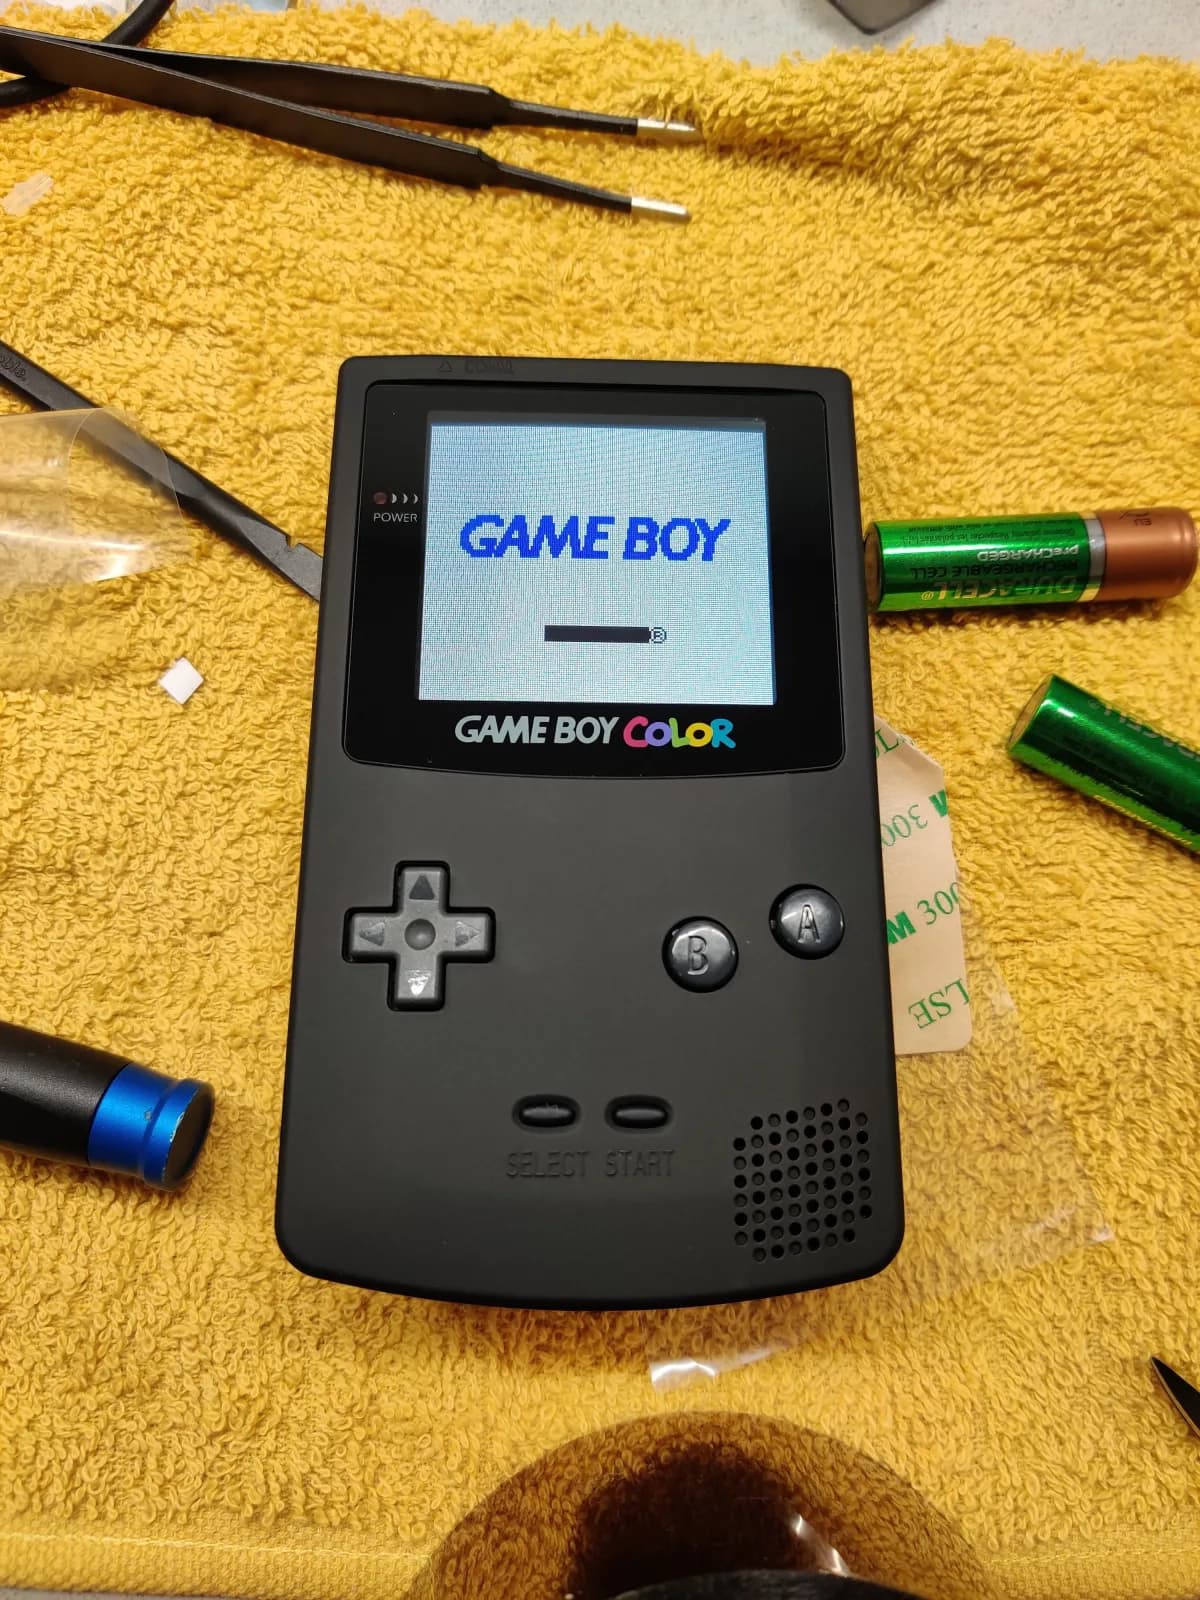
Imported from Japan and modded to a friend's spec over a few evenings in October 2021. Cleaned and recapped first, then transplanted into the matte black shell he asked for with the original housing left uncut, and finished with a glass lens and a FunnyPlaying IPS kit, the version with the selectable pixel effects.
 +6 photos
Nintendo — Game Boy Color
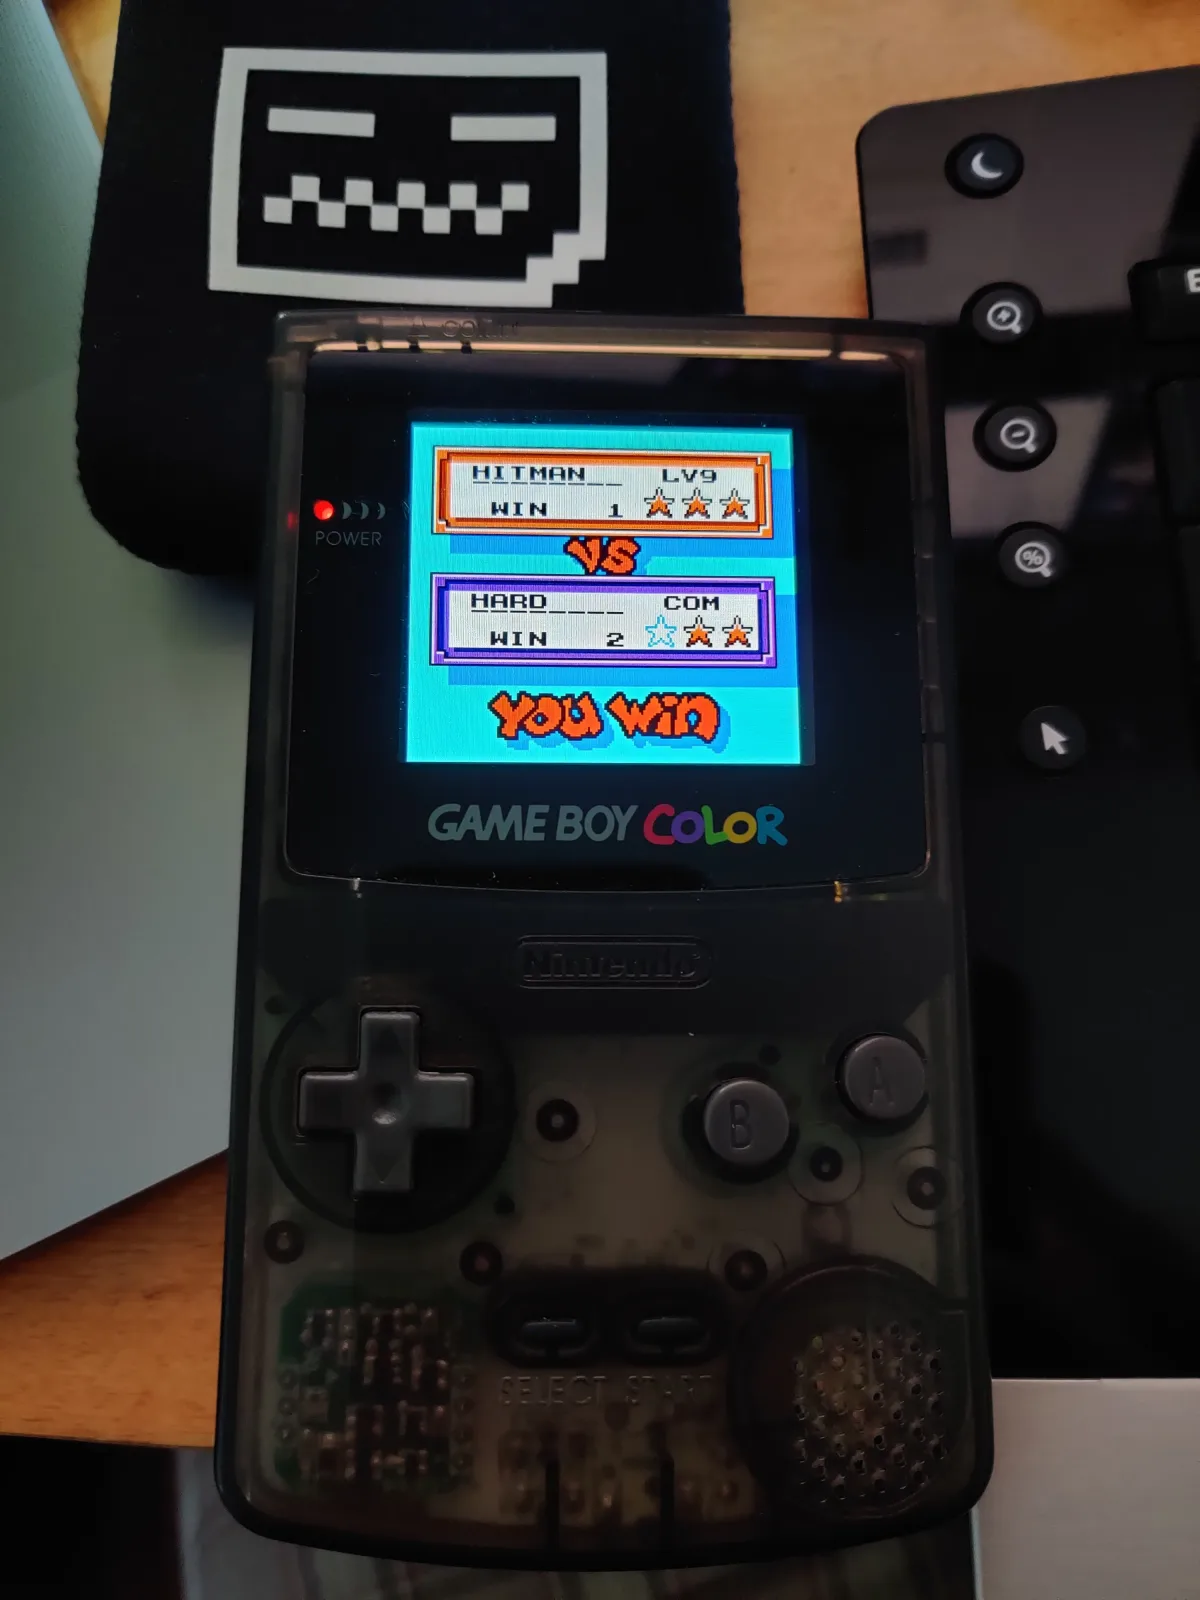
First Game Boy Color screen mod, done in May 2020. Stripped and cleaned, IPS kit bench-tested before committing to it, then rehoused in a clear smoke shell with a glass lens rather than cutting the original Atomic Purple housing. Years of Tetris DX followed.
