hitmanmcchitmanmcc
FeedConsolesCRTsSymptomsTechniquesLab

© 2026 Hitman's Museumv1.17.2

About·Privacy·Terms
Consoles/NEC/PC Engine Duo

NEC — PC Engine Duo

NEC PC Engine Duo Recap, Optical Pickup & RGB Mod (2nd Unit)

January 30, 20211 thread~3 min readSuccessful repair
Disc read errorJailbarsLeaking capacitors
RecapOptical-drive serviceAV output mod

A second Duo with the same grime and leakage, but this one read discs poorly as well. Tuning the pots got original discs reading reliably yet left the disc audibly rubbing, so a new HOP-M3 optical pickup went in and the pots went back to their marked factory positions. A charred lid switch was replaced and the console was RGB modded.

Parts & Tools (5)

Cap kit

Console5's Turbo Duo / PC Engine Duo SMD + TH cap kit, which keeps the surface-mount capacitors as surface mount rather than converting them to leaded parts, and carries the jailbar and audio fix components too.

Memory backup supercapacitor

Console5's 0.33F 5.5V memory backup supercapacitor, fitted at C509. It keeps the save SRAM powered while the console is off, so a tired one means saves no longer survive between sessions.

Jailbar fix capacitors

0805 4.7uF 16V X7R MLCCs fitted at C923 and C909 for the jailbar fix, per the Console5 wiki. The cap kit above ships with them.

RGB amp

The amp fitted here came from Otaku's Store, a French shop that carries PC Engine parts and RGB SCART cables for consoles already modded.

If you are doing this today, the TurboNanza is the better buy: one board giving RGB, S-Video and composite through a 10-pin mini-DIN, plus stereo audio, with a fitting option for the Duo family.

Optical pickup

A HOP-M3, the CD lens used across the Duo family (Duo, Duo-R, Duo-RX and TurboDuo). This one came from Amazon. They are easy enough to find, but quality varies, so go by the seller's feedback and returns policy rather than any one listing.

hitmanmcc
hitmanmcc

August 18, 2026· Thread 1· 11 tweets

View on X ↗View on Bluesky ↗

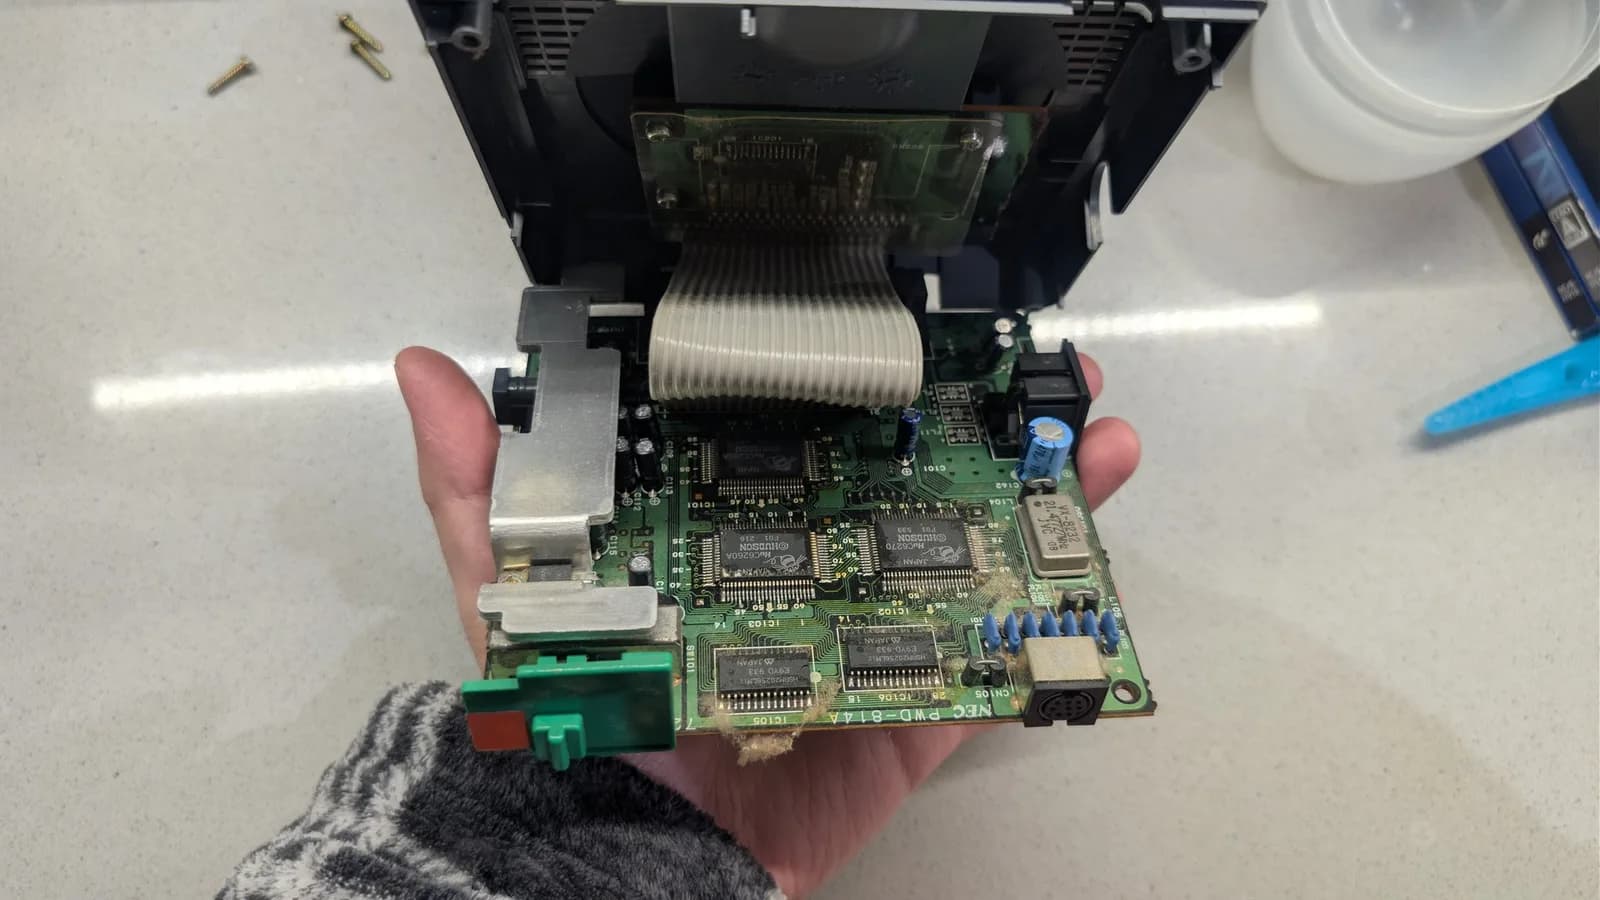
Since no man is ever happy with 1 PC Engine Duo, I got a second one (also in 2021). Of course this was also going to need to be recapped. Same grimey dust buildup with leakage on this one too. Sadly, that was not the only thing it needed. So, here we go! #retrogaming #pcengine

2 / 11

First step is to quickly and magically extract all of the rubbish caps from the board.

3 / 11

Second step is to even more quickly clean up all that gunk and install the new caps. Look at those shiny joints. 😀

4 / 11

Unfortunately, along the way, being a novice, I charred a few things although without loss of function. A connector and the lid switch. You can also see I made some marks on the board, to note the positions of the pots. The CD drive was working very poorly I wanted to experiment.

5 / 11

Through some posts online, I found a method of tuning the pots and I got it to read original discs reliably, but not burned ones. However, as you can hear a short while after the game loads up, the disc sounded like it was rubbing against something.

6 / 11

I wasn't happy with the lid switch charring, even though it worked, so I replaced it with a new one just to make sure it was reliable and wouldn't be a cause of failure further down the line.

7 / 11

Eventually I abandoned this idea, got a new optical pickup and put the pots back to the original positions. In these pics I am removing the old one, just turning the screws on the plastic pegs, lifting up the rails and sliding it off. Pretty serviceable.

8 / 11

Then, I disconnected the old pickup and plugged in the new one and slid it into place. You can see the box of the new one, off to the left.

9 / 11

The new pickup worked fine, no more rubbing and I even tested it burned games later and it can read those too. I was glad I had marked the original positions of the pots.

10 / 11

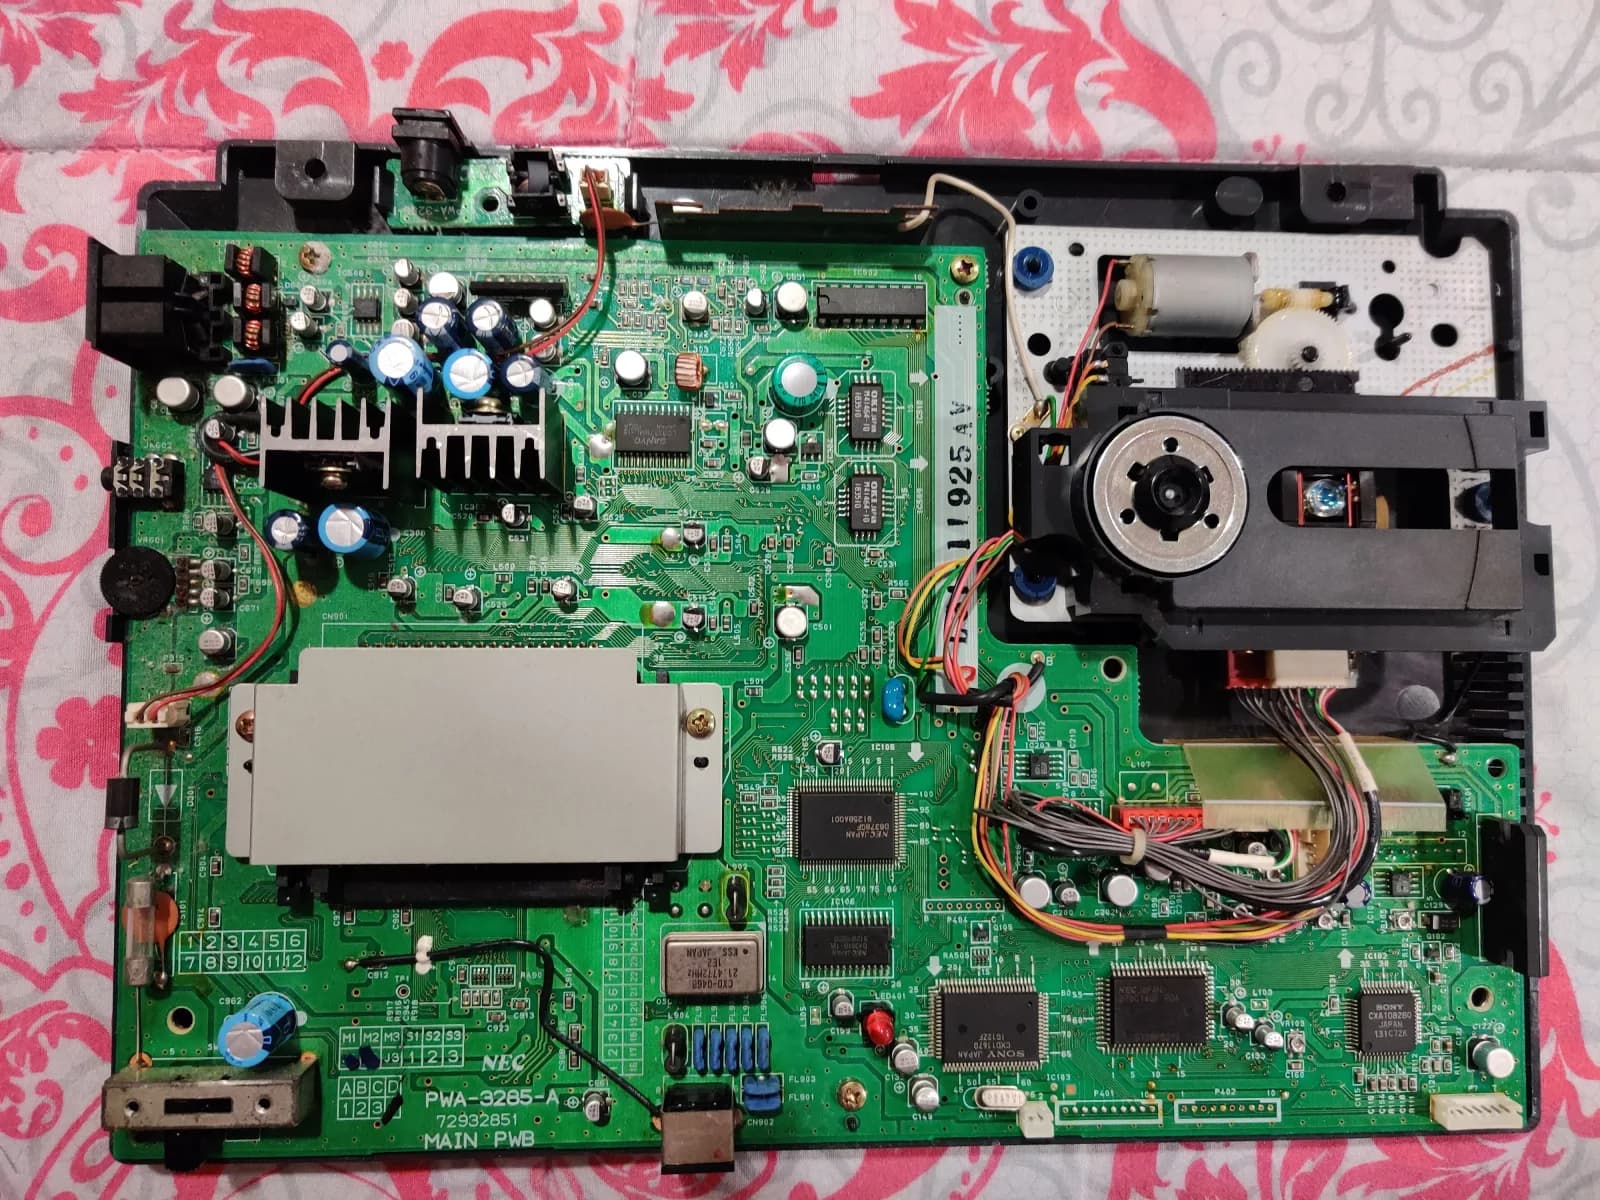
Some eagle-eyed among you might have noticed I was using a custom cable, so yeah, naturally, this had been RGB modded too, by me. So here are some pics of the installation.

11 / 11

No surprises here, I was completely obsessed with Castlevania Rondo of Blood back then (still am), so that was my test game.
Related repairs

NEC PC Engine Duo Full Recap, Supercap & RGB Mod (1st Unit)

NEC — PC Engine Duo

NEC PC Engine Duo Full Recap, Supercap & RGB Mod (1st Unit)

Hand holding a new replacement gear (all teeth intact) for the NEC PC Engine Super CD-ROM2 beside the old yellowed gear, which is missing several teeth, during the refurbishment.

NEC — PC Engine Super CD-ROM2

NEC PC Engine Super CD-ROM² Recap, Broken Gear & RGB Amp

PC Engine CD-ROM2 internal mechanism with the laser assembly, motor, PCB and wiring on the white plastic chassis, showing the shaft where the old crumbling gear sat and where the new 3D-printed replacement gear was about to be fitted.

NEC — PC Engine CD-ROM2

NEC PC Engine CD-ROM² Restoration: Gears, Laser & Recap

PC Engine LT board (component side) on a paper towel with the Ext Bus connector desoldered and resting above it, exposing the electrolyte and grime caked on the board where the connector had sat.

NEC — PC Engine LT

NEC PC Engine LT Recap + LCD Bias Fix (Necromancy)

NEC PC Engine CoreGrafx mainboard before the recap, held in hand, dust and fluff over the board, with the ICs, voltage regulator (under its metal heatsink bracket) and the metal-can crystal oscillator visible.

NEC — PC Engine CoreGrafx

NEC PC Engine CoreGrafx Recap, 7805 & Jailbar Fix

A tighter shot of the same PC Engine GT mainboard area around Q500, the heavy brownish electrolyte residue from the leaked capacitors clearly visible.

NEC — PC Engine GT

NEC PC Engine GT Recap: All Caps Leaked, All Pads Saved