Sega — Game Gear
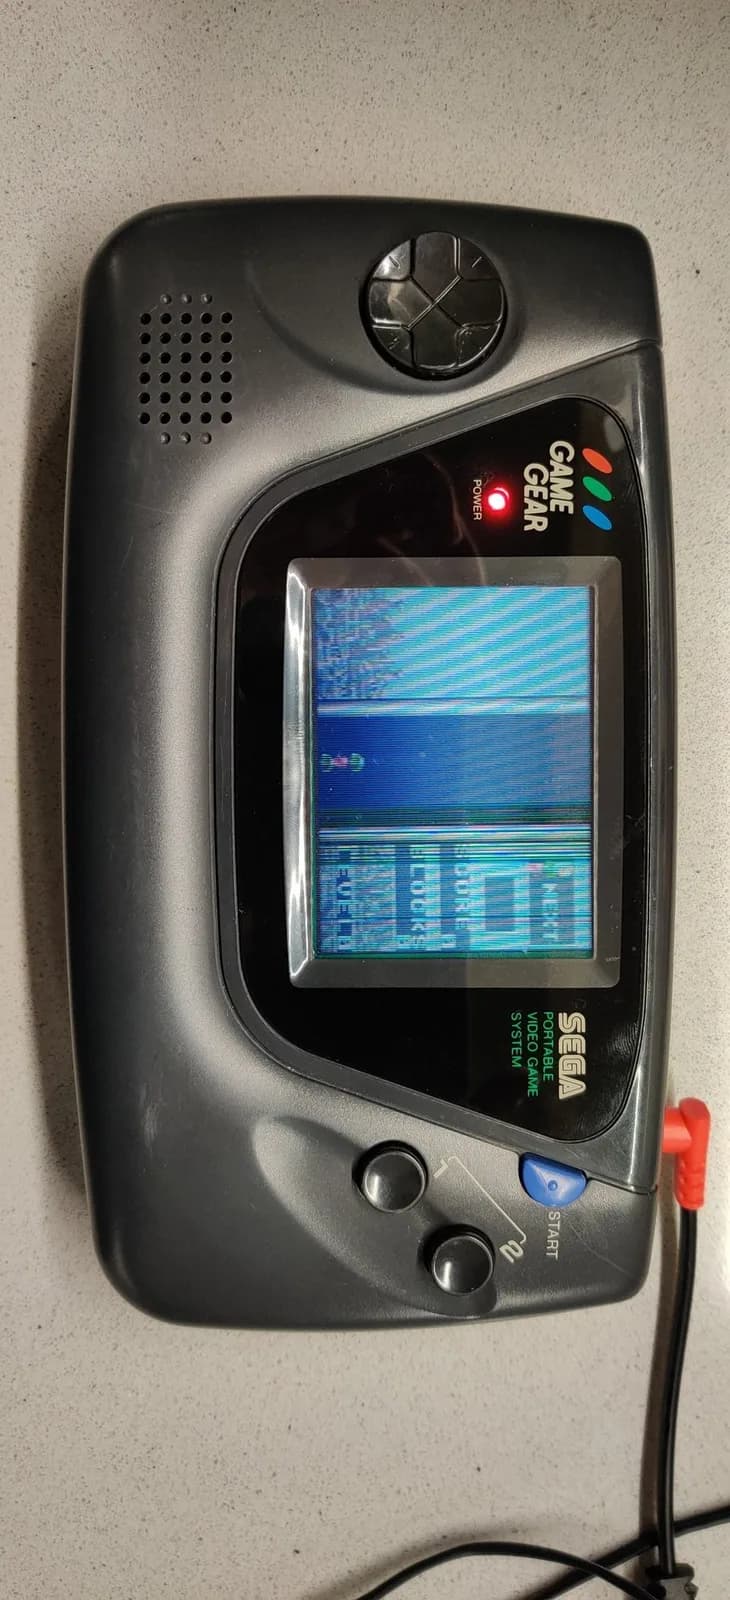
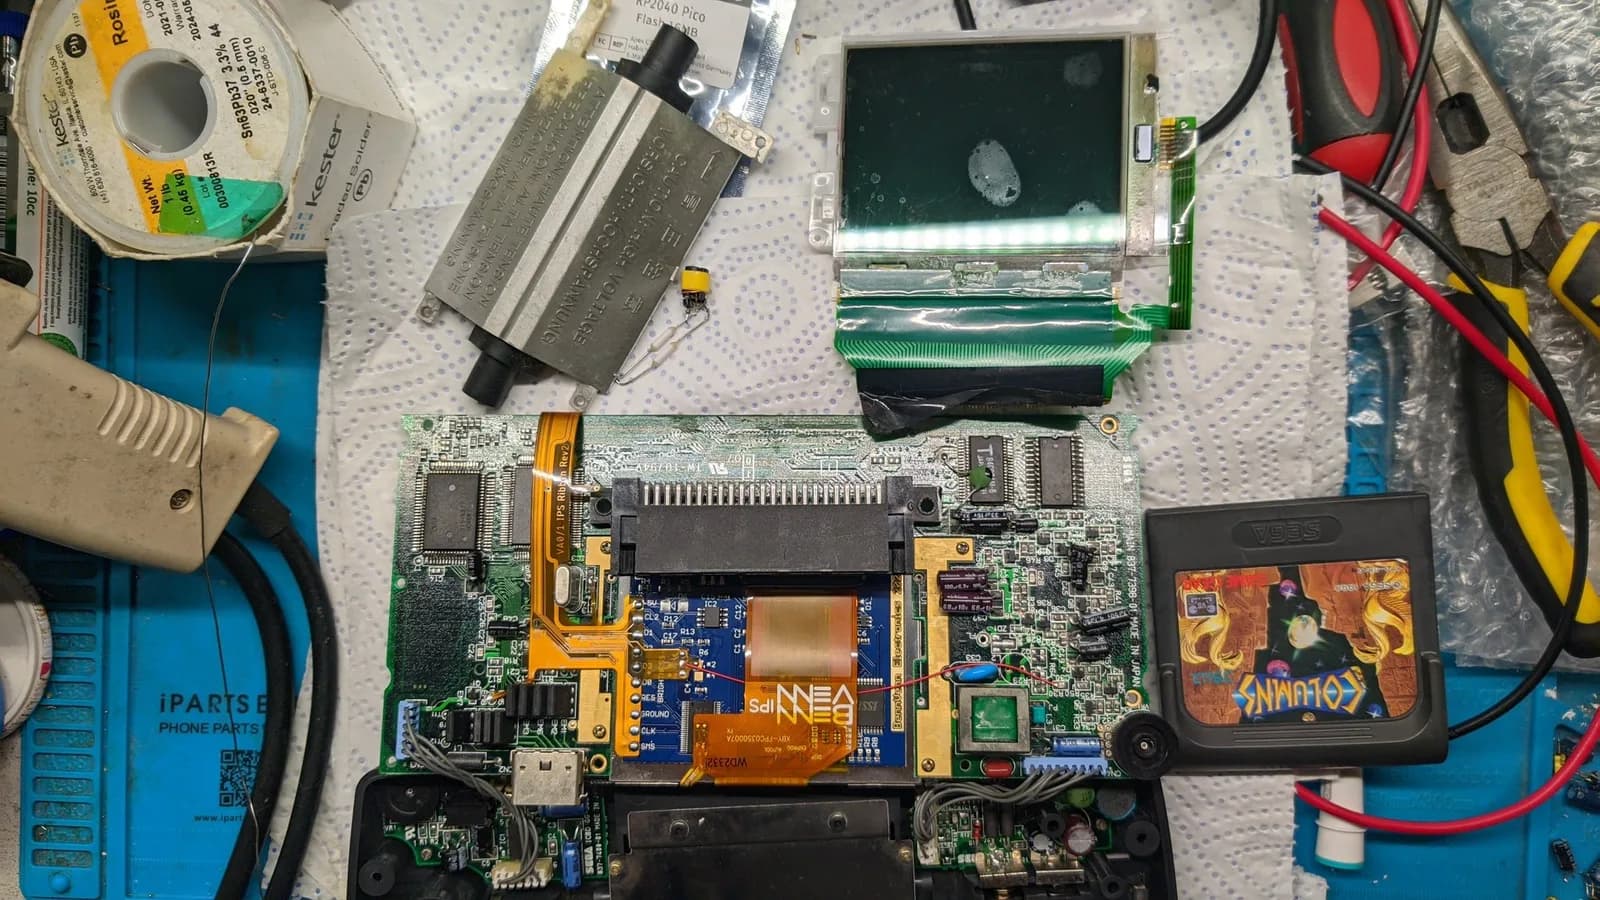
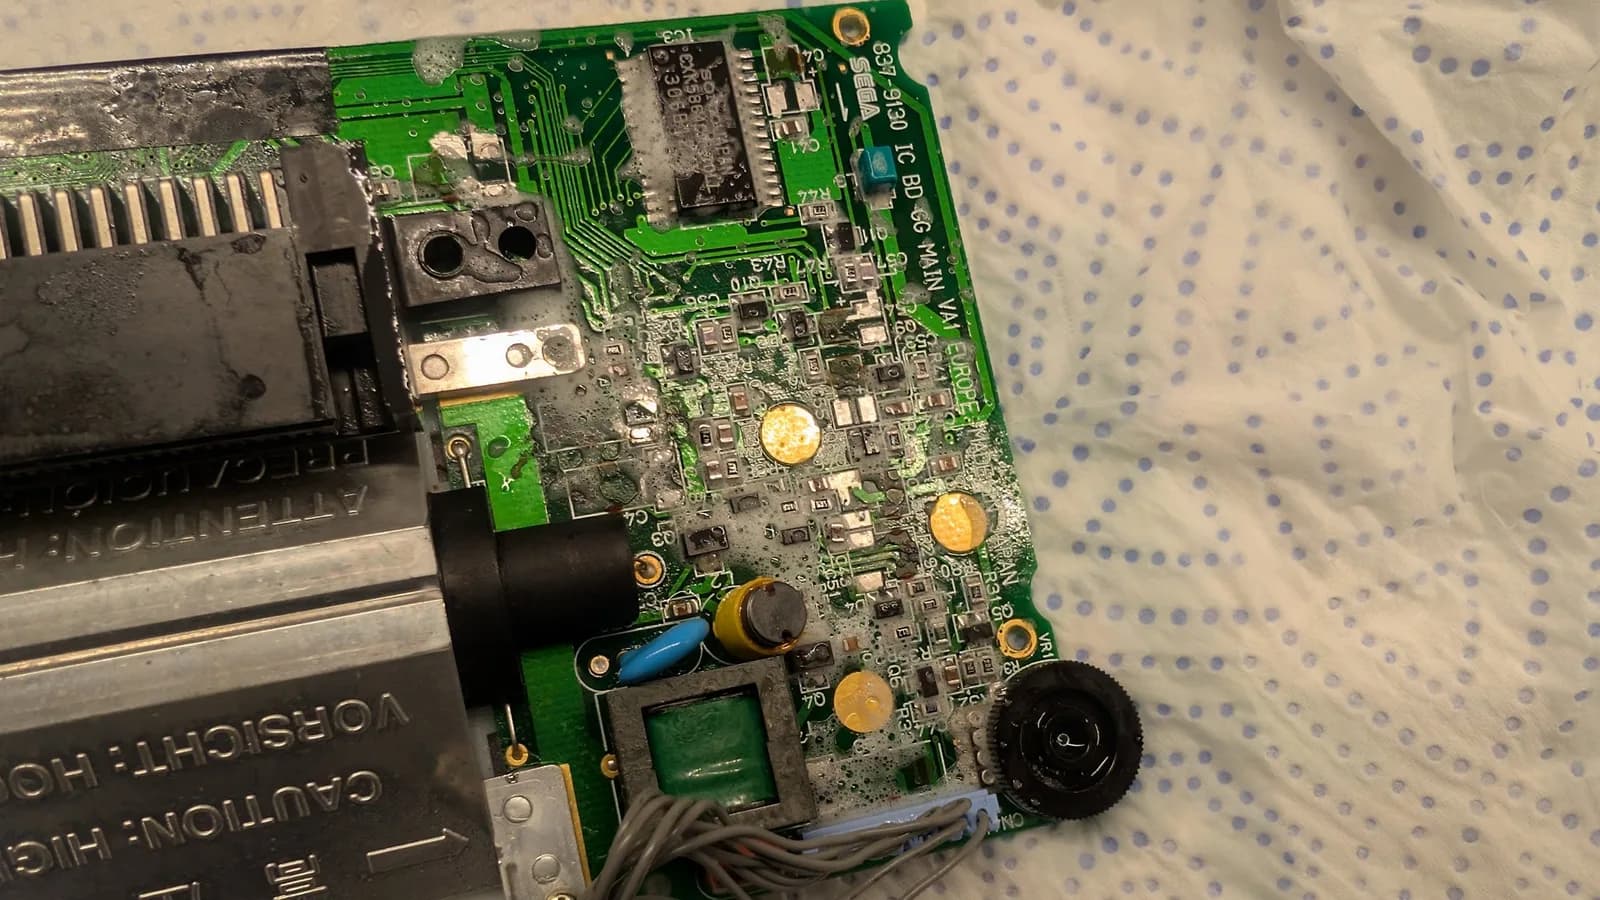
The first Game Gear, bought in 2020 as working and arriving with a black screen: it powered on and did nothing else. The solder had gone dull, which was the capacitors leaking rather than anyone's bad workmanship. A recap brought the picture back, but it was done with a RetroSix ceramic cap kit, a mistake corrected years later. Audio stayed dead until a break in continuity between two capacitors on the audio board was bridged with a snipped capacitor leg. It was later fitted with rechargeable cells charged over USB-C, and a Syf audio board with improved grounding. In 2025 the ceramics finally came out for proper electrolytics, and both of those mods moved across to an IPS-screen unit so this one could go back to stock.
Going all the way back to 2020, I found some pics of the first Game Gear I got. It was supposed to be working but when it arrived, it didn't do much of anything. It would power on but not much else. The solder looked dull but there didn't seem to be much else wrong beyond that.
I recapped it with a Retrosix ceramic cap kit (a mistake I would undo further into the future and that's already logged in my blog). The recap brought it to life but the audio wouldn't work.
After some head scratching and probing with the multimeter, I found that there was missing continuity between too capacitors in the audio board. I bridged them with a piece of metal from a capacitor's leg. You can appreciate the blobby soldering of a young padawan in the pic. 😁
I filmed a short video of it working as this was one of my first small victories in my electronics repair journey.
I later fitted it with rechargeable batteries and a new power board that charges them via USB-C. A mod which I would later migrate to a second unit with an IPS screen as this unit is meant to have a stock screen, so I figured it would make sense to have it be completely stock.
Actually, this is the final_final_v2 wrong that I needed to right. A long time ago, when I was just starting out, I got myself a Game Gear and because I didn't know any better, I recapped it with a RetroSix ceramics kit. Today I fixed that. #RETROGAMING #Sega #GameGear
This one is less about righting wrongs and more about putting stuff where it makes sense. I had in the past installed some mods (power and audio) in a Game Gear with a stock screen so, now I'm just switching them over to a modded one. #RETROGAMING #Sega #GameGear
Sega — Game Gear
Sega — Game Gear
Sega — Game Gear
Sega — Wondermega
NEC — PC Engine LT
Sharp — X68000