hitmanmcchitmanmcc
FeedConsolesCRTsSymptomsTechniquesLab

© 2026 Hitman's Museumv1.17.11

About·Privacy·Terms
Consoles/Sony/PlayStation

Sony — PlayStation

Sony PS1 PU-8: Green Speckles, Reflow, Recap & xStation

October 6, 20261 thread~2 min readSuccessful repair
Corrupted graphicsBulging capacitorsCold/dull solder joints
RecapReflow / joint reworkModchip / ODE

Late PU-8 PlayStation, the one that gave up its xStation to a PU-18, now getting a new xStation of its own and going to a friend. It came up with random green speckles in the video output, traced to cracked, dull solder joints on the PSU. Reflowing them and swapping two capacitors cleared it. Then a full mainboard recap, with the areas around the old capacitors treated with white vinegar and cleaned with isopropyl, the old X-Reset replaced with a cleaner one on a Consoles Unleashed QSB, and finally a full recap of the power supply as well.

Parts & Tools (2)

xStation optical drive emulator

xStation for the PS1, linked at the late PU-8 option. A new unit: this console's original xStation was transplanted into the PU-18 in the NTSC-J xStation, MFO and X-Reset entry.

X-Reset 550X

Sony PlayStation X-Reset 550X mod kit by Consoles Unleashed, replacing the older X-Reset already fitted with a cleaner install on its QSB.

hitmanmcc
hitmanmcc

October 6, 2026· Thread 1· 8 tweets

View on X ↗View on Bluesky ↗

Got another xStation to fit in a spare console. It's a late PU-8 that sent in to transfer its xStation over to a PU-18. I have a friend that wants a PS1. He had one back in the day and the nostalgia is kicking in. I am getting random green speckles in the video output.

2 / 8

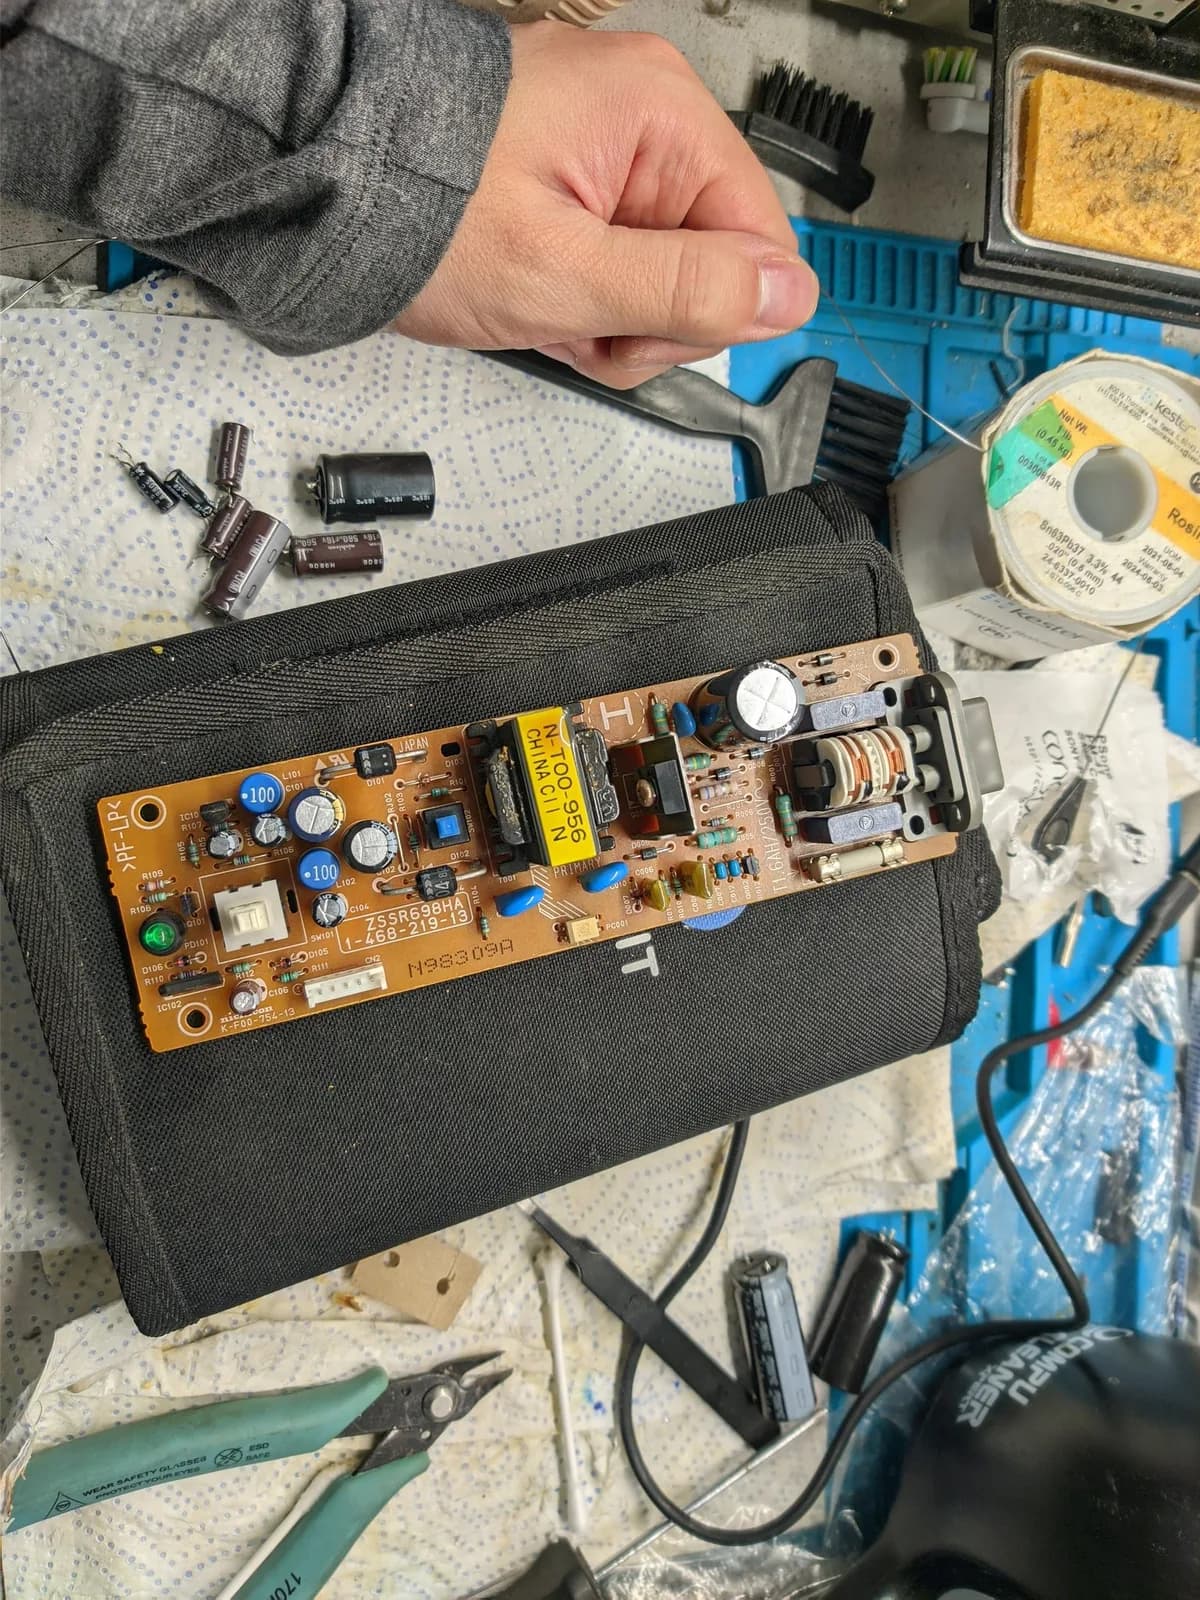
That's certainly not helping. It seems like a lot of joints on the PSU are cracked and dull.

3 / 8

Now we're talking, reflowed all the solder joints, swapped out 2 capacitors (until I get the values I'm missing for a full recap) and the green speckles are now gone.

4 / 8

Picking out new capacitors to fully recap the mainboard. Look at those original bulgy boys. 😄 They lived a long life, their service is appreciated, now it's time to retire.

5 / 8

Removed all of the old capacitors and treated the areas with white vinegar, since some of them actually gave off a fishy smell. Then cleaned with isopropyl and installed the new capacitors. That was a bit of a fight, my 10uF 16V ones were a tad on the big size for some areas.

6 / 8

Removed the old X-Reset and installed a new cleaner one with a nifty QSB by ConsolesUnleashed.

7 / 8

Finally, closing out with some tests, running NFS Porsche Unleashed and Einhänder.

8 / 8

Finally_finally_v2, power supply fully recapped now, so onto another round of testing with Metal Gear Solid.
Related repairs

Sony PS1 NTSC-J: xStation, MFO, X-Reset & Blown Fuse

Sony — PlayStation

Sony PS1 NTSC-J: xStation, MFO, X-Reset & Blown Fuse

Technician holding open Sony PS1 PAL PSU board showing capacitors, transistors, and transformer with cracked solder joints on power jack during recap repair.

Sony — PlayStation

Sony PlayStation PAL: PSU Recap & Power Jack Reflow

Close-up of the PS1 PSU board with the big main filter cap blown and vented, its foil wrap split open. The filter cap was the only damaged component; the transformer beside it is fine and the orange PCB is undamaged. The CD drive optical pickup sits above the board.

Sony — PlayStation

Sony PS1 PU-7: Magic Smoke, xStation & Switch Fix

Finger pointing to reflowed solder joint on Sony BVM neckboard, showing repaired connection that caused color loss.

Sony — BVM-9045QD

Sony BVM-9045QD: Neckboard Joint Fix & Full Recap

Sony HB-F1XV MSX2+ mainboard with replaced HIC-1 MLCC capacitors, orange daughterboard, and various ICs on blue work mat during restoration.

Sony — HB-F1XV (MSX2+)

Sony HB-F1XV MSX2+ Recap, Keyboard PCB & Carnivore 2

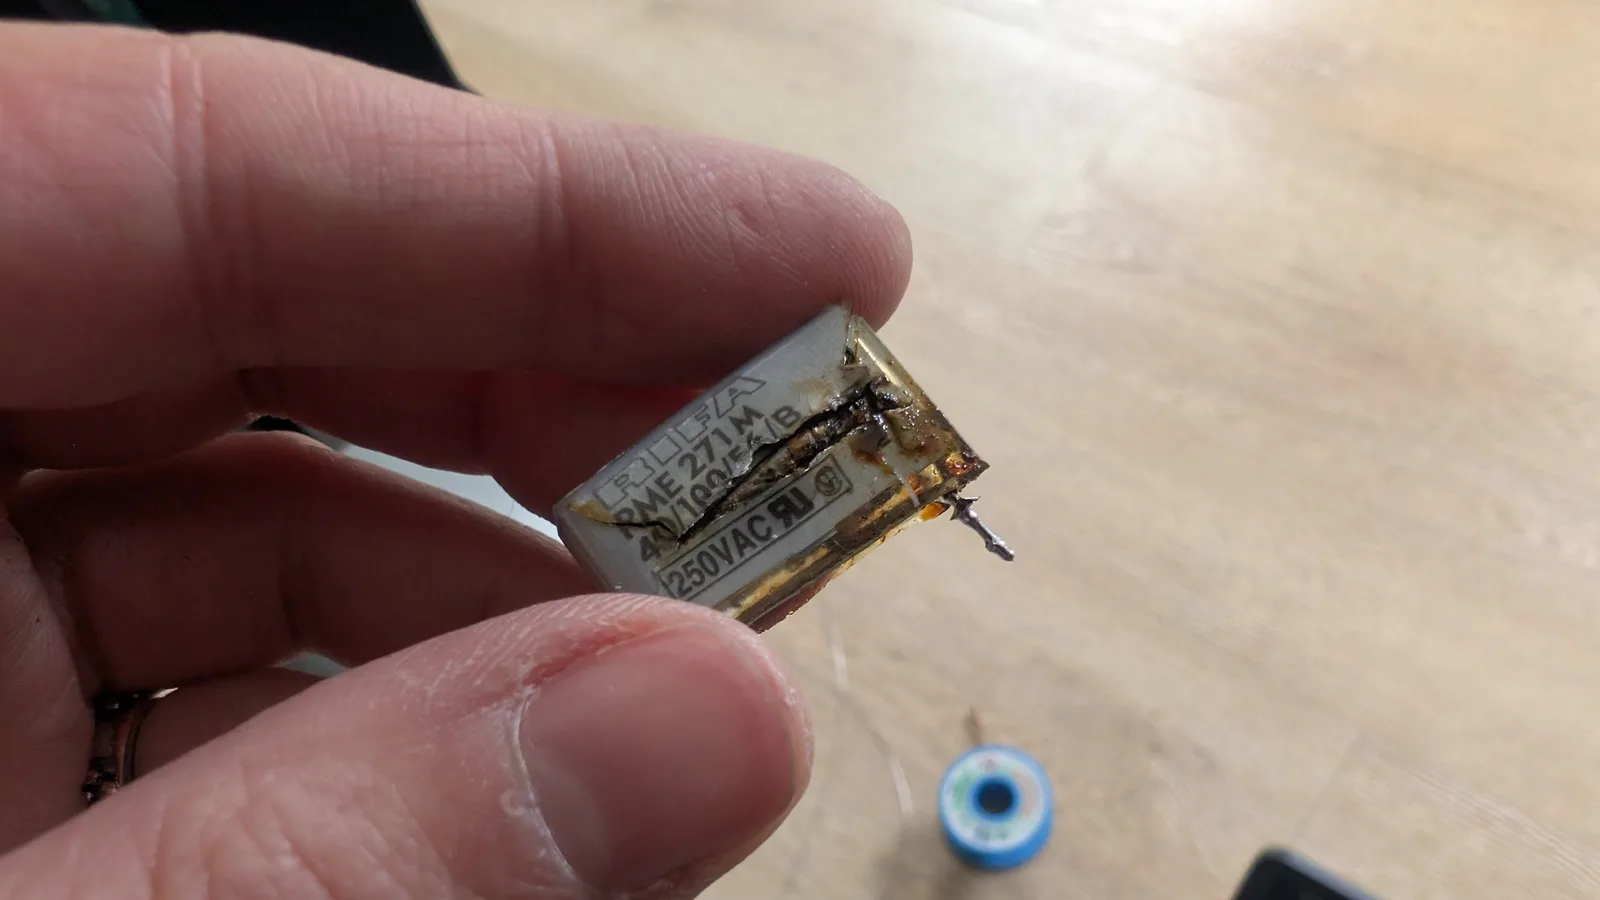
Burnt X2 safety capacitor held in fingers, showing catastrophic thermal damage and charring from the Beovision 1 repair.

Bang & Olufsen (B&O) — Beovision 1

Bang & Olufsen Beovision 1: X2 Safety Cap Magic Smoke