Sony — PlayStation
Imported NTSC-J PlayStation sent in for the full works: xStation, MFO and X-Reset installs, plus a recap and a clean. Board and PSU recaps went in without trouble, then the console came up dead, no video and no audio, once the mods were fitted. The MFO had been wired to a pad that is ground on one board revision but not on this PU-18, which shorted the 3.5V rail and blew the PS604 fuse. Rewired correctly and refitted with a fuse taken from another console, with the surrounding fuses and ferrite beads checked for further damage. Finished with a controller clean and recap, lubrication and UV protectant.
A couple of weeks ago, someone sent me an imported NTSC-J PS1 for refurbishment and mod installation. It came in for an xStation, MFO and X-Reset installation, and also, a recap + TLC, the full works! I started by testing it and it worked fine until... #retrogaming #PlayStation
I started by opening it up to inspect it, clean out the dust bunnies and get the recap done. I found a Console5 kit lying around and used it for the very purpose. Covered up the sensitive areas with kapton since I was going to use hot air.
I proceeded to remove all the capacitors, cleaning up the areas with white vinegar (let it sit for a while), then rinsing with isopropyl alcohol. Then I installed the new capacitors and marked them.
A quick test showed that everything was still as it should be, console fully working. The surprise is yet to come.
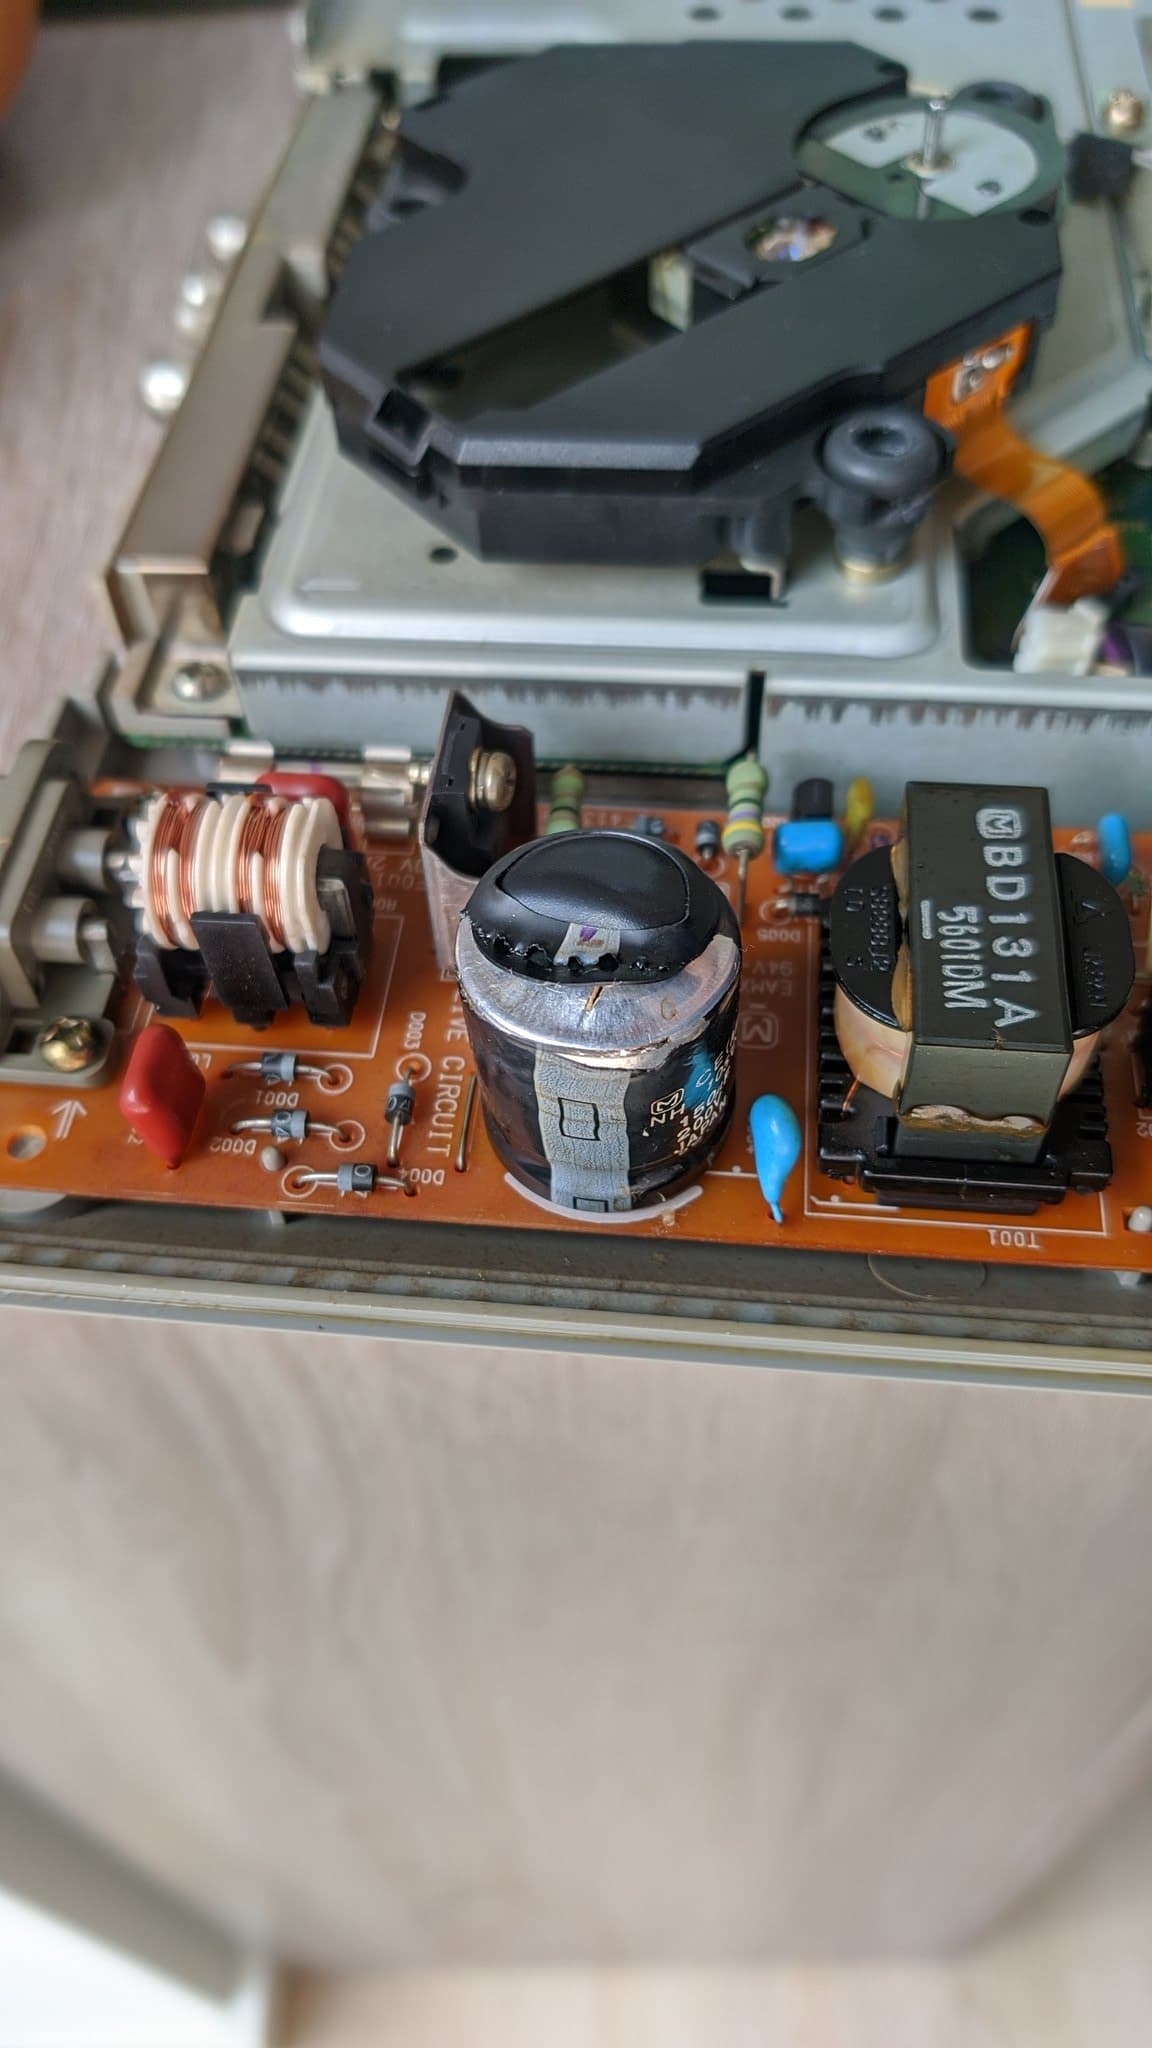
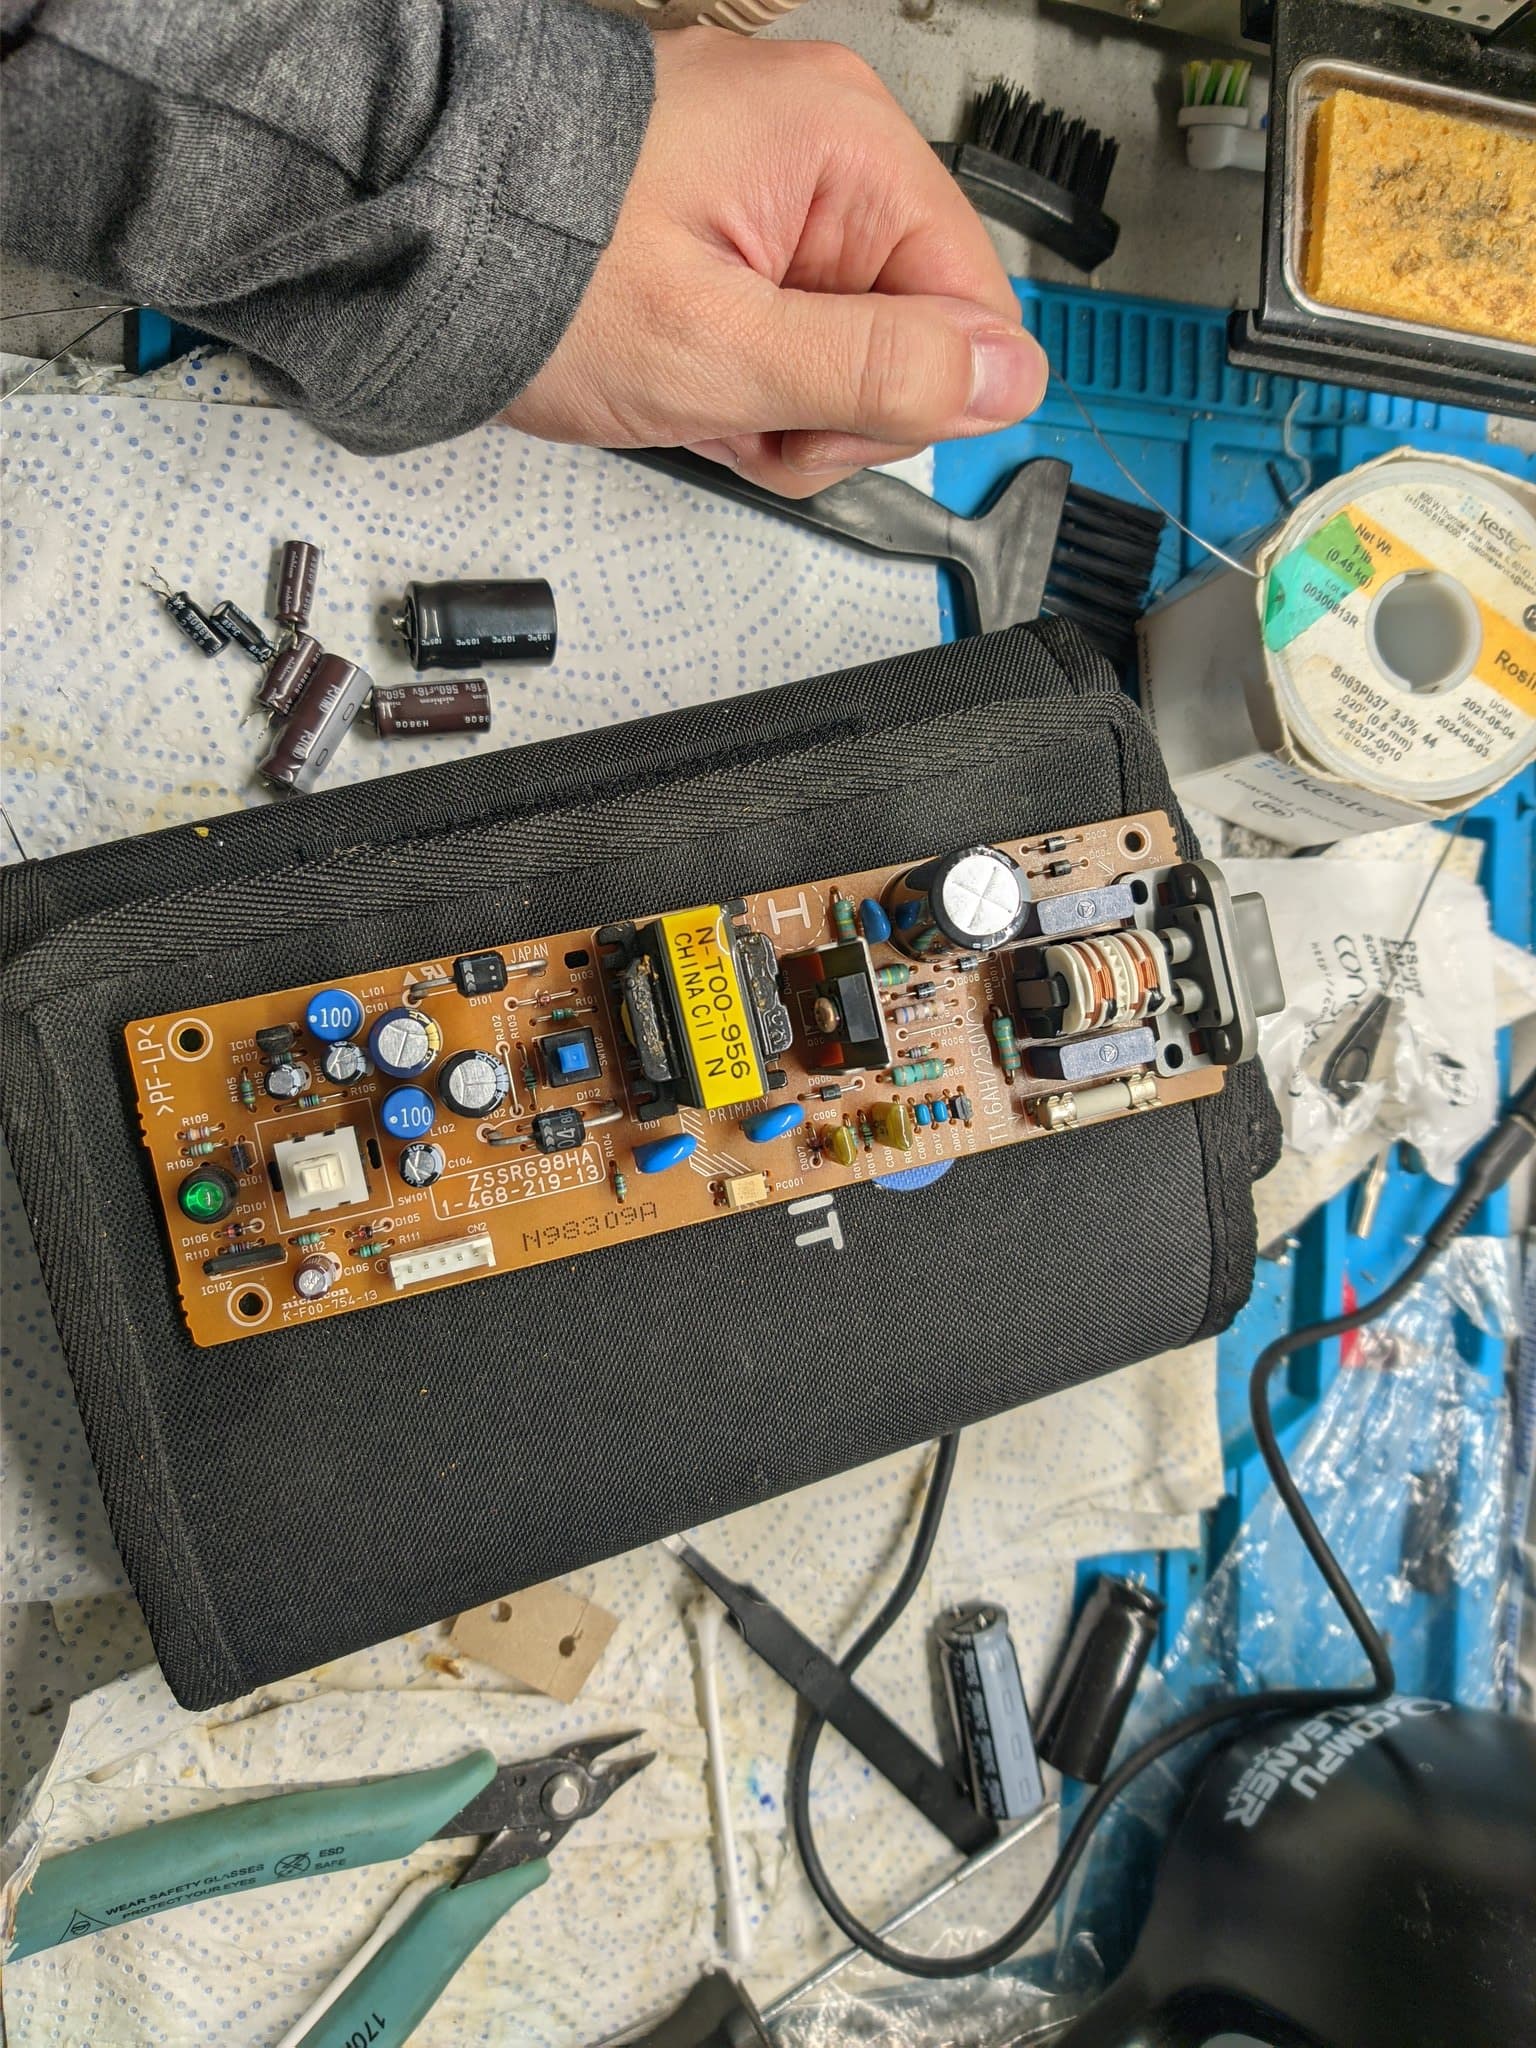
Followed with a quick recap of the PSU and reflow of the input joints, even though the owner is going to be installing an aftermarket PSU himself.
Next up was the spa treatment for the shell. A nice warm bath and some scrubbing.
Meanwhile, the real work began. I pulled out the mods to install them. This is where the real fun starts.
I start by lifting the requisite pins on the DSP for the installation of the xStation on a PU-18 board.
I snip the post that sits in the path of the ribbon cable. I hate cutting stuff in an original shell but it's a requirement, sadly.
After that, I installed all the mods. Everything looks on the up and up, so I proceed onto testing. Little did I know that I had made a crucial mistake (MFO not correctly installed).
I power up the console and get nothing, no video, no audio. I was very puzzled and after going through everything several times, very frustrated and annoyed. I tested out various theories, related to each of the mods but I wasn't finding the issue. I left it for future me to fix.
Future me then picked it up and closely inspected these shots again. Though many areas are identical, these are not the same revision board. Then I tested continuity from ground to the alleged ground pad installation for my MFO and there was none. So it was reversed...
So I had shorted the 3.5V rail to ground. 🤦 That caused the PS604 fuse to blow. Not having any one hand ATM, I extracted one of my consoles and then measured other fuses and ferrite beads across the system to check for further damage, there was none.
I re-wired the MFO, properly this time and set off to test the console.
I powered up the console again and voilà, there's life in the old girl again.
Now we apply some finishing touches. Cleaning and recapping the controller. There seemed to be some spillage in the D-pad area.
Lubricating the sliding parts of the console, buttons and gears and whatnot.
Finishing it up with an application of UV protectant. Looks lovely. 👌 Then I proceeded to kick Dracula's ass in Castlevania Symphony of the Night (of course I was going to test it with Castlevania, as if there were any doubts...). Also threw some PAL Gran Turismo in there.
Sony — PlayStation
Sony — PlayStation
Sony — PlayStation
Sharp — X68000
Sega — Wondermega
Sharp — X68000 Pro II