Sony — PlayStation
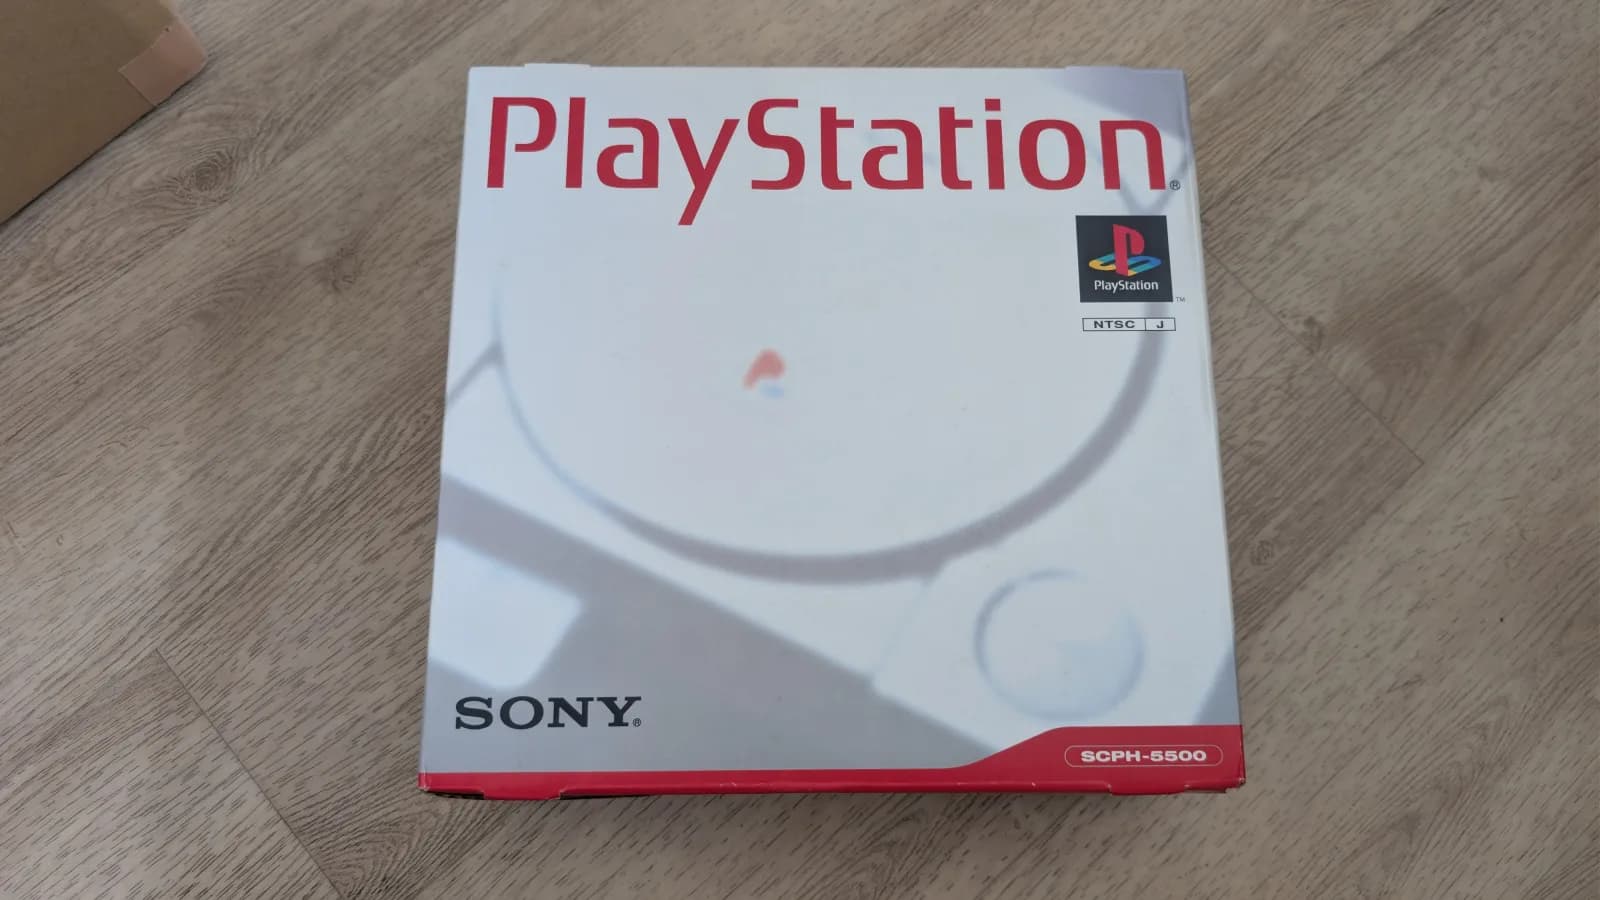
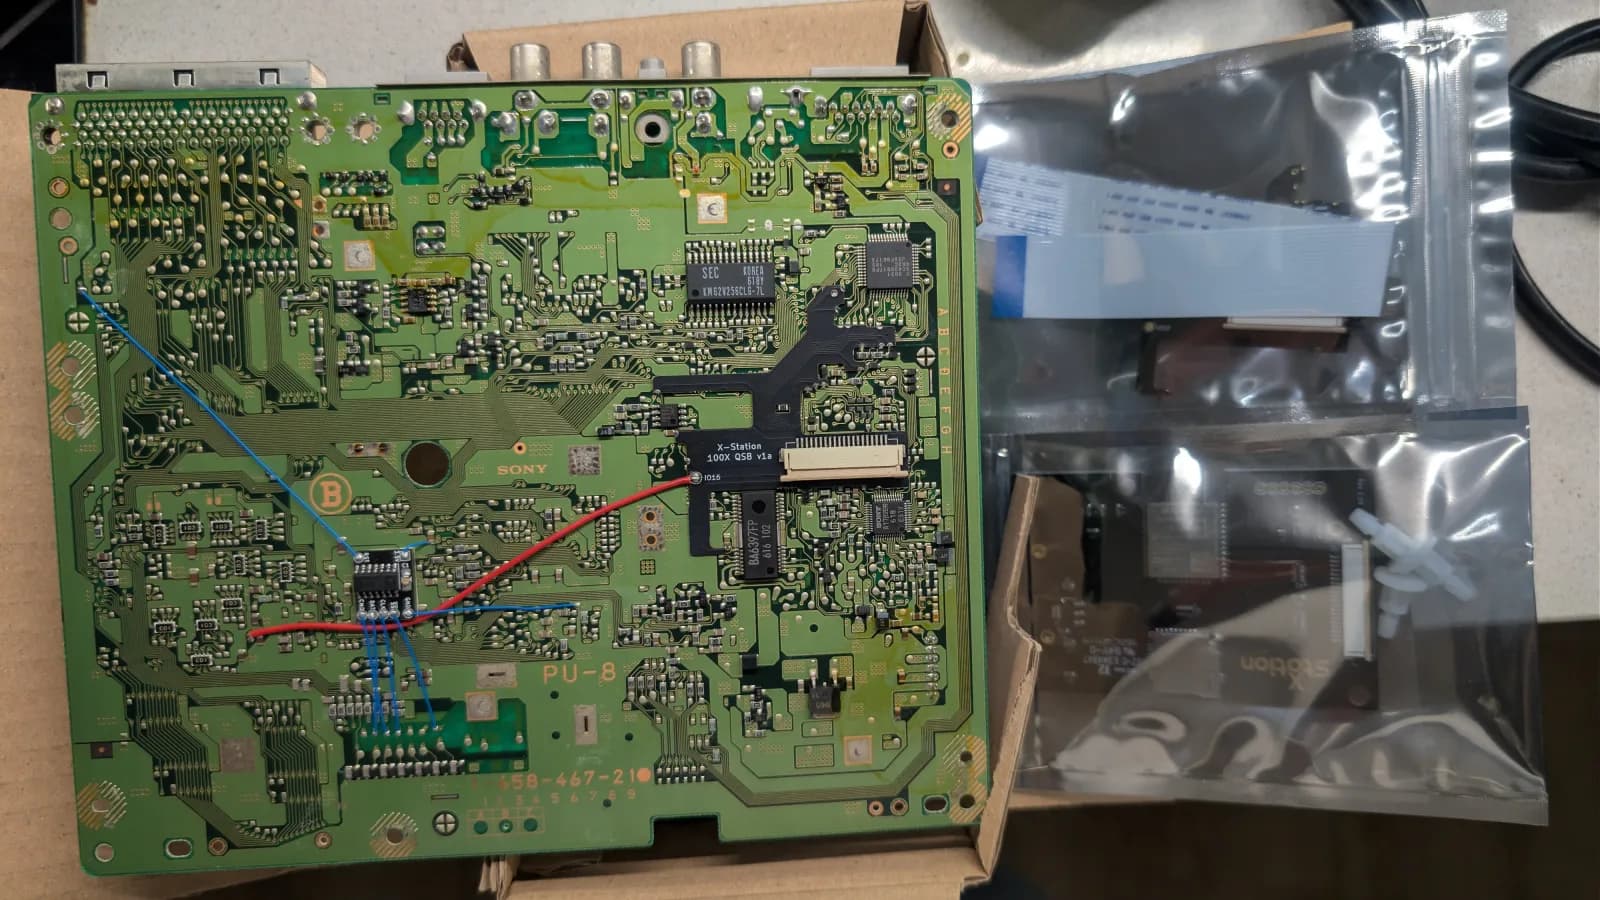
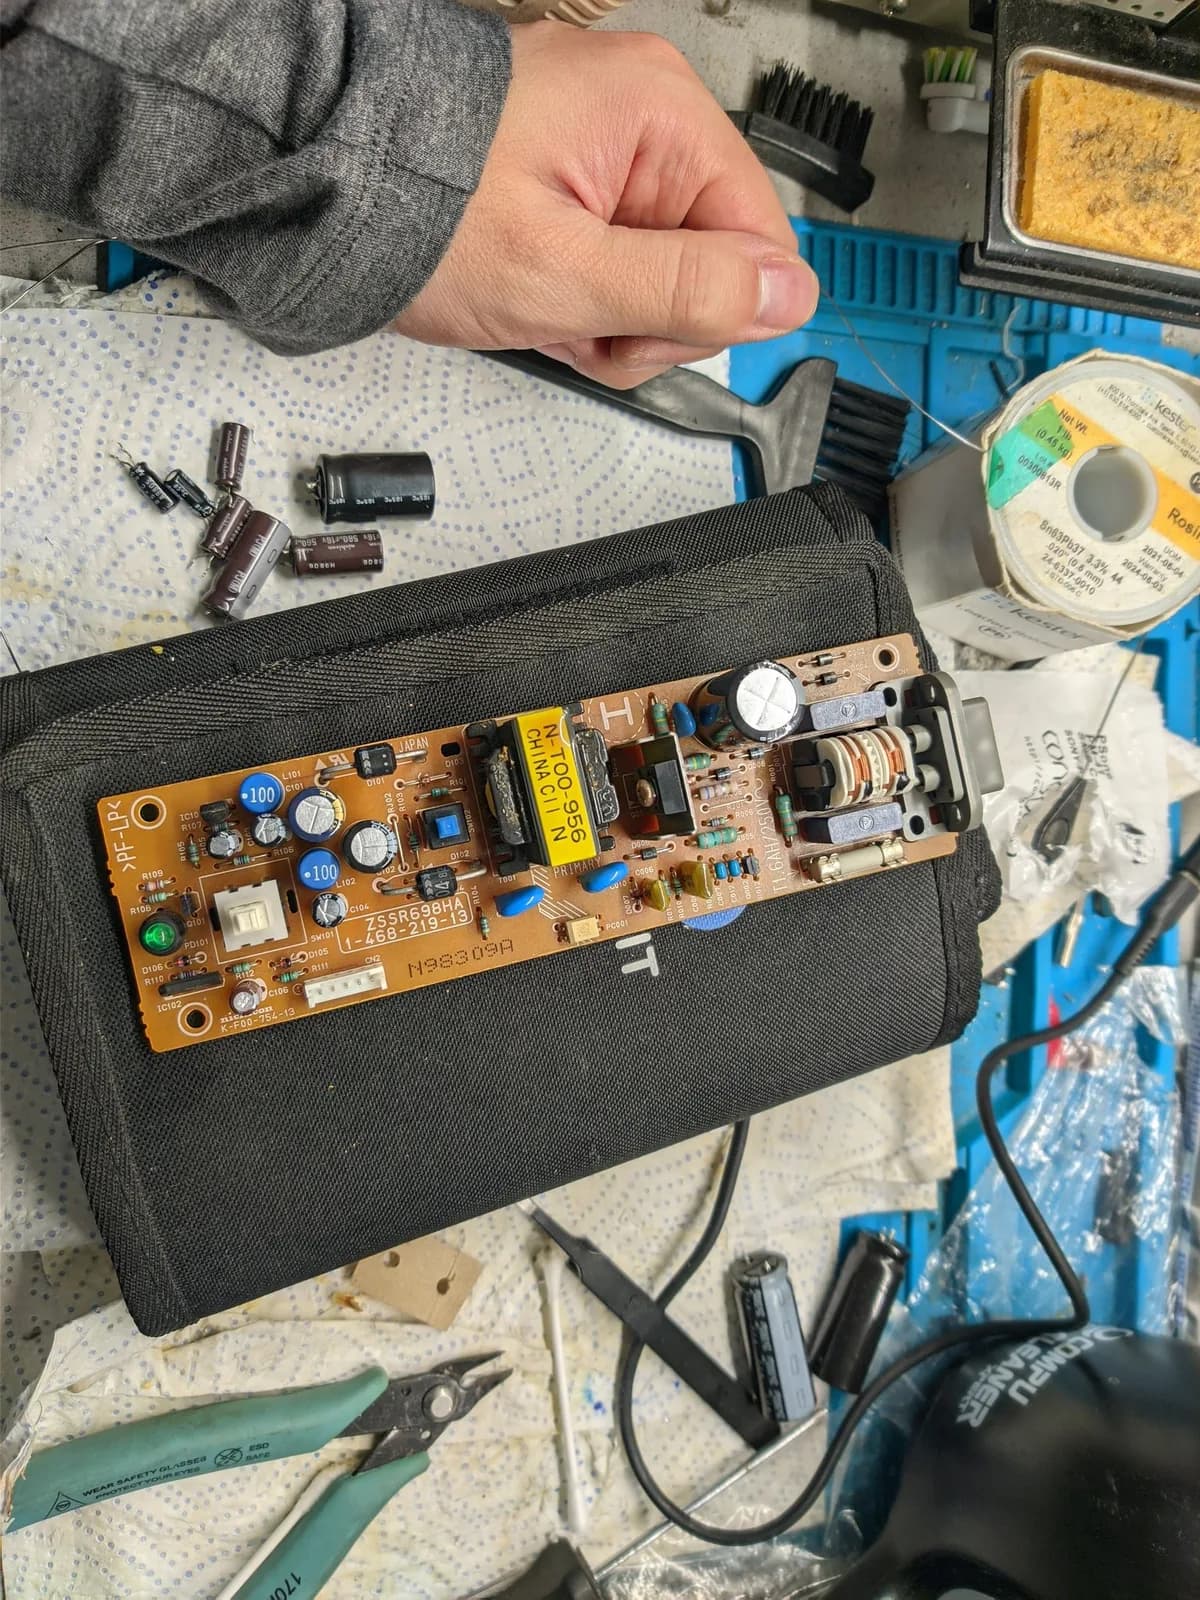
Don't mix PSUs with incorrect mains voltages, kids. I accidentally did that on this Sony PlayStation NTSC-J in 2022, while repairing and testing the controller ports on a friend's PAL PS1. Years later, once PU-7 QSBs finally existed, it got the mod it was bought for: an xStation from a kit by Romain Brami, with DSP pins lifted, the resistor and filter by the master clock removed, three more resistors cleared from the QSB footprint, then the QSB soldered and the FFC folded up to the top side. An X-Reset QSB followed. Shortly after, the PSU turned hard to switch on, which was corrosion inside the power switch: stripped, scraped with a fiberglass pen, cleaned with isopropyl, then DeoxIT on the contacts and grease on the plunger.
Had a bit of a moment yesterday. Someone forgot one console was PAL and another was NTSC-J and attempted to test both from the same power source. 🤡 One of these is not like the others... #RETROGAMING #Playstation #consolemodding
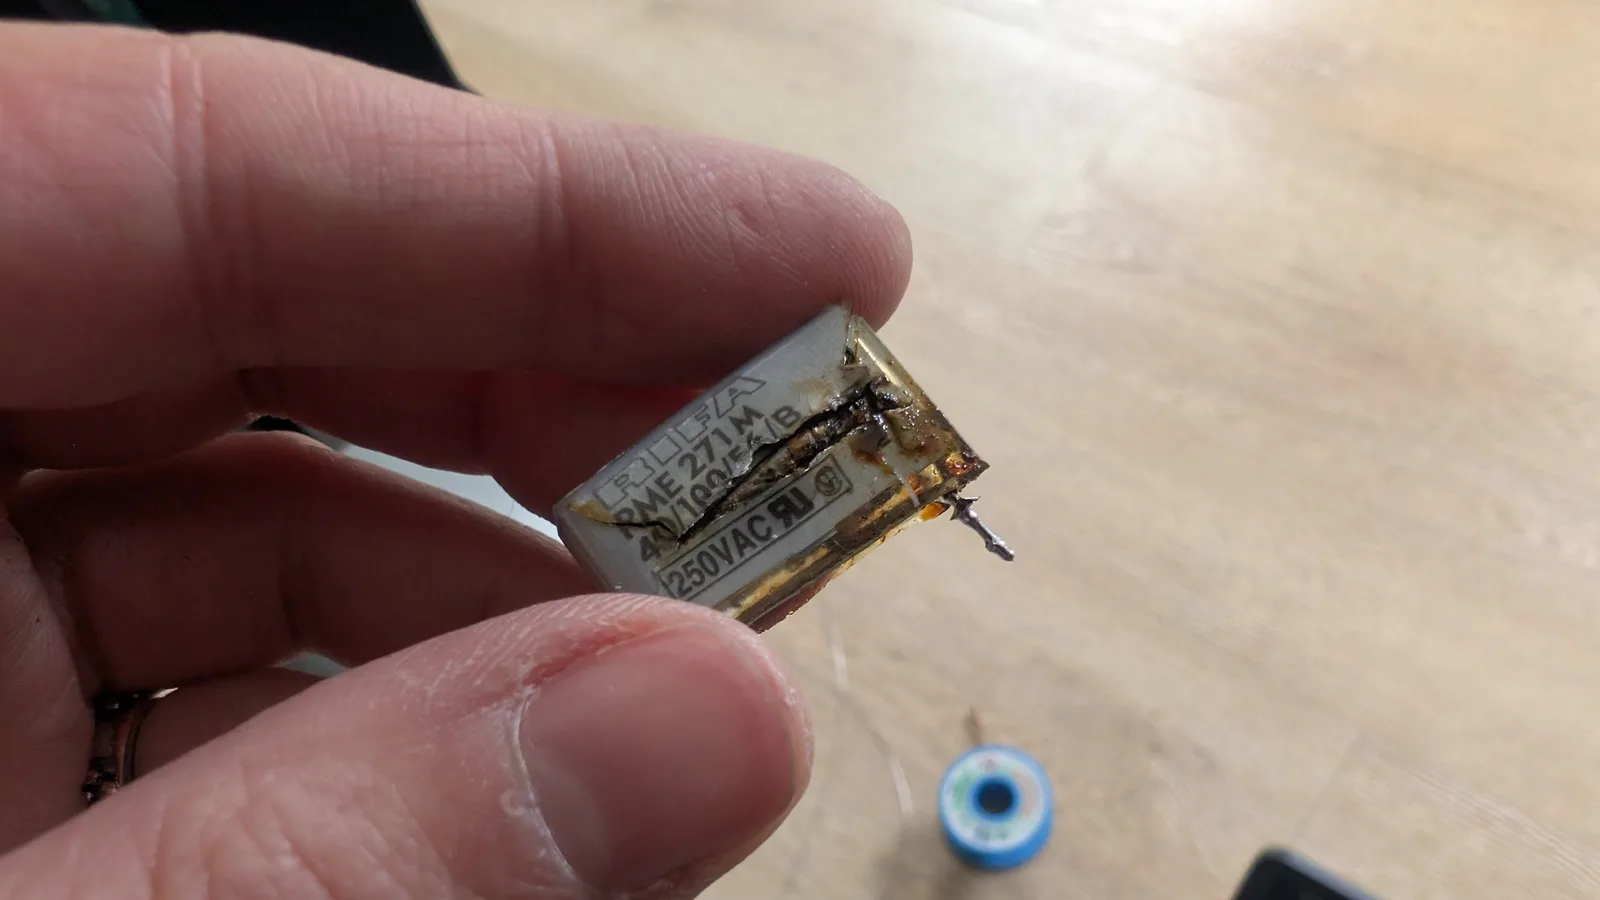
Fortunately, I forgot to plug the internal cable from the PSU to the motherboard and I didn't even attempt to press the power button. The big cap just went up in smoke as soon as I connected the power cord. After recapping, it works fine.
Whilst on the subject of xStation. I had bought a PS1 to mod in Japan a couple of years back but PU-7 QSBs were still only a glimmer in the eyes of developers, so I set it aside for a future time. Well, that time is now! I bought a kit from @romainbrami.bsky.social . Merci Romain 🫶 Let's go!
I started by lifting the requisite pins from the DSP and placing some kapton tape over the pads afterwards.
Next I removed the small resistor and filter near the console's master clock.
After that, a long period of reading, researching and thinking ensued, while I figured out where the QSB was supposed to be installed. When I finally figured it out I removed the requisite 3 resistors in the QSB's placement area.
I placed the QSB, soldered all the pads and wired it up. I installed the FFC and folded it in preparation for where it was going to come up and over to the top side.
Folded the FFC topside, placed the xStation PCB and then onto testing. Look at that, it works!
We're not done though, so next up is the X-Reset QSB. Lined it up, soldered the pads and the wire, and that was that.
In this establishment we like Castlevania a lot, so obviously, we're testing with a Castlevania game. Also loaded up Diablo too, out of curiosity, I had never seen the PS1 version.
My newly modded PU-7 PS1 turned out not to be without its issues. The PSU suddenly became a bit unreliable as in, it became extremely hard to get it turned on. So I removed the power switch from the PSU and opened it up for surgery. Turns out it had a lot of corrosion.
Opening the power switch was just a matter of prying at the tabs on the sides, close to the bottom. Having fully disassembled and inspected it, I cleaned it with isopropyl and scraped the metal with a fiberglass pen. Then I applied deoxit to metal bits and grease to the plunger.
Seems to be working reliably for now, we'll see for how long.
If you're into clicking noises, here's a video just for you. 😄
Sony — PlayStation
Sony — PlayStation
Sony — PlayStation
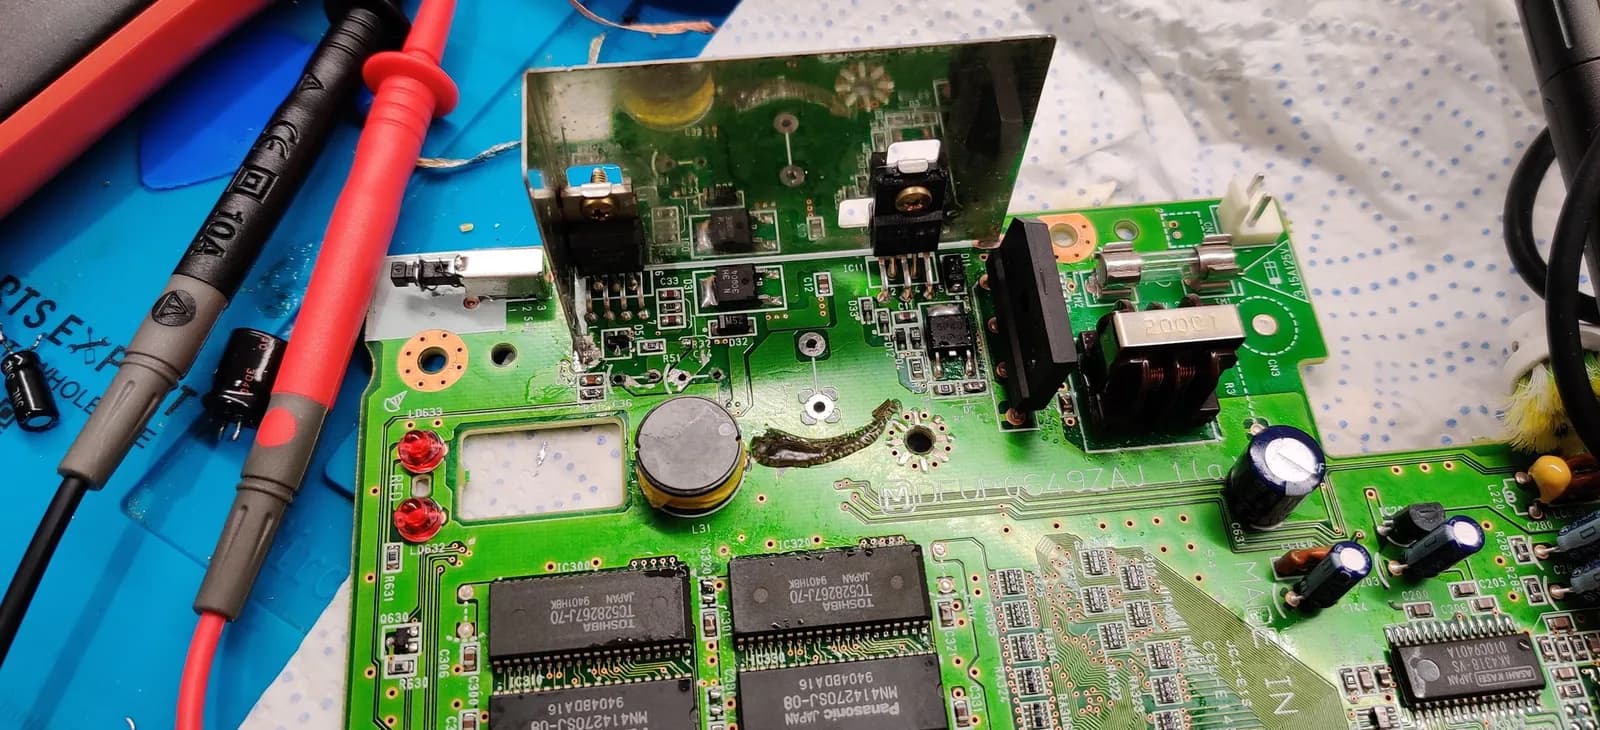
3DO Company — Panasonic FZ-1
Bang & Olufsen (B&O) — Beovision 1
Sega — Dreamcast