Reversing yellowed plastics with hydrogen peroxide and UV.
9 repair logs
 +5 photos
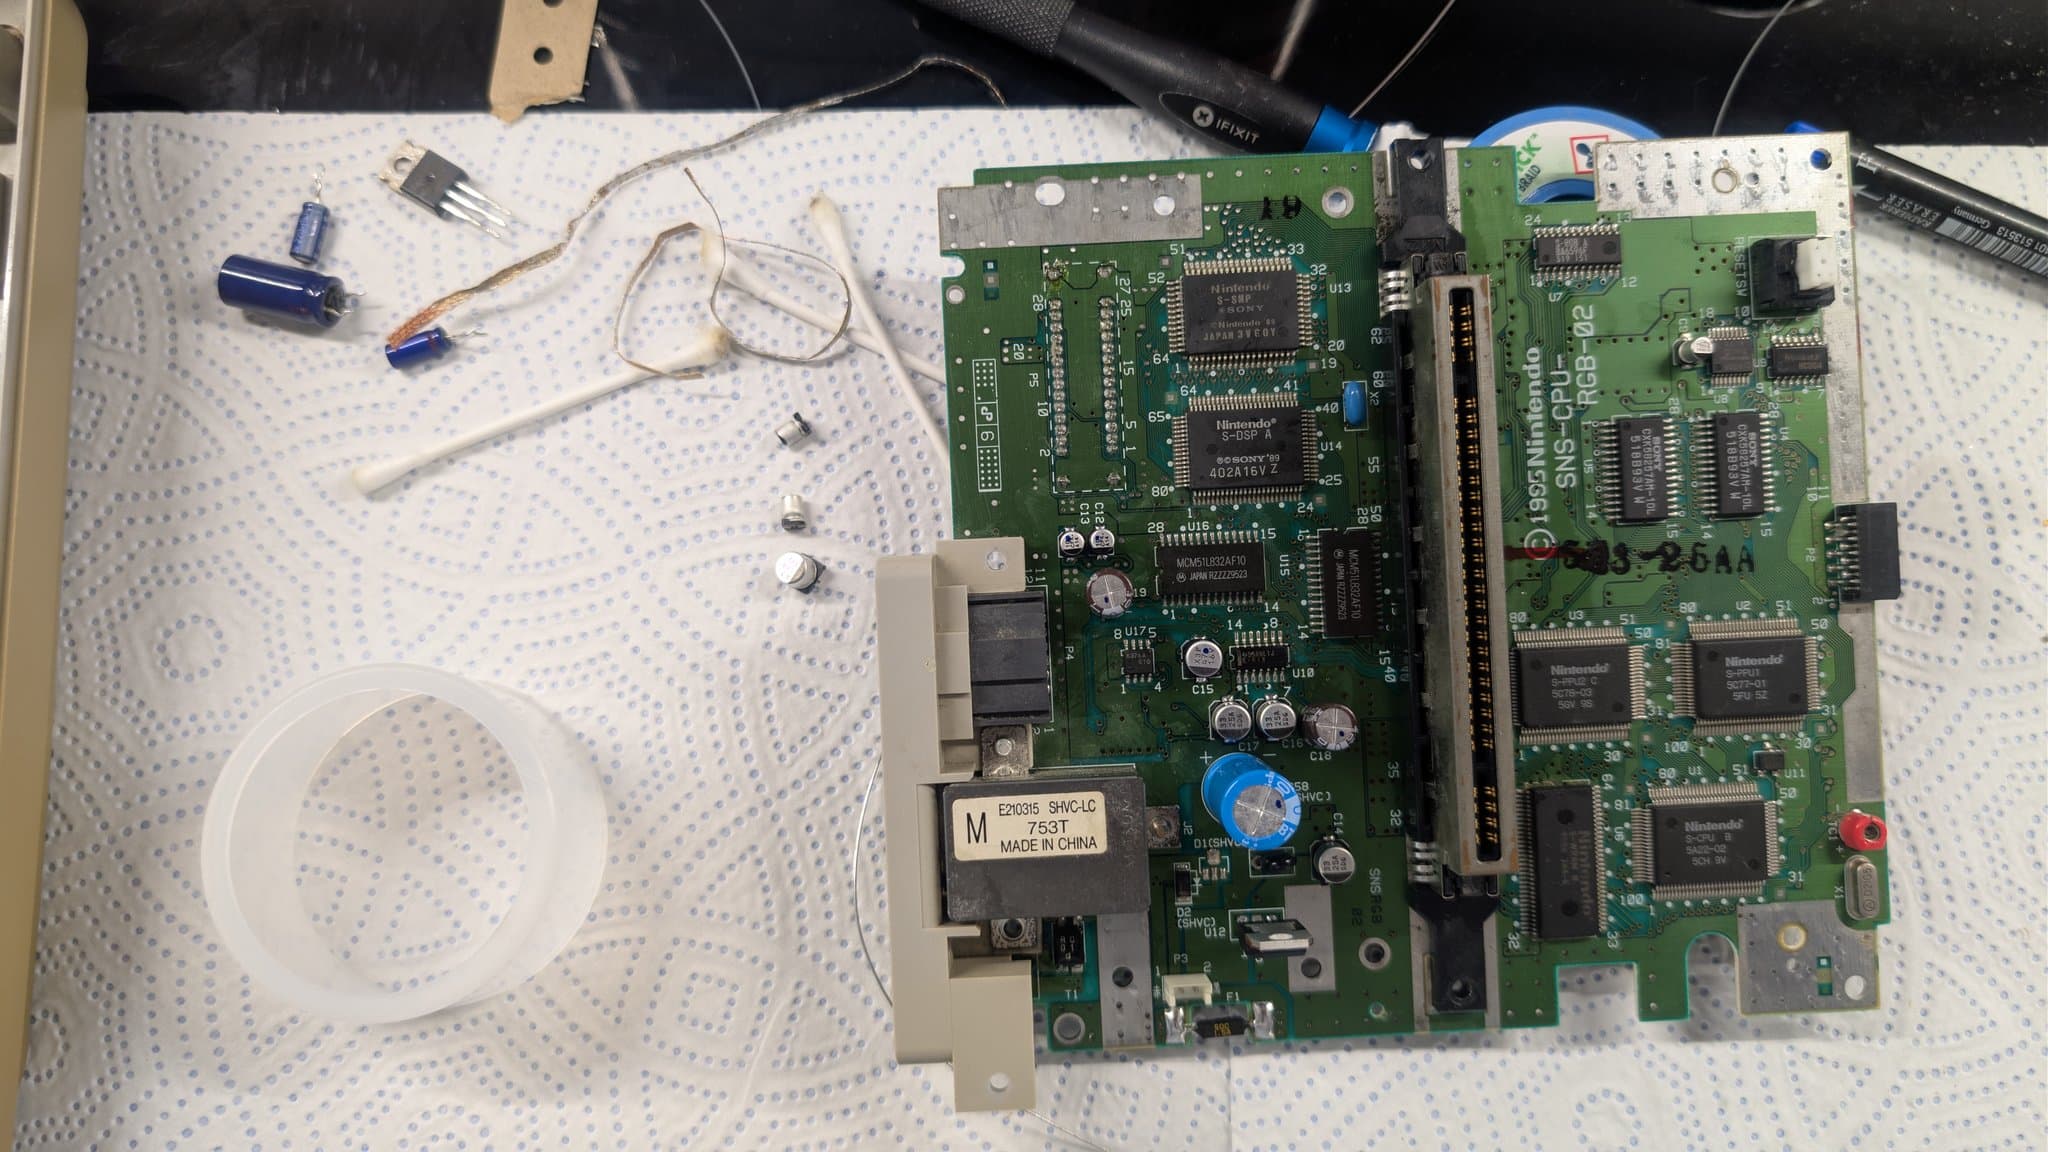
Nintendo — Super Famicom
Yellowed Nintendo Super Famicom (SHVC-001) shell, no problem. Recapped, cleaned and retrobrighted; could not match all the SMD values on the day so a few remain as a future task.
 +6 photos
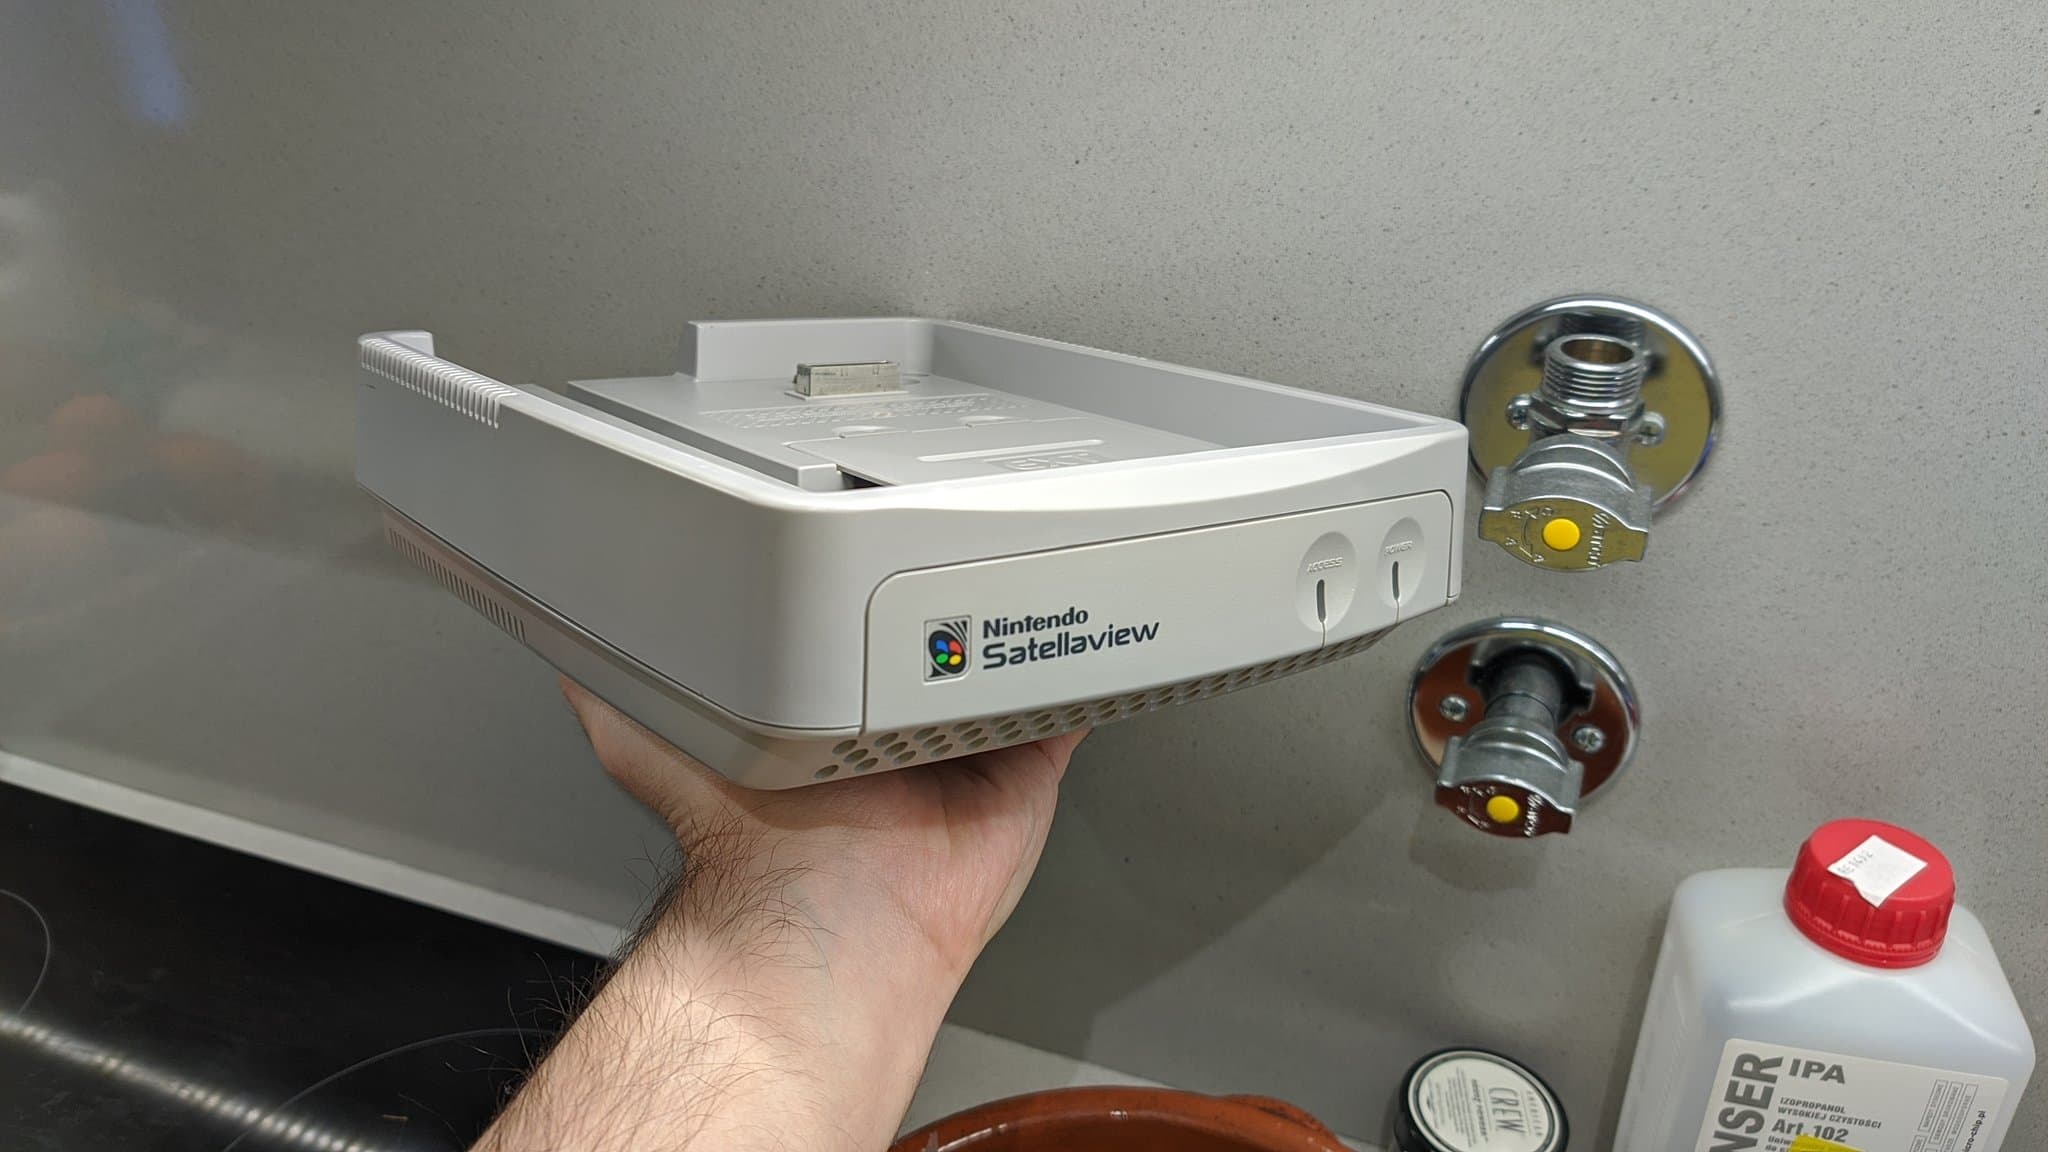
Nintendo — SatellaView
Quick recap on this Nintendo Satellaview (SHVC-029), done alongside the Super Famicom. Shell got a pass through the retrobrighting setup too.
 +7 photos
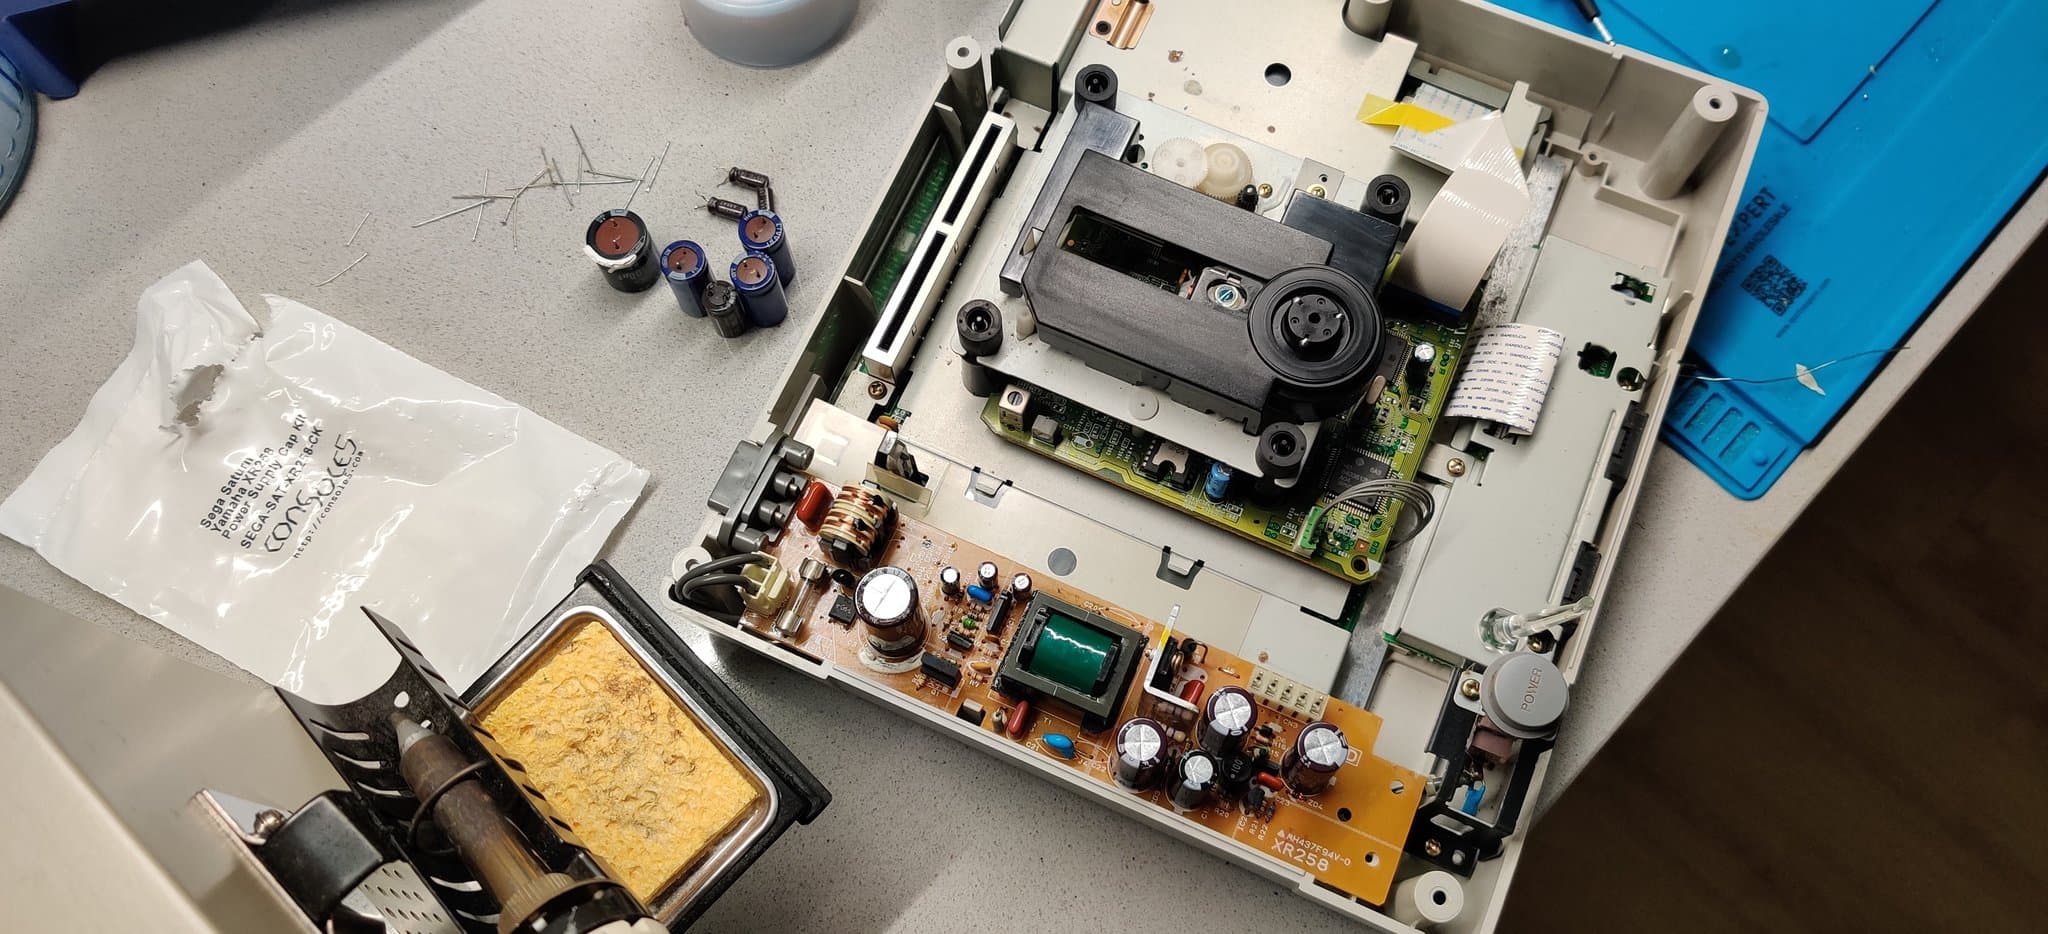
Sega — Saturn
PSU recap and retrobrighting session on the model 1 shell of this Sega Saturn NTSC-J.
+5 photosSega — Saturn
This Sega Saturn NTSC-J Model 2 got a retrobrighting session and a PSU recap alongside the indigo GameCube.
 +25 photos
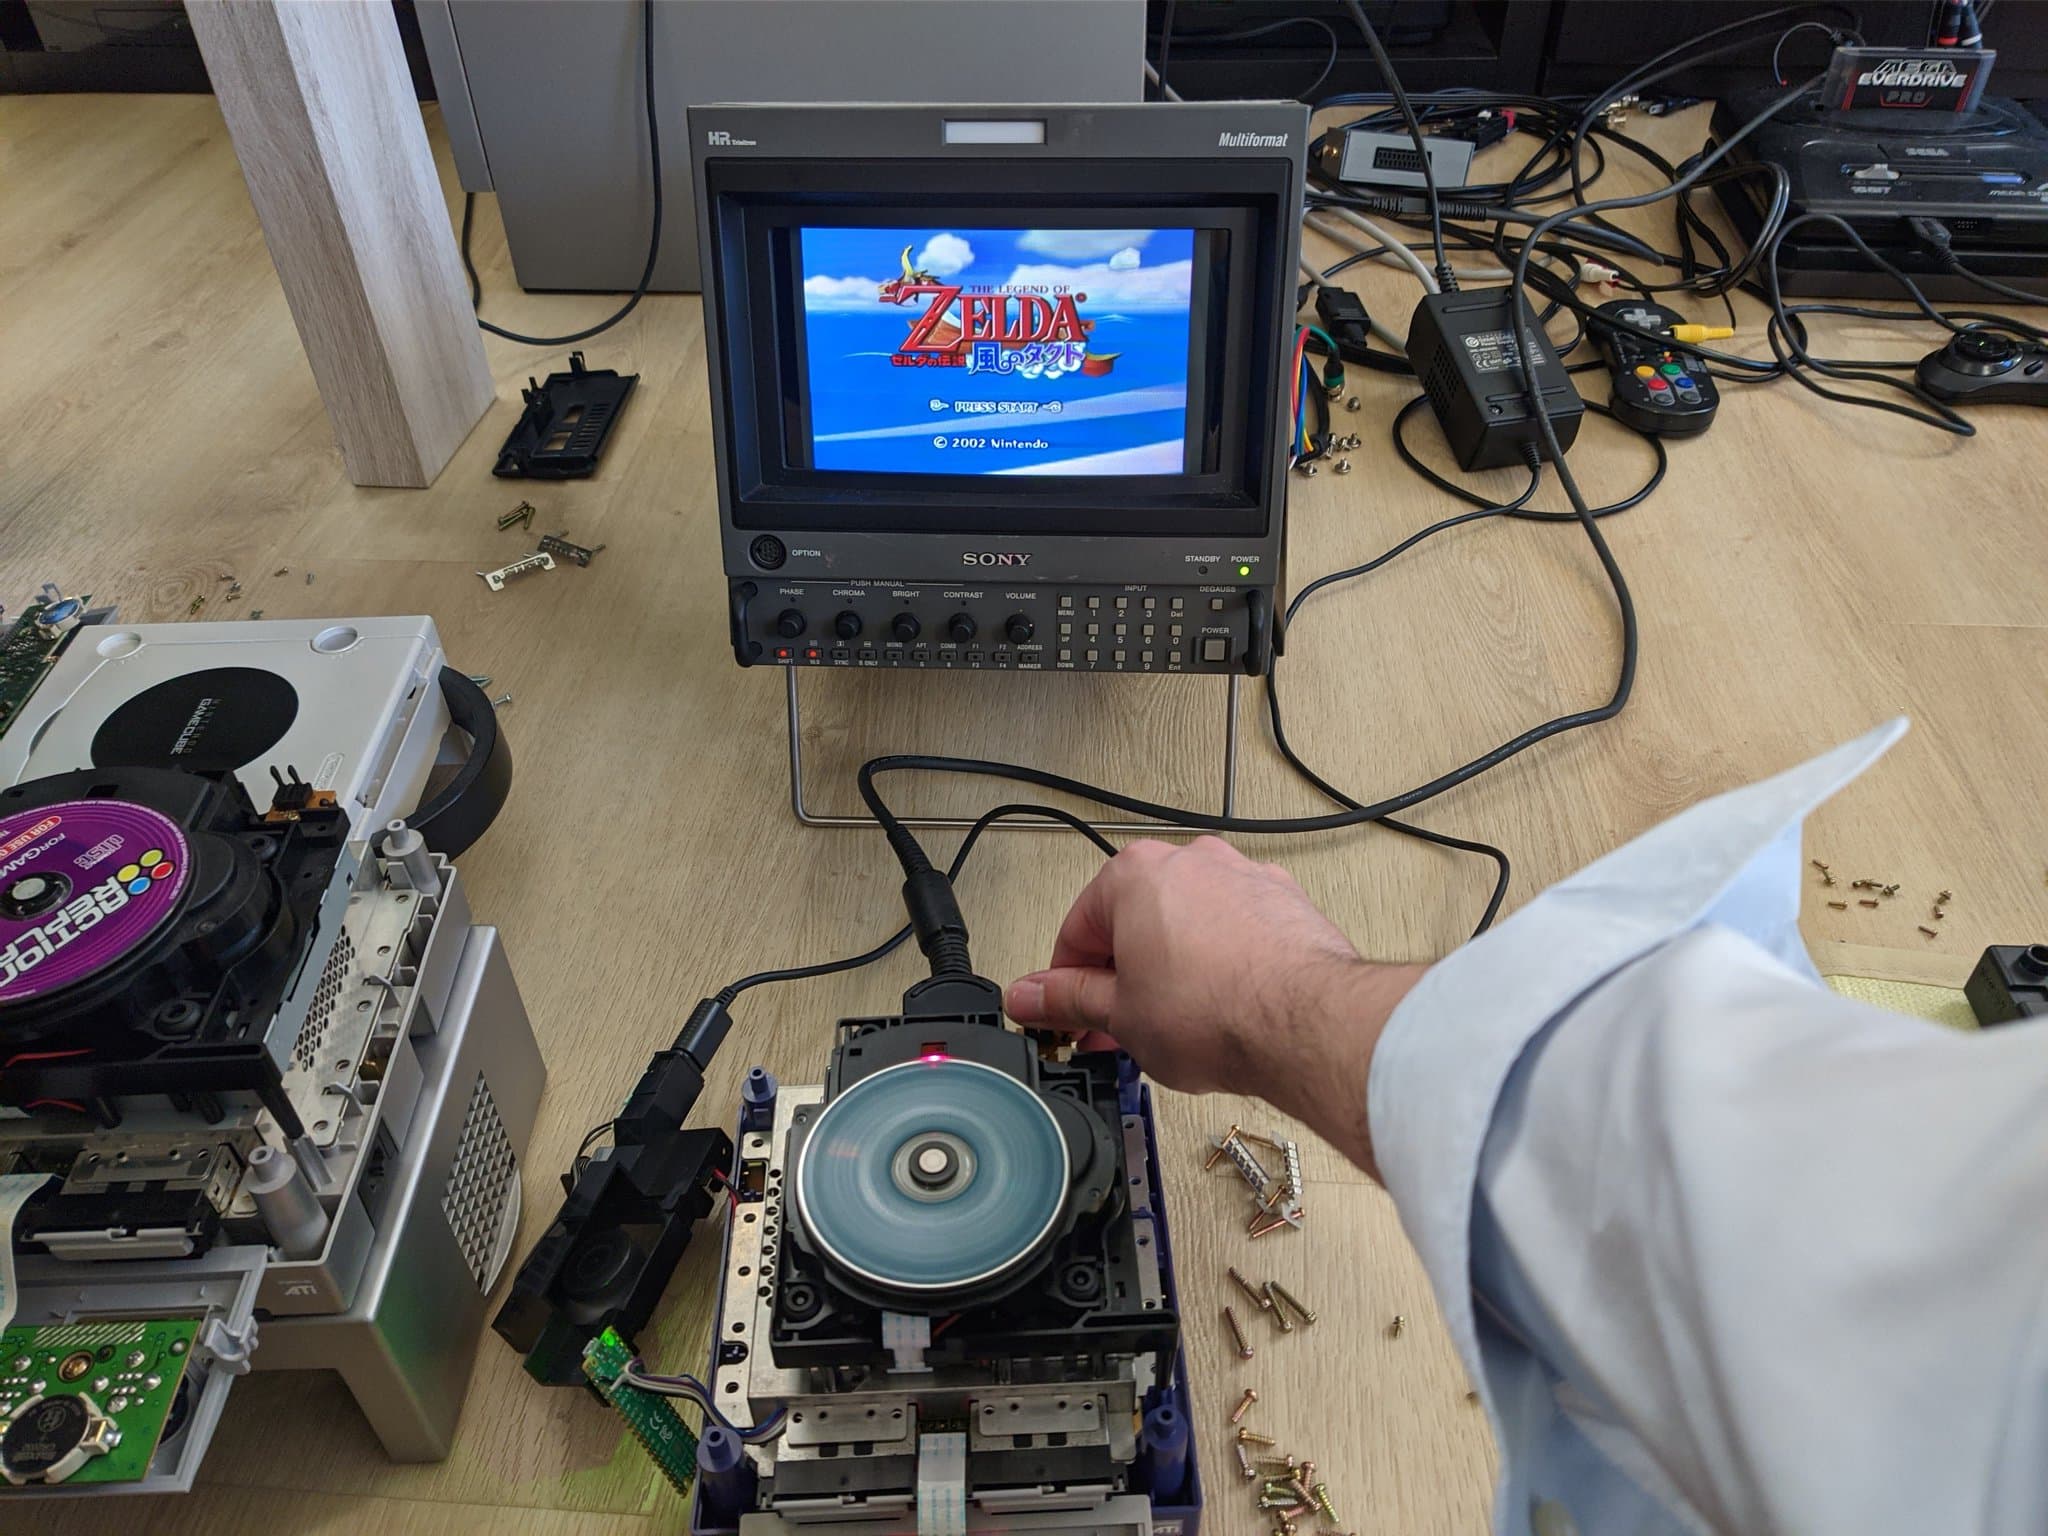
Nintendo — GameCube
Retrobrighted this Nintendo GameCube DOL-001 indigo over a couple of sessions and brought it up to fleet standard. It had a very dark hue so it's definitely better than it was.
 +8 photosSuccessful repair
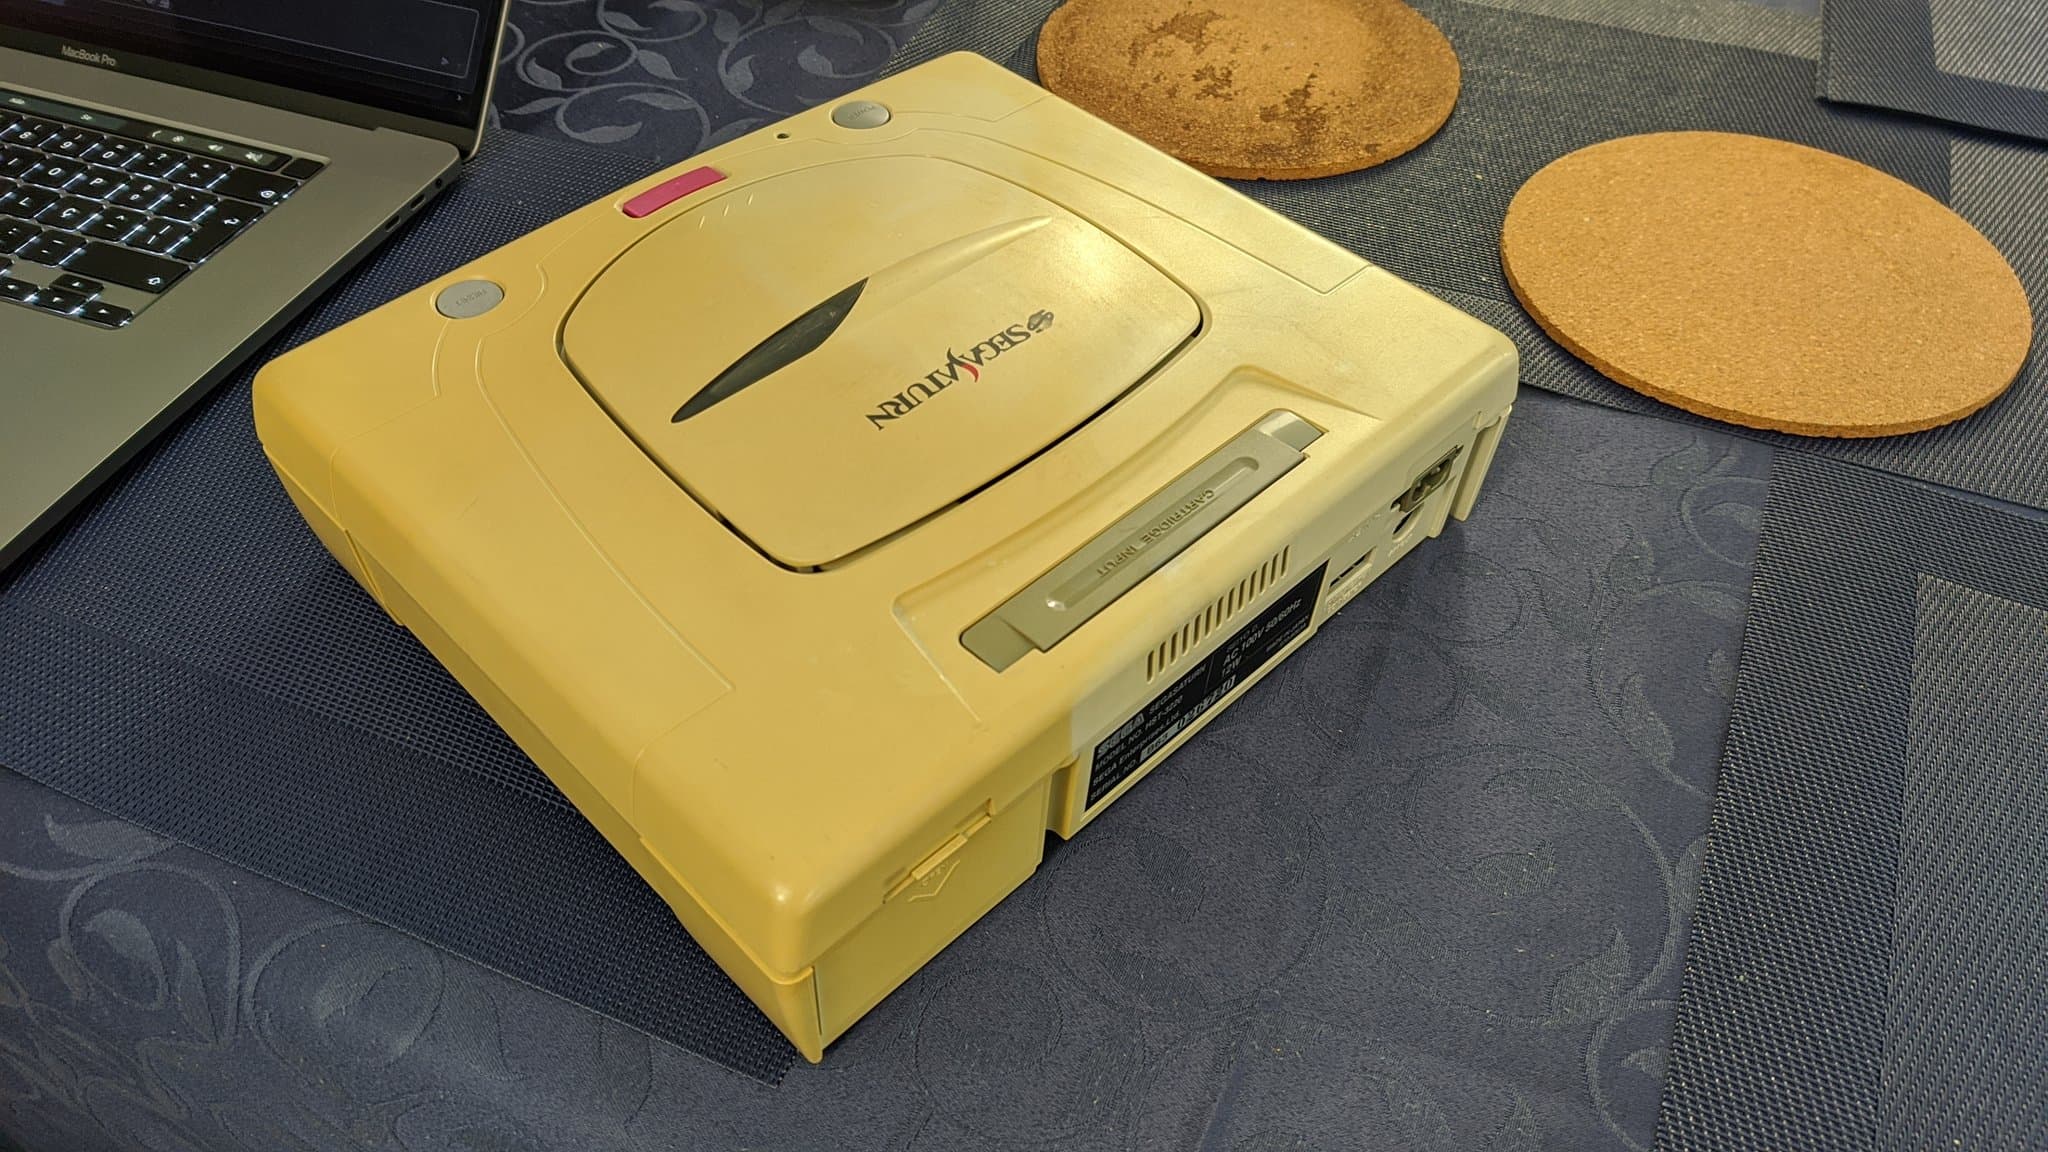
Sega — Saturn
Full recap on a bargain 3€ Sega Saturn NTSC-J Model 2: all boards seen to, including the PSU, motherboard and optical drive.
 +3 photosSuccessful repair
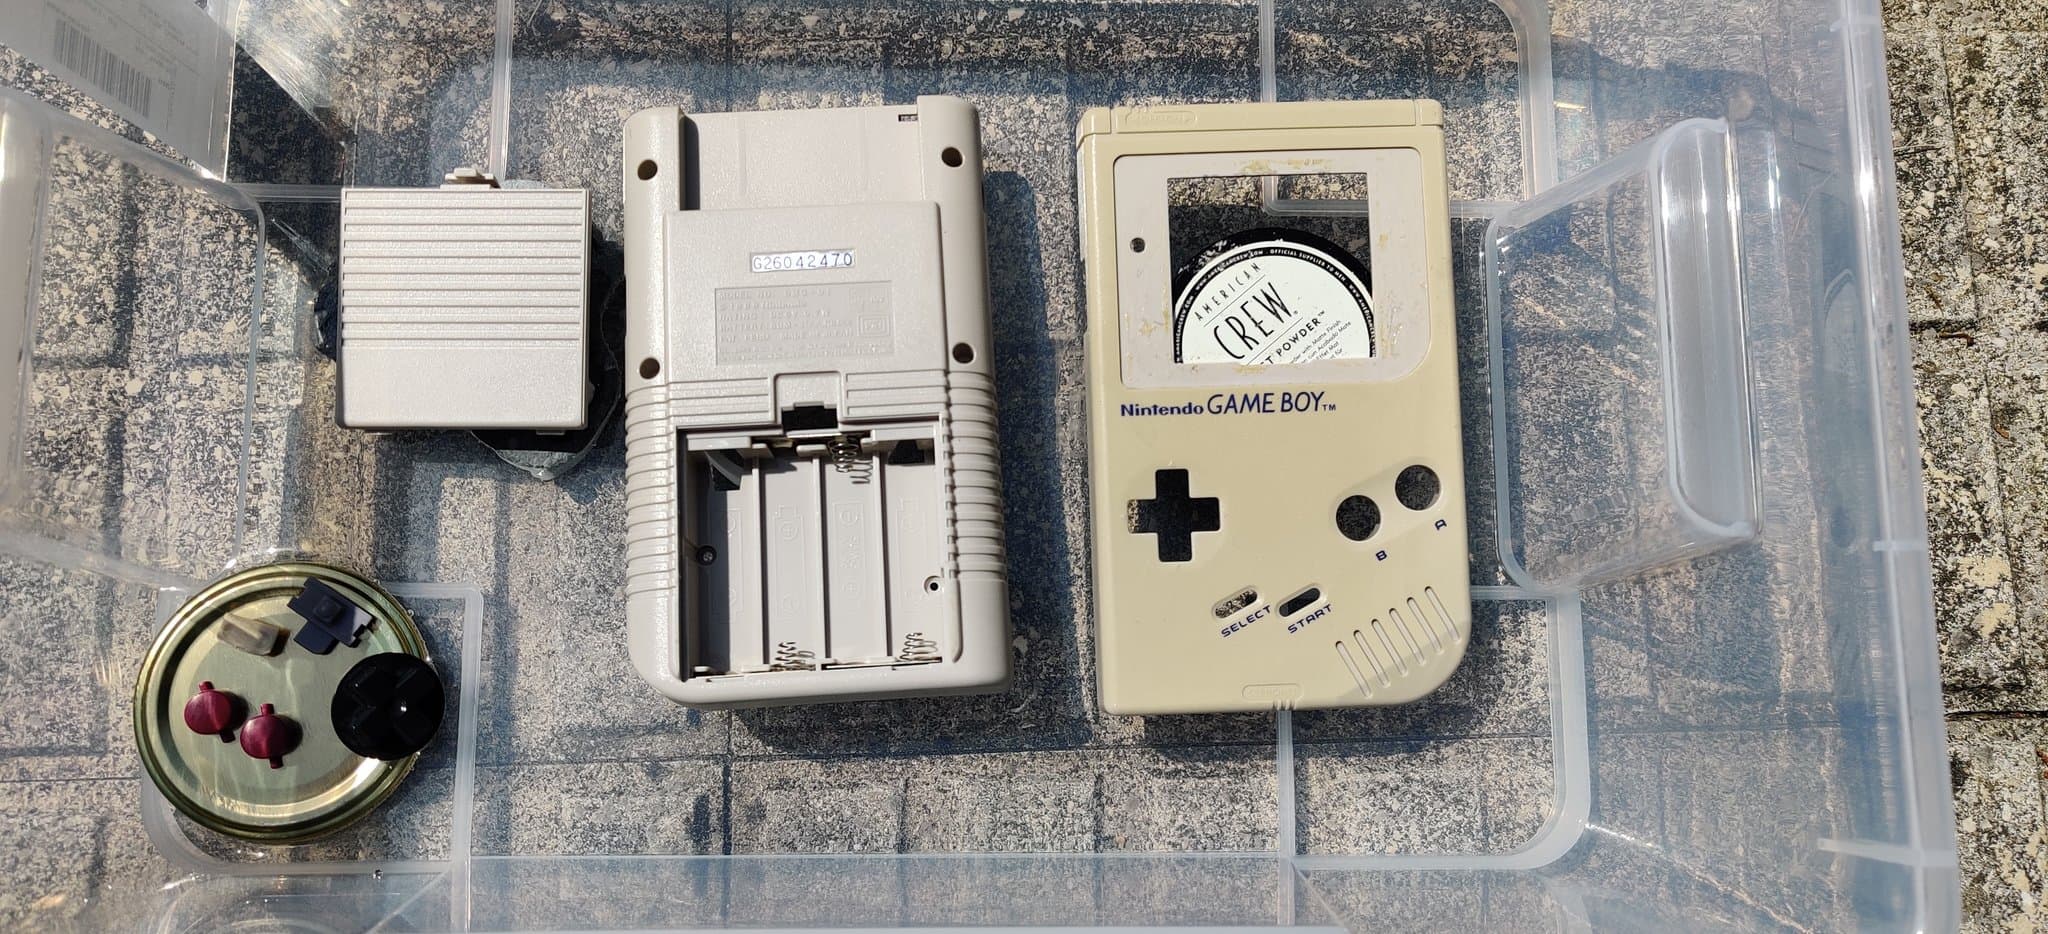
Nintendo — Game Boy
My first experiment with the retrobrighting method on a Nintendo Game Boy DMG-01. Not a perfect result, but a genuine improvement on the yellowed shell.
 +6 photos
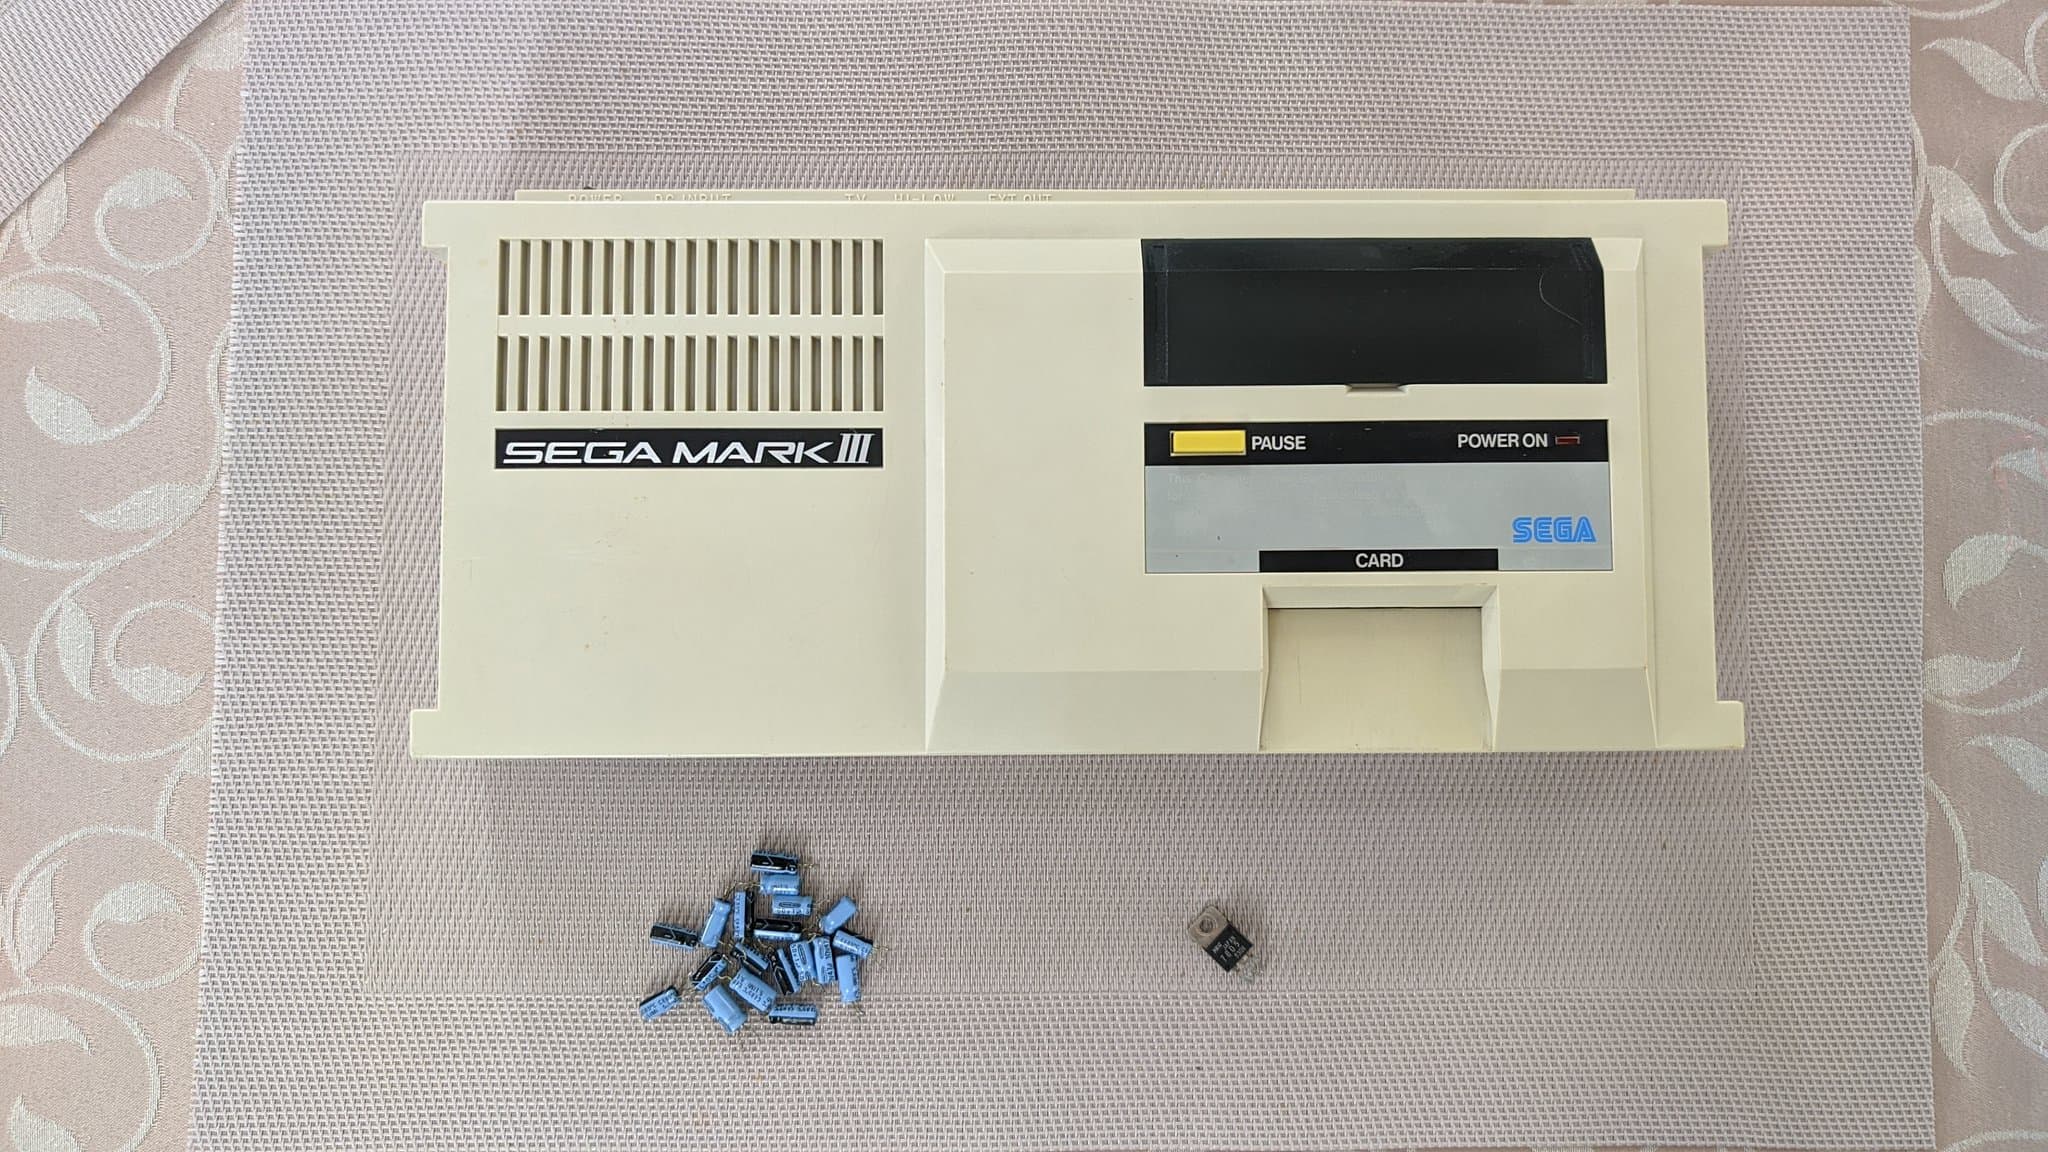
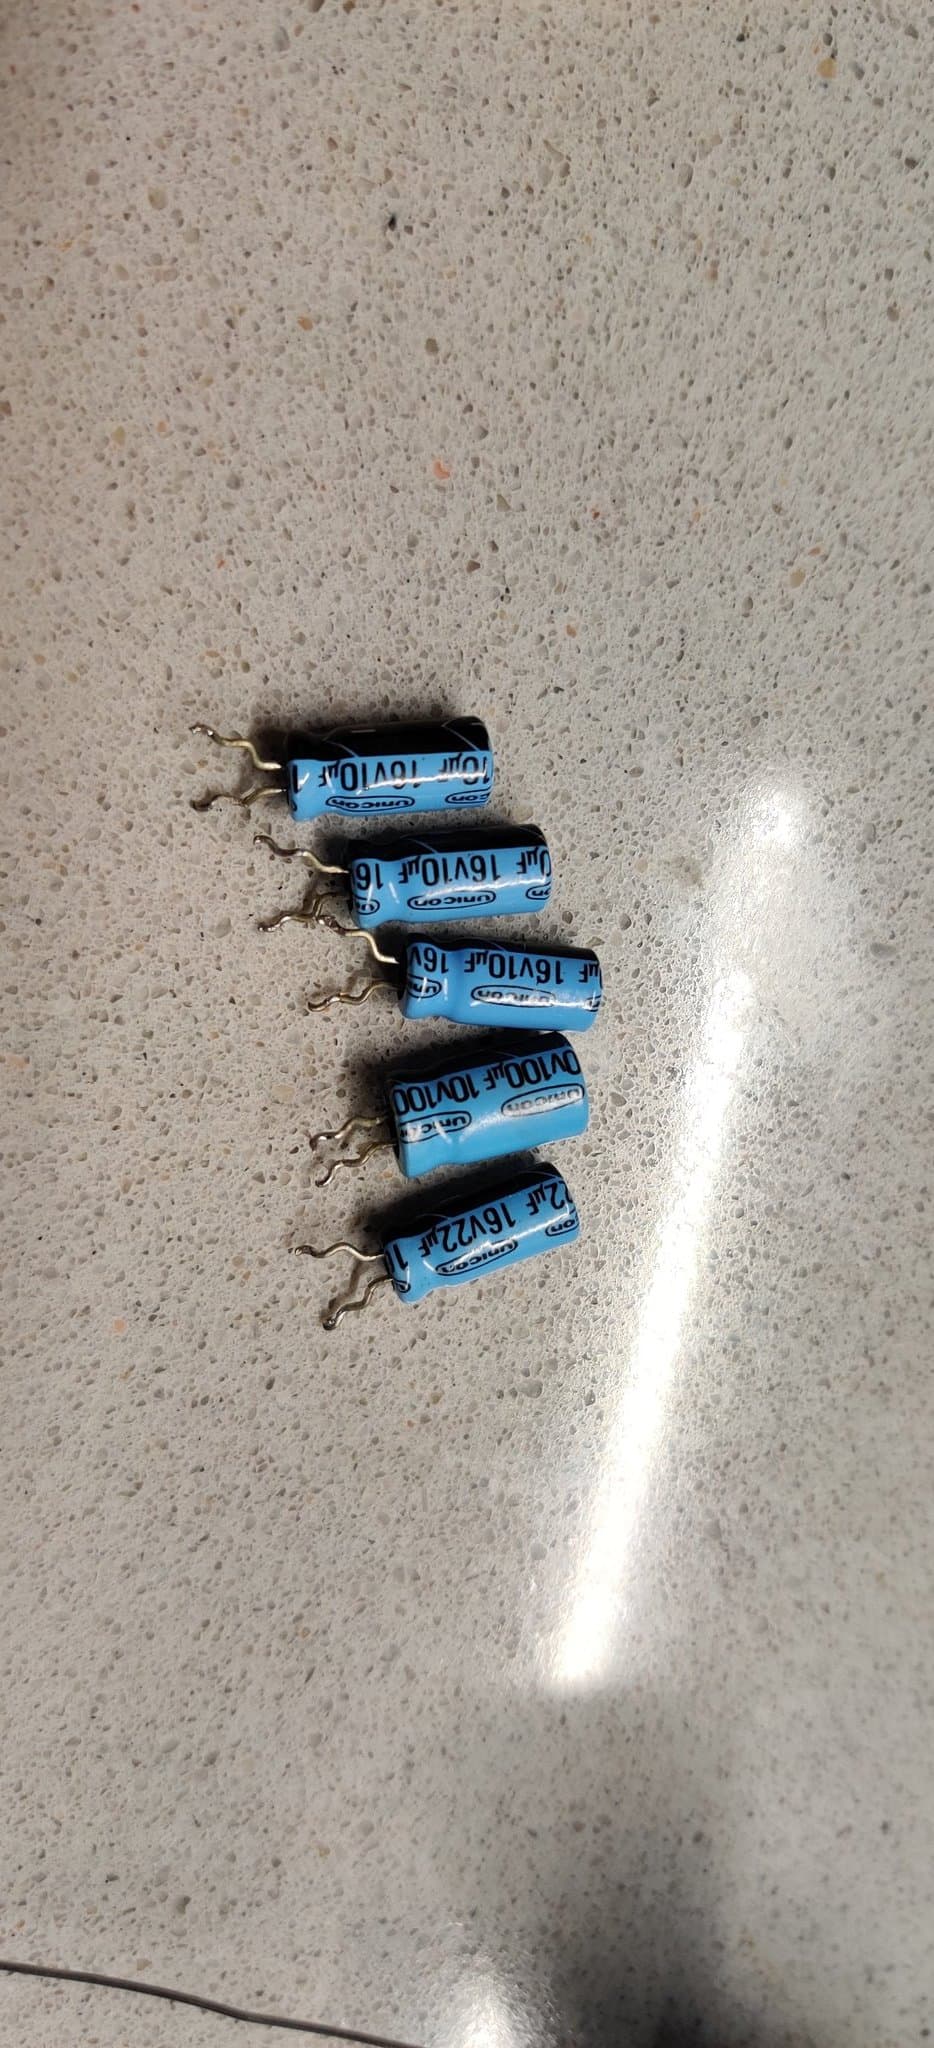
Sega — Mark III
Recap and 7805 voltage regulator replacement on this Sega Mark III, plus a first attempt at retrobrighting. Not perfect, but a marked improvement on the yellowed shell.
 +18 photos
Sega — SG-1000 II
Quick recap, 7805 voltage regulator replacement and retrobrighting session on this Sega SG-1000 II. RF-only output means a black-and-white picture using composite on a PAL TV, so a composite video mod is on the future list.
