hitmanmcchitmanmcc
FeedConsolesCRTsSymptomsTechniquesLab

© 2026 Hitman's Museumv1.15.5

About·Privacy·Terms

Zelda and Super Metroid cartridge maintenance

October 13, 20252 threads~1 min read
Battery-backed save loss
Battery replacement

Battery and cap replacements on Super Metroid and Zelda, with saves backed up and restored throughout. Initially used tabbed batteries as a stopgap, then swapped to coin cell holders once they arrived.

Parts & Tools (4)

Open Source Cartridge Reader v3

Save The Hero Builders OSCR v3, used to back up each cartridge's save before the battery swap and restore it afterward.

Coin-cell battery holders

Harwin S8421-45R, solderless CR2032 holders fitted to both cartridge boards so future battery swaps need no soldering, replacing the tabbed batteries used as the initial stopgap.

Maxell CR2032 batteries

Fresh 3V lithium coin cells for the save SRAM on both cartridges.

Opening a Famicom cartridge (video guide)

Fenris Wolf Retro, "Famicom Cartridge Maintenance", a clear walkthrough of splitting a Famicom cartridge shell open, the step used to reach the Famicom Zelda cart's save battery. The link starts you at 3:41 and the part worth watching runs to about 5:35, so there is no need to sit through the full video.

hitmanmcc
hitmanmcc

October 13, 2025· Thread 1· 2 tweets

View on X ↗View on Bluesky ↗

Just doing some light maintenance on my game collection. Sadly I couldn't find my battery cell holders, so I used tabbed batteries. First up was Super Metroid with new battery and capacitor. Also, cleaning of the contacts. Saved/restored the save file. #RETROGAMING #SNES #Metroid

2 / 2

Next up was The Legend of Zelda, with new battery, new capacitors and cleaning of the contacts. Also saved and restored the existing save file. #RETROGAMING #NES #Famicom #TheLegendOfZelda

hitmanmcc
hitmanmcc

October 28, 2025· Thread 2

View on X ↗View on Bluesky ↗

Today we're righting wrongs, this has been on the back of my mind for a while. Now that I have coin cell holders again, I replaced the tabbed batteries. Which will be used for other purposes. #RETROGAMING #NES #SNES #Metroid #Zelda
Related repairs

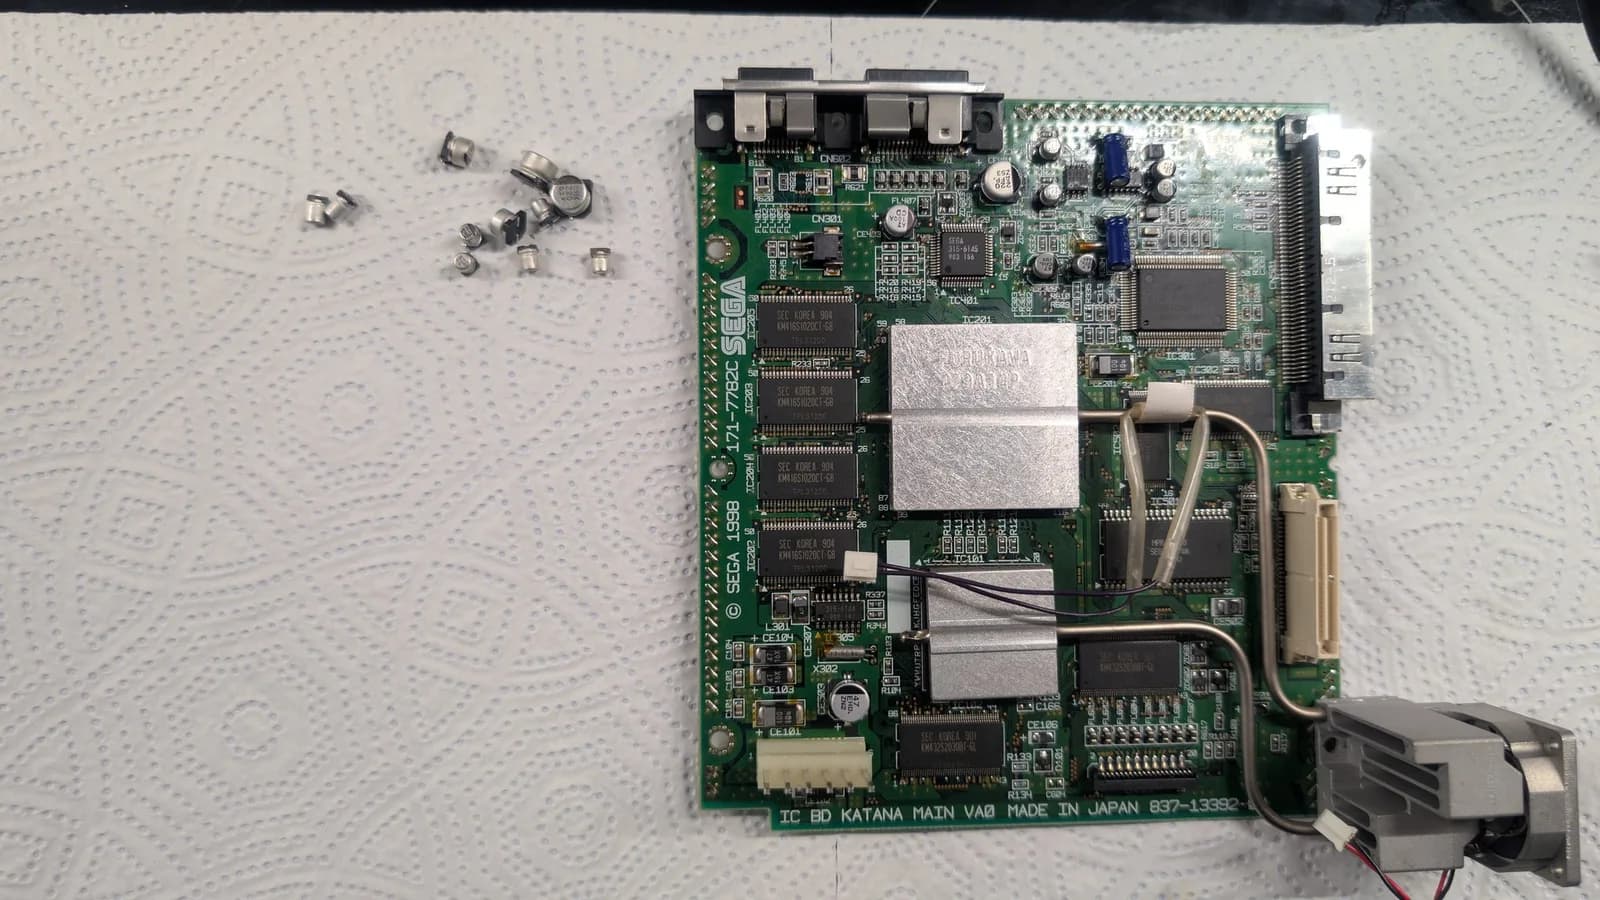
Dreamcast VA0 motherboard with removed capacitors displayed on left, showing refurbishment work in progress on circuit board.

Sega — Dreamcast

Sega Dreamcast VA0 Recap, GDEMU & Mods (For a Friend)

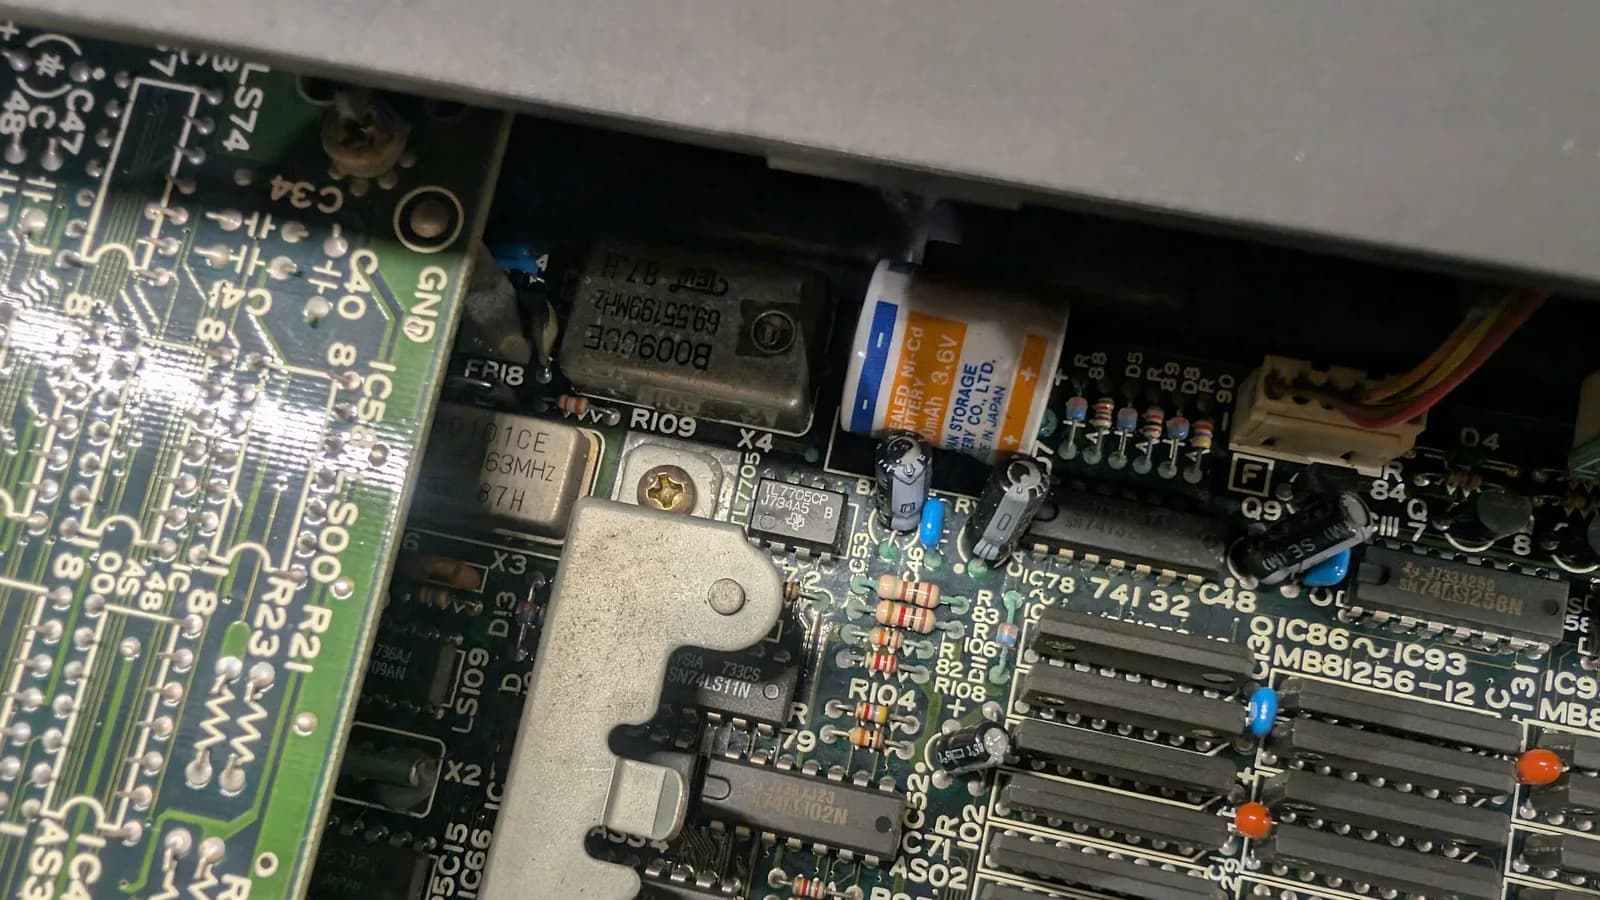
Another angle of the same battery-leakage corrosion on the Sharp X68000 main board before cleaning, some components clearly covered in green corrosion.

Sharp — X68000

Sharp X68000: Recap, FDD & Oscillator (No Picture Yet)

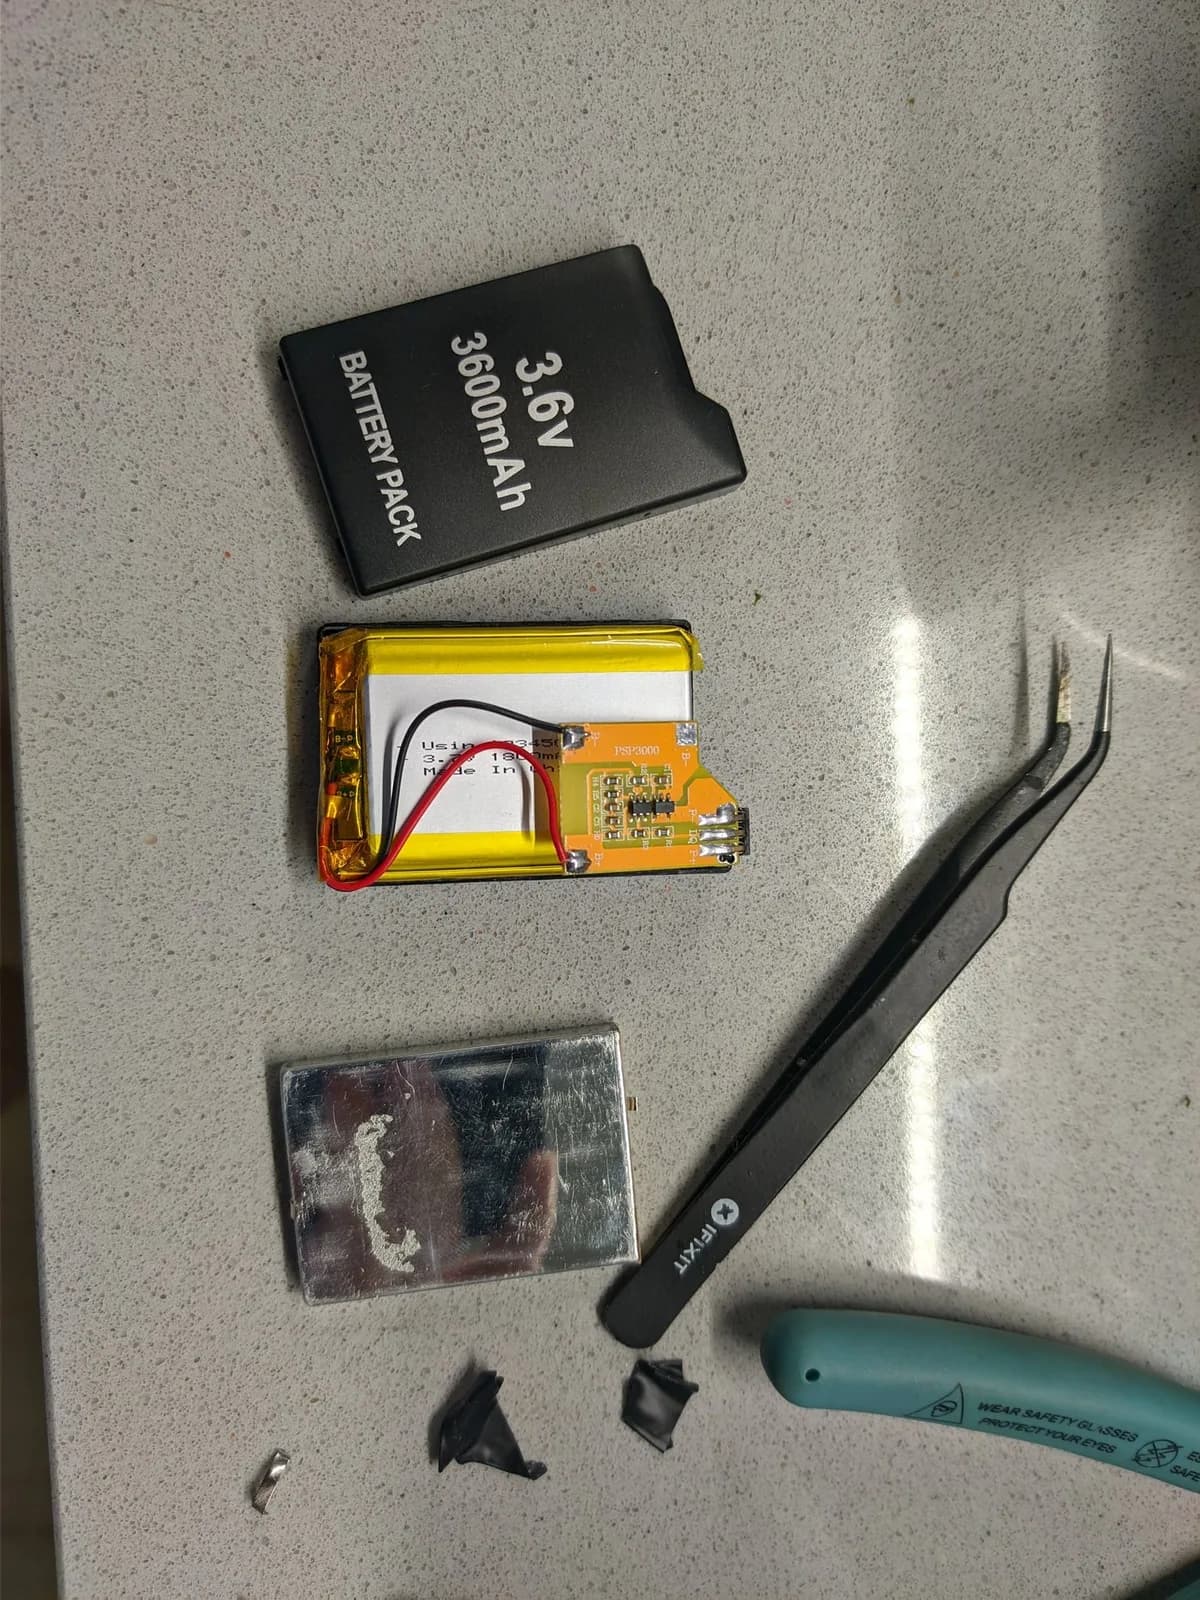
Disassembled PSP-1000 battery components: black case marked 3.6V 3000mAh, yellow lithium cell with circuit board, tweezers, and soldering iron on workbench.

Sony — PSP 1000

Sony PSP-1000 Battery Rebuild: Fresh Cell Swap

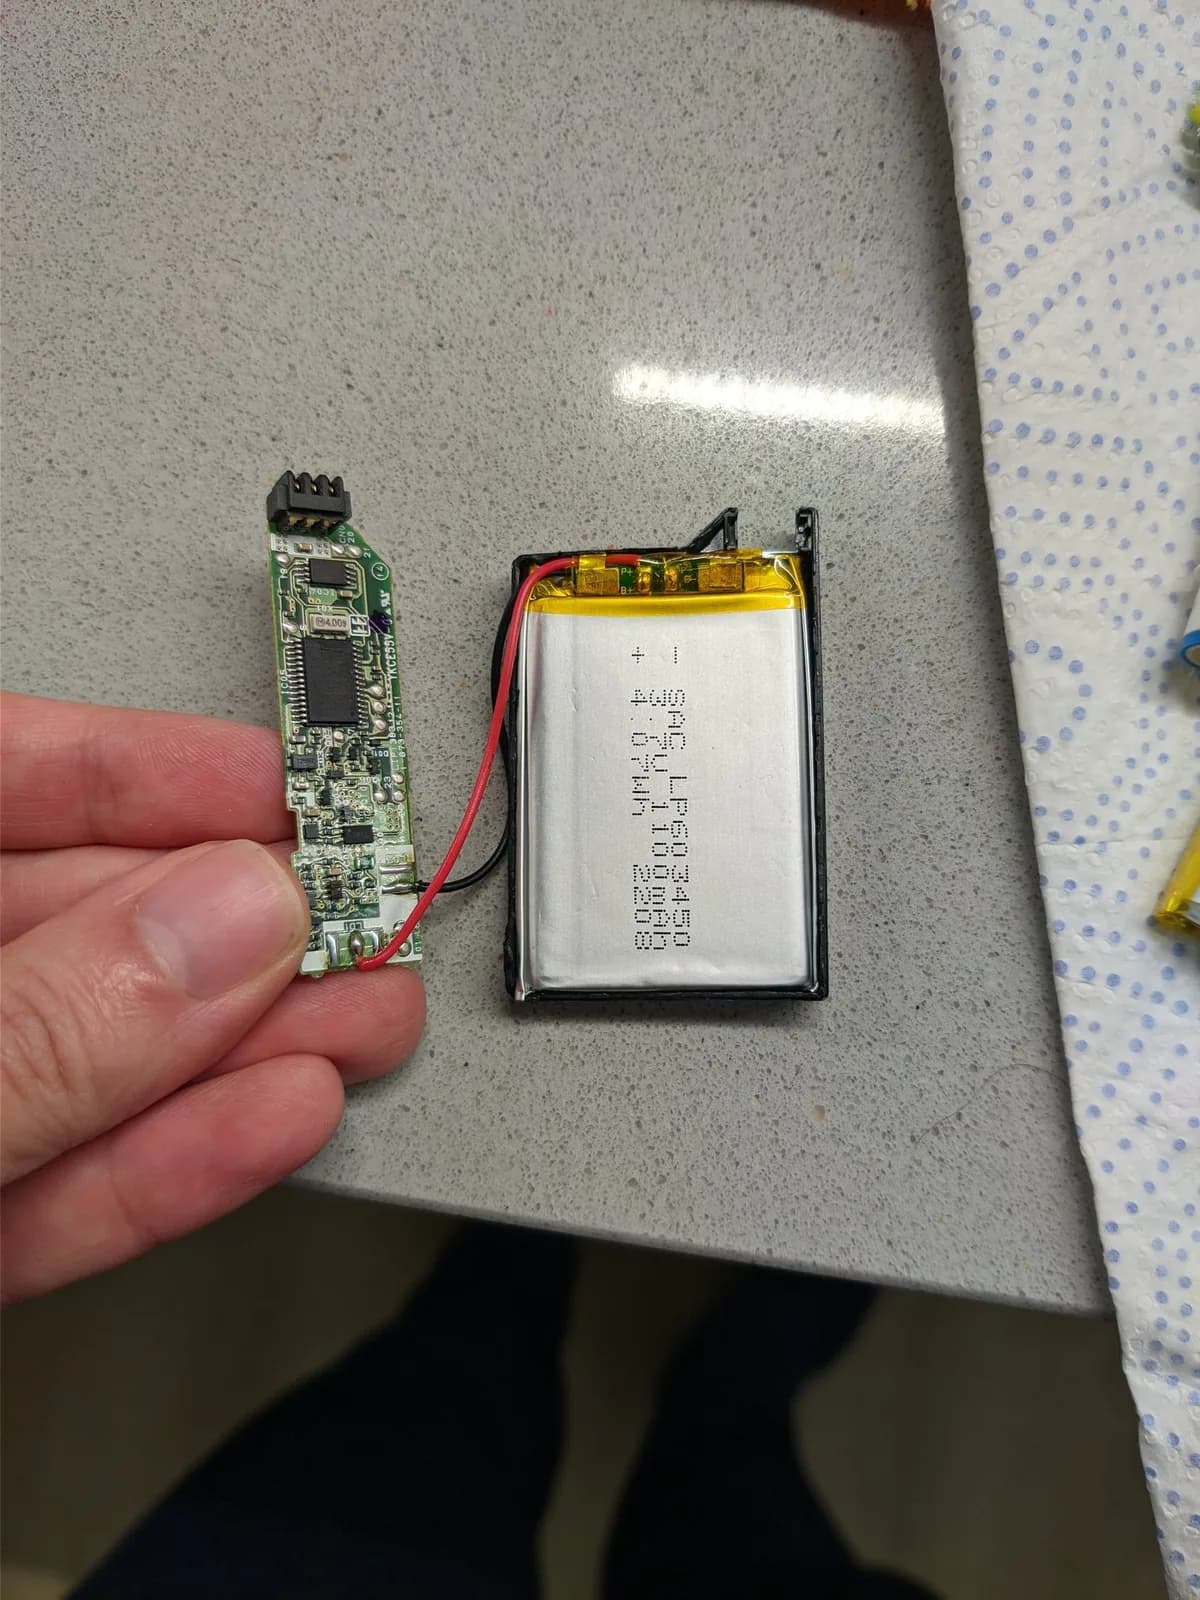
Hand holding PSP-3000 circuit board next to replacement lithium battery with red/black wires in protective casing.

Sony — PSP 3000

Sony PSP-3000 Battery Re-cell + PCB Casualty

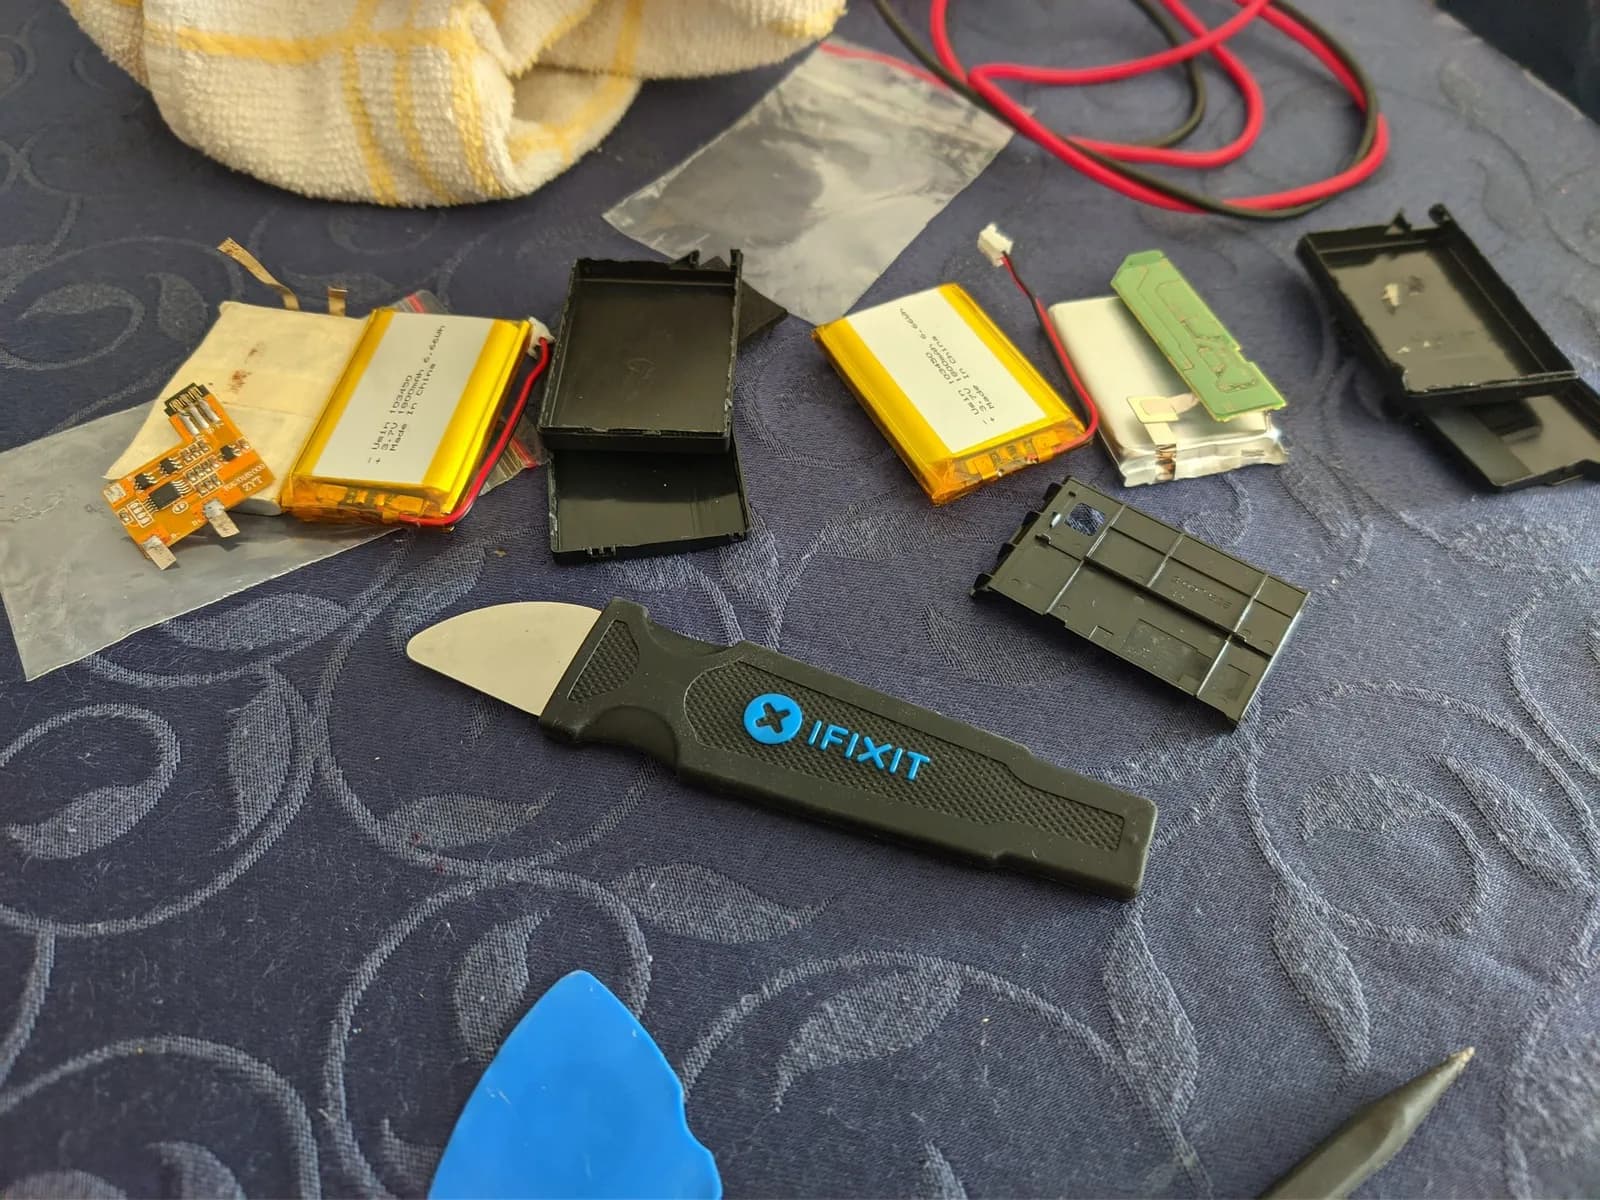
PSP-3000 battery re-celling in progress: disassembled batteries with yellow lithium cells, circuit boards, iFixit opening tool, and black battery casings on work surface.

Sony — PSP 2000

Sony PSP-2000 Battery Re-cell: Sizing Issue

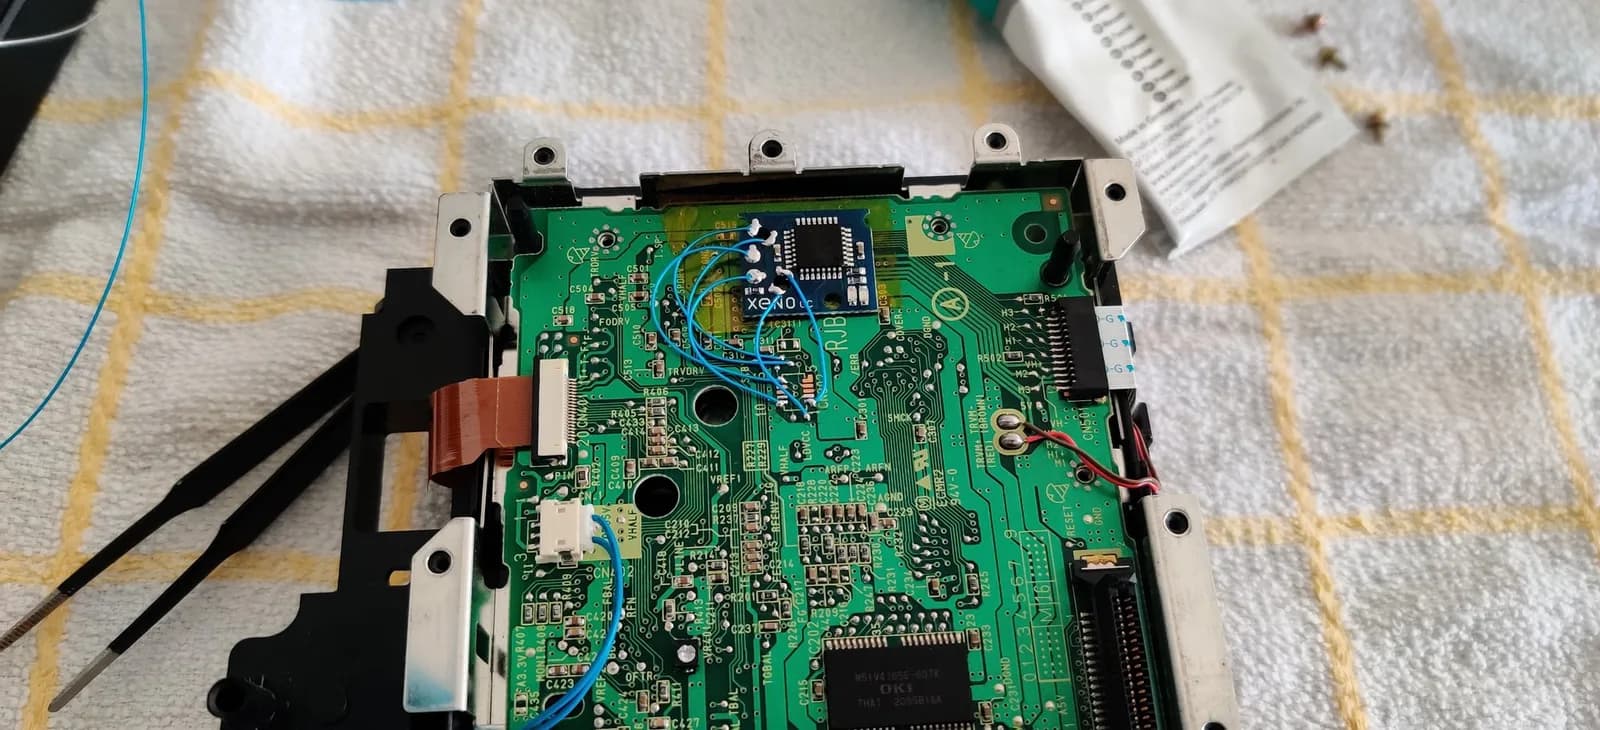
Nintendo GameCube motherboard with Xeno chip installed, showing soldered connections and internal circuitry during refurbishment.

Nintendo — GameCube

Nintendo GameCube Recap & XenoGC Mod for Two Friends