hitmanmcchitmanmcc
FeedConsolesCRTsSymptomsTechniquesLab

© 2026 Hitman's Museumv1.15.5

About·Privacy·Terms
Consoles/Nintendo/Game Boy

Nintendo

Game Boy

3 repair logs

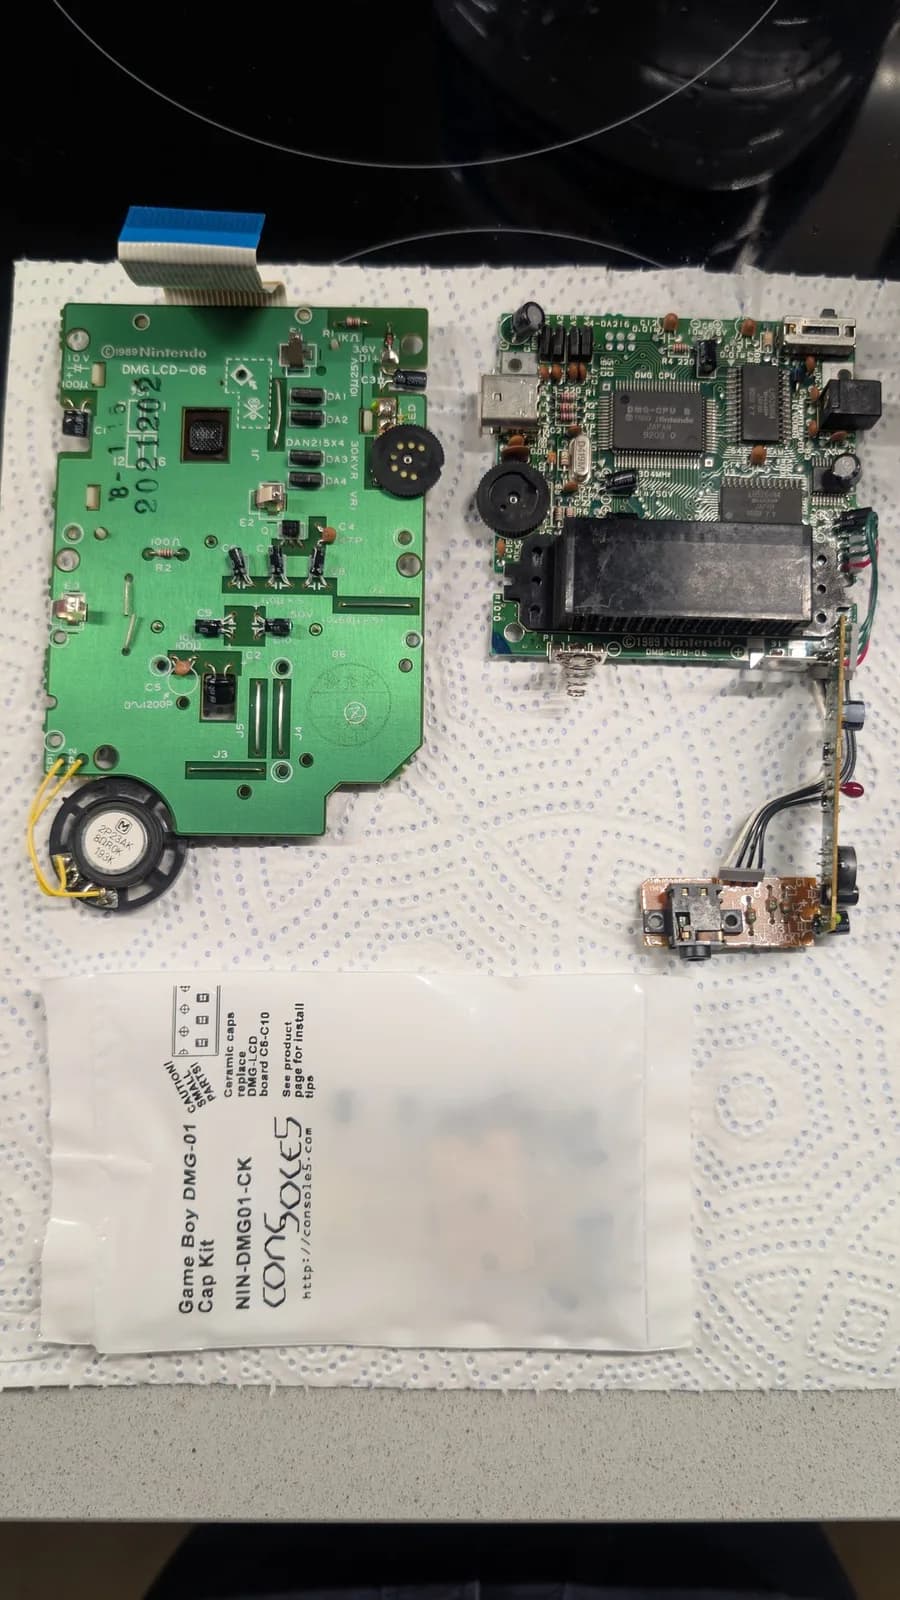
Nintendo DMG Game Boy PCBs during recap repair: green mainboard with new capacitors installed, donor board right, service card visible below.
+3 photos

Nintendo — Game Boy

Nintendo Game Boy DMG-01 Recap & Clean (2nd Unit)

Quick recap and clean on a second Nintendo Game Boy DMG-01. Less yellowed than the first and with a working screen. Still needs a replacement screen lens one day.
Mar 21, 20251 thread
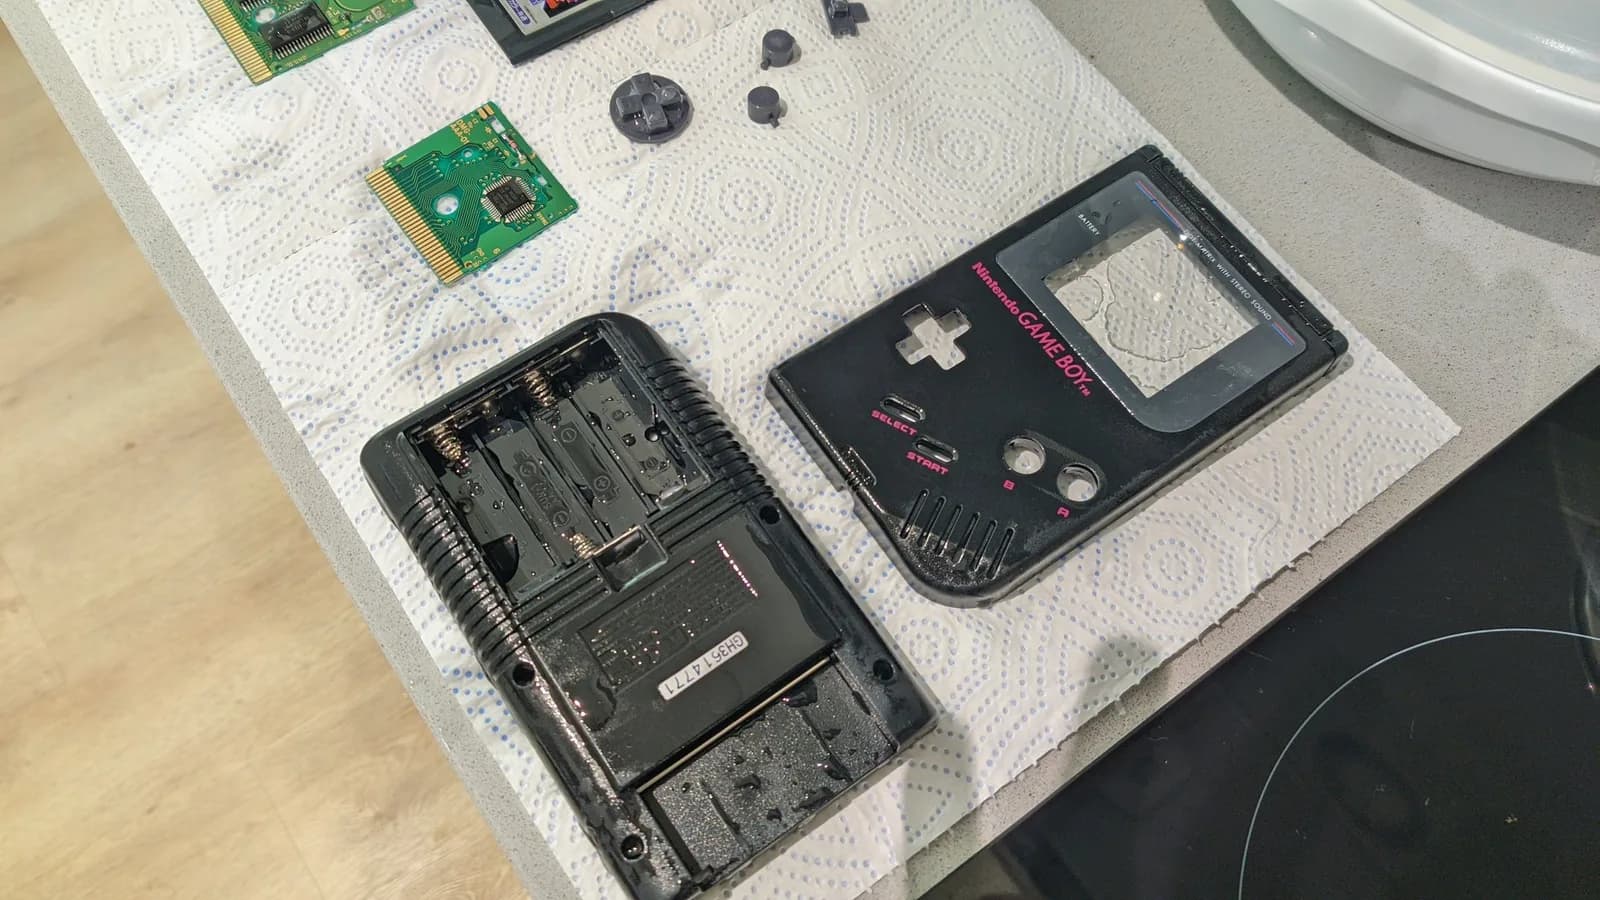
Black Play It Loud Game Boy DMG-01 disassembled on a white, blue-dotted paper towel: the two shell halves (front fascia with the Nintendo GAME BOY logo and the lens film still on, and the rear shell with its empty battery compartment) and the loose grey D-pad and A/B buttons freshly cleaned and still wet, with two green Game Boy cartridge boards (the Tetris carts being refurbished) alongside.
+3 photos

Nintendo — Game Boy

Nintendo Game Boy DMG Play It Loud Black Restoration

A black Play It Loud Nintendo Game Boy DMG-01 sourced from Japan at a friend's request: recapped and cleaned up, with the shell sorted before it was delivered.
Apr 6, 20241 thread
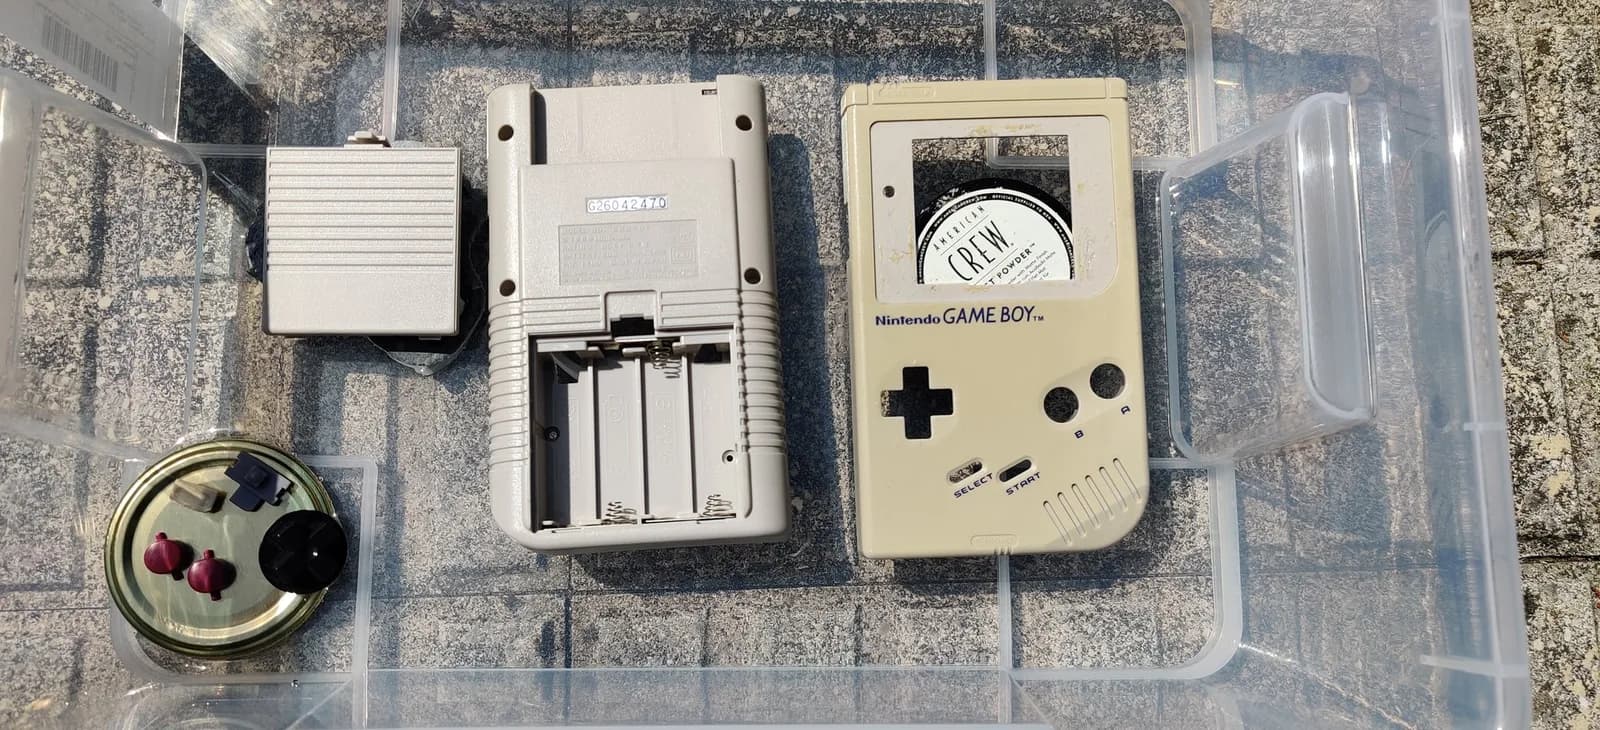
Original Nintendo Game Boy DMG, a companion piece retrobrited alongside the Mark III, disassembled in a clear container ready for the vapour-method retrobrite (a pre-process shot): the GAME BOY front shell with d-pad and buttons, the back shell with battery compartment, and small parts in a jar lid.
+3 photos✓Successful repair

Nintendo — Game Boy

Nintendo Game Boy DMG-01 Retrobriting (First Try)

My first experiment with the retrobriting method on a Nintendo Game Boy DMG-01. Not a perfect result, but a genuine improvement on the yellowed shell.

Yellowed shell
Jul 17, 20221 thread