Sharp — X68000 XVI Compact
Won at auction with its mains cord cut clean off the PSU, taken as a gamble at a below-market price. A replacement lead was spliced in from another Japanese cord using solder-ring heatshrink sleeves, with extra insulation over the joint. It powered on once, then refused entirely, so the PSU came out for a recap: fully decapped, scrubbed with white vinegar and isopropyl, new capacitors fitted and marked, and every joint on the solder side reflowed. That brought it back reliably and it booted Human68k from disk. The rest of the machine was worse, with electrolyte contamination on every capacitor pad on every board. SMDs came off the mainboard and the expansion card, the pads were reworked with fresh solder, flux and braid until all were clean and none lost, then the through-hole electrolytics followed. The floppy drives had leaked internally and were recapped with their motor shafts cleaned and lubricated, and the peripheral input board's single capacitor was replaced. Still powers on after reassembly, pending fuller testing.
A couple of months ago I won an auction for a Sharp X68000 XVI Compact that had a screenshot of it working but the PSU cord was cut. I figured if it went for a below market price, it might be a good catch, so catch it I did. But does it work?
Do not copy this at home. I have no idea where you can source a new cable for the PSU, so I spliced in a cable from another Japanese chord I had lying around, using some of those soldering tubes that have solder rings and shrink as you heat them up. I also added more insulation.
After this, it did power on but I turned it off so that I could plug it into a screen safely and after I did so, I could never get it to power on again. That was a bit of a bummer but not the end of the story.
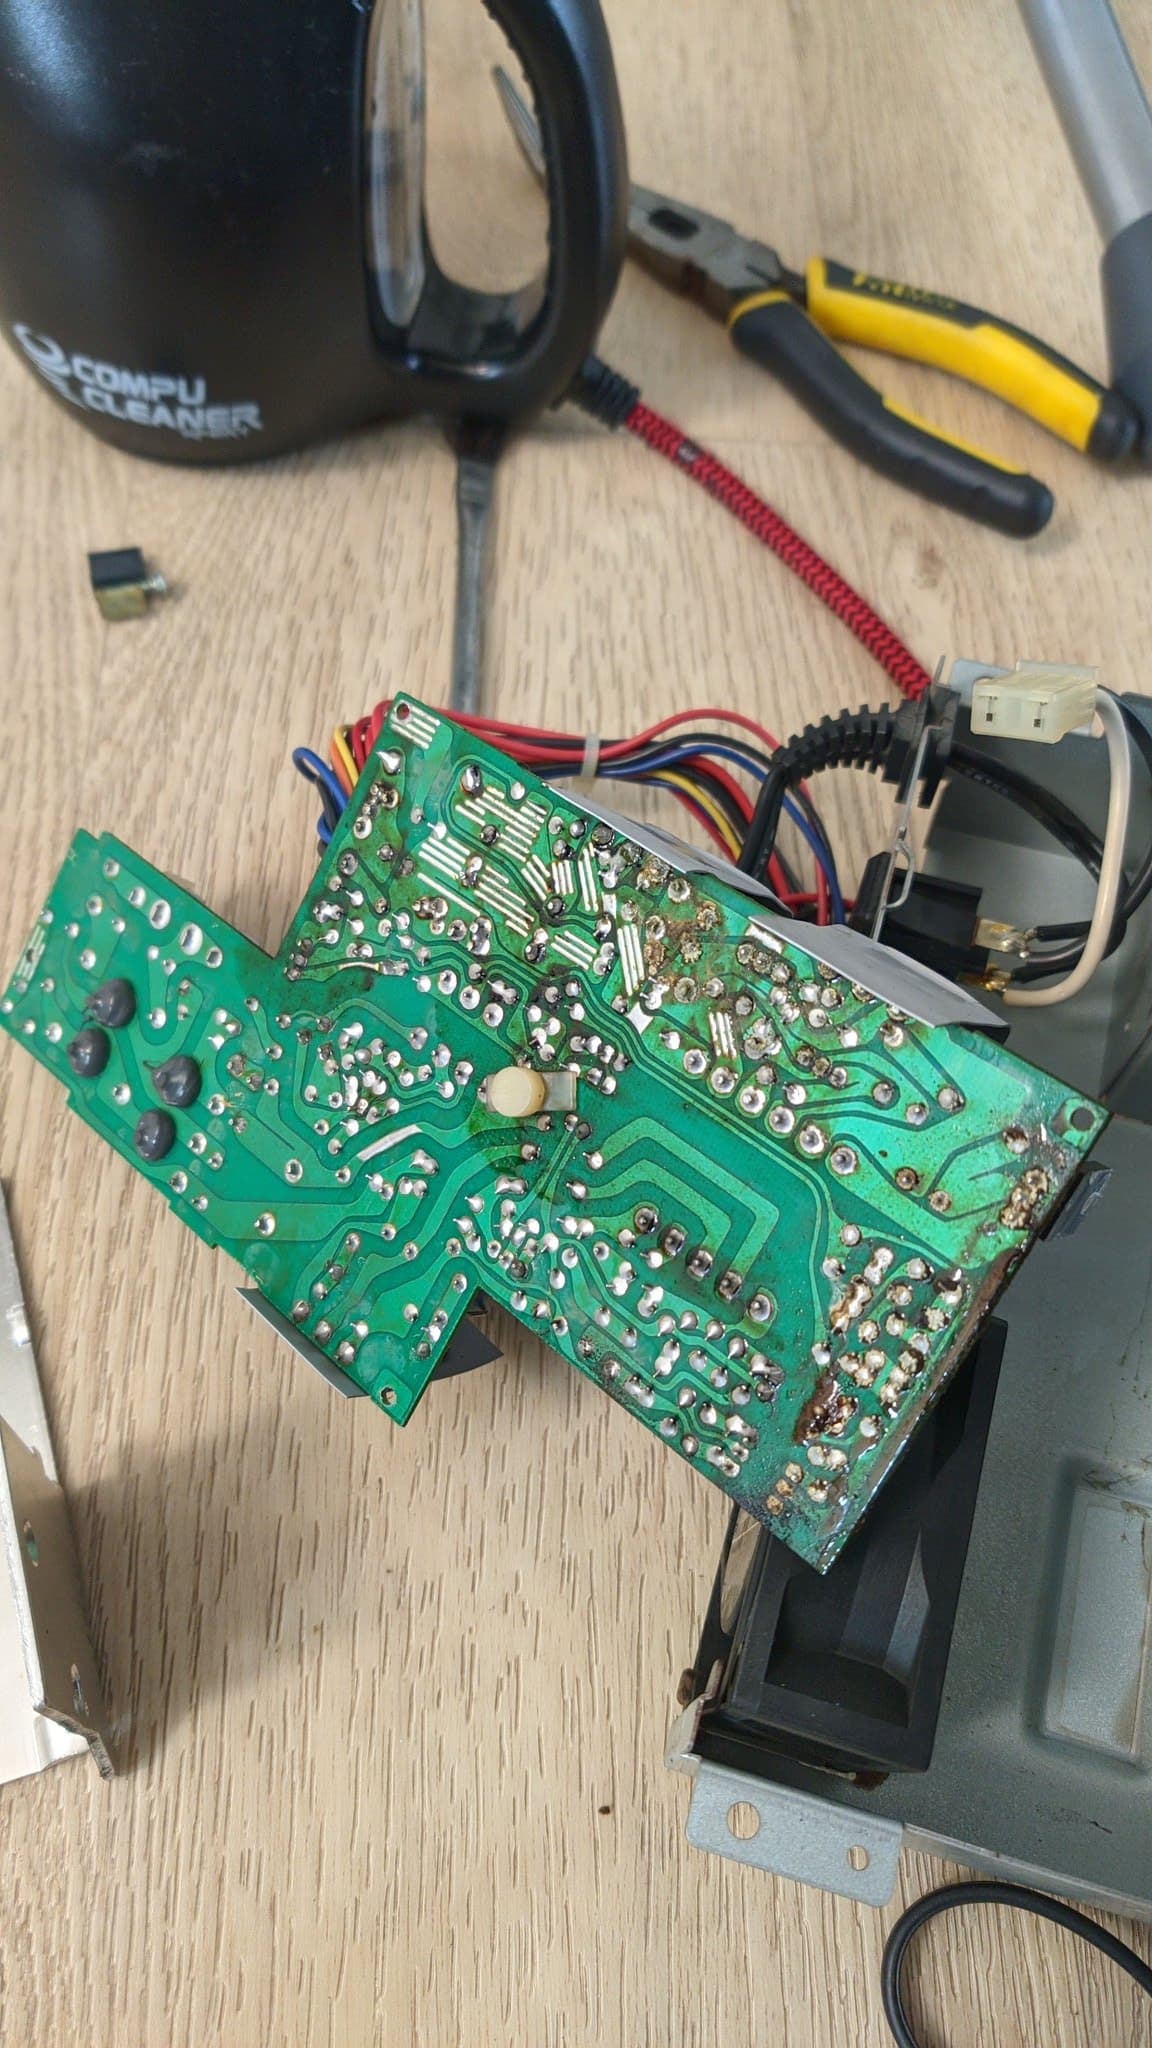
A couple of days later, I disassembled it enough to recap the PSU.
With it fully decapped, I cleaned it with white vinegar and isopropyl alcohol, very thoroughly.
Then I put new capacitors on, marked them and proceeded to reflow every single joint on the solder side of the PCB.
That did the trick, it now reliably powers on every time and it loads disks, as can be seen on the third pic, where it's loading HumanOS. It still needs a full recap because every single cap in the other PCBs has lead, so stay tuned for the next episode. 😉
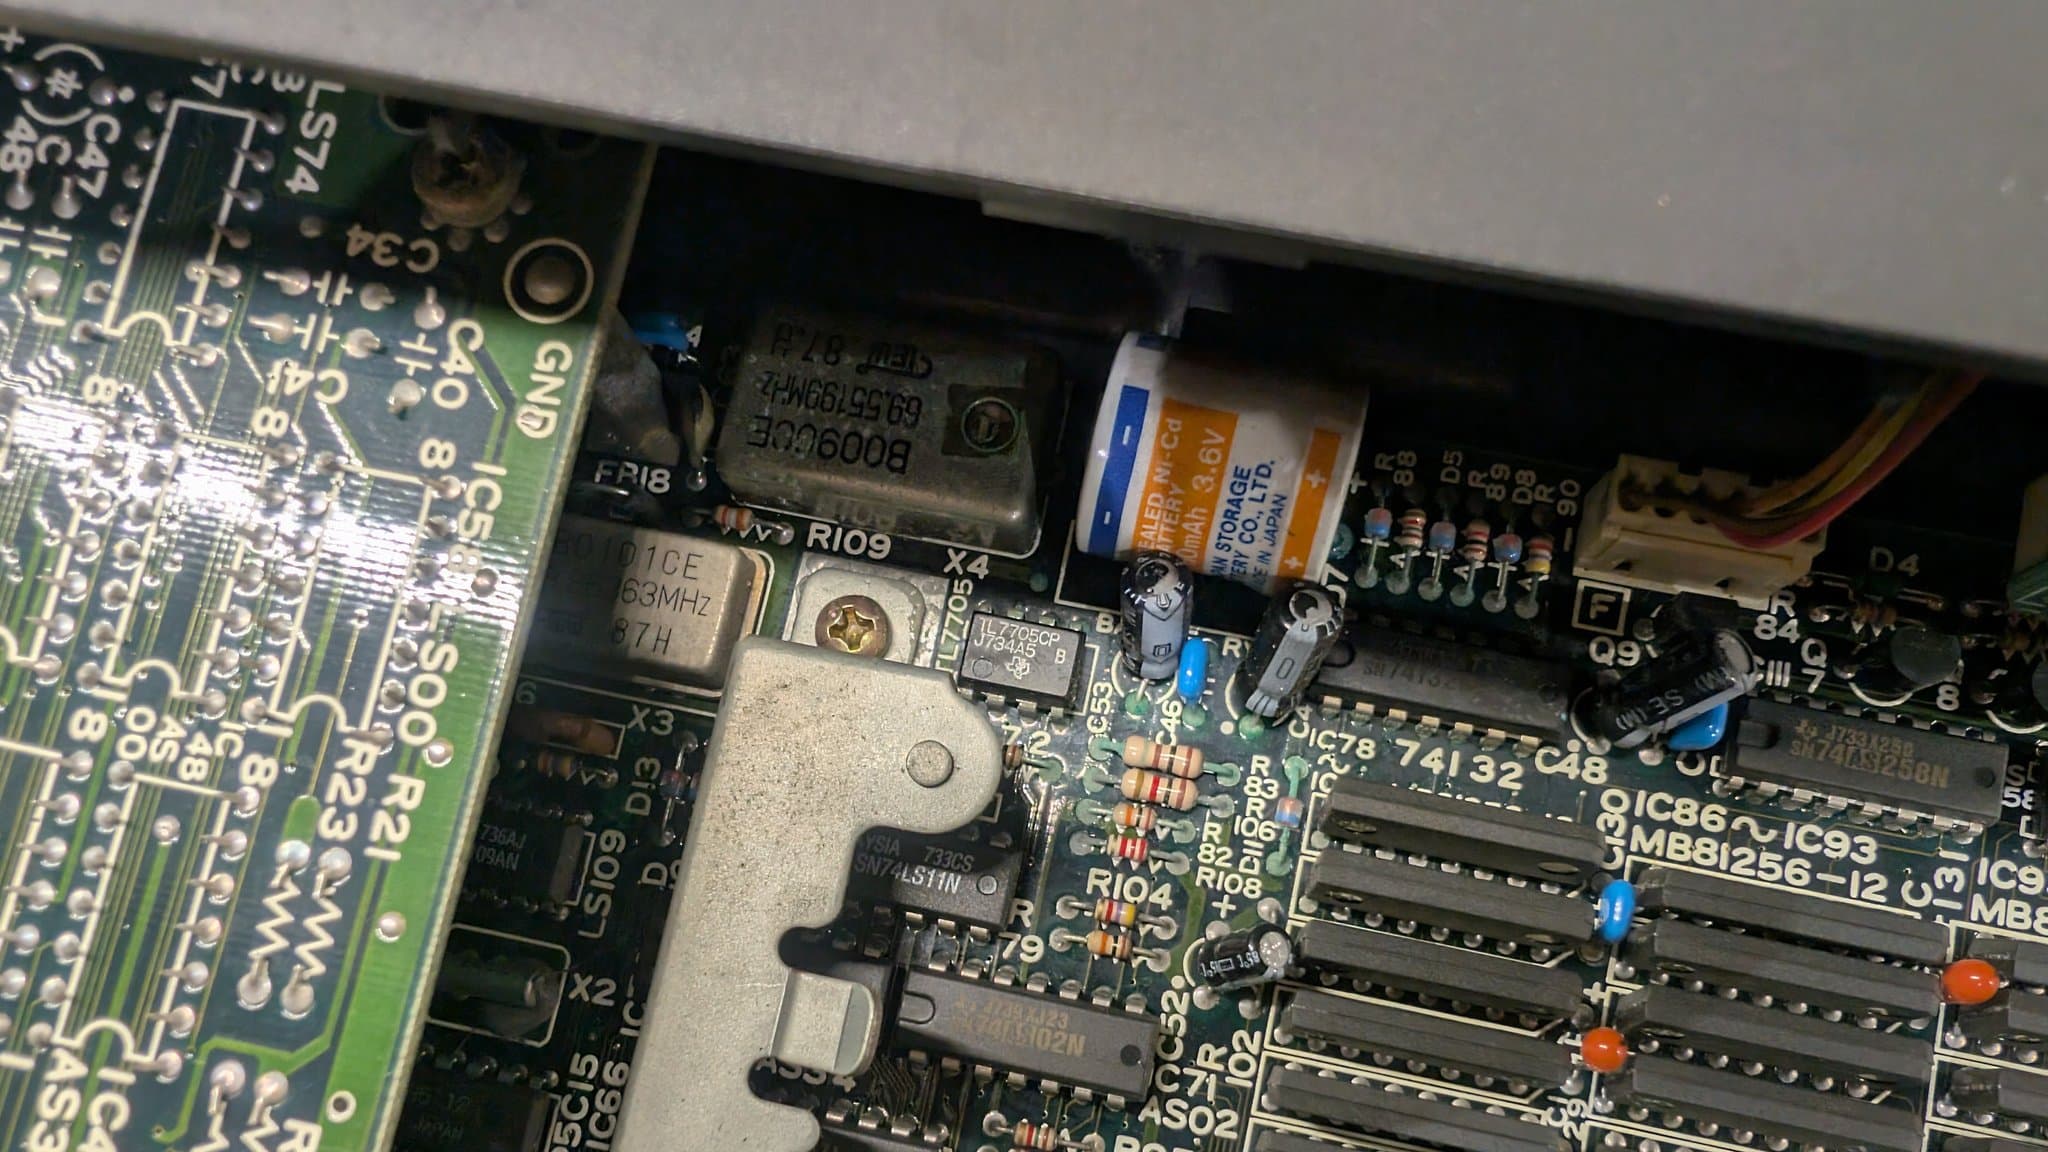
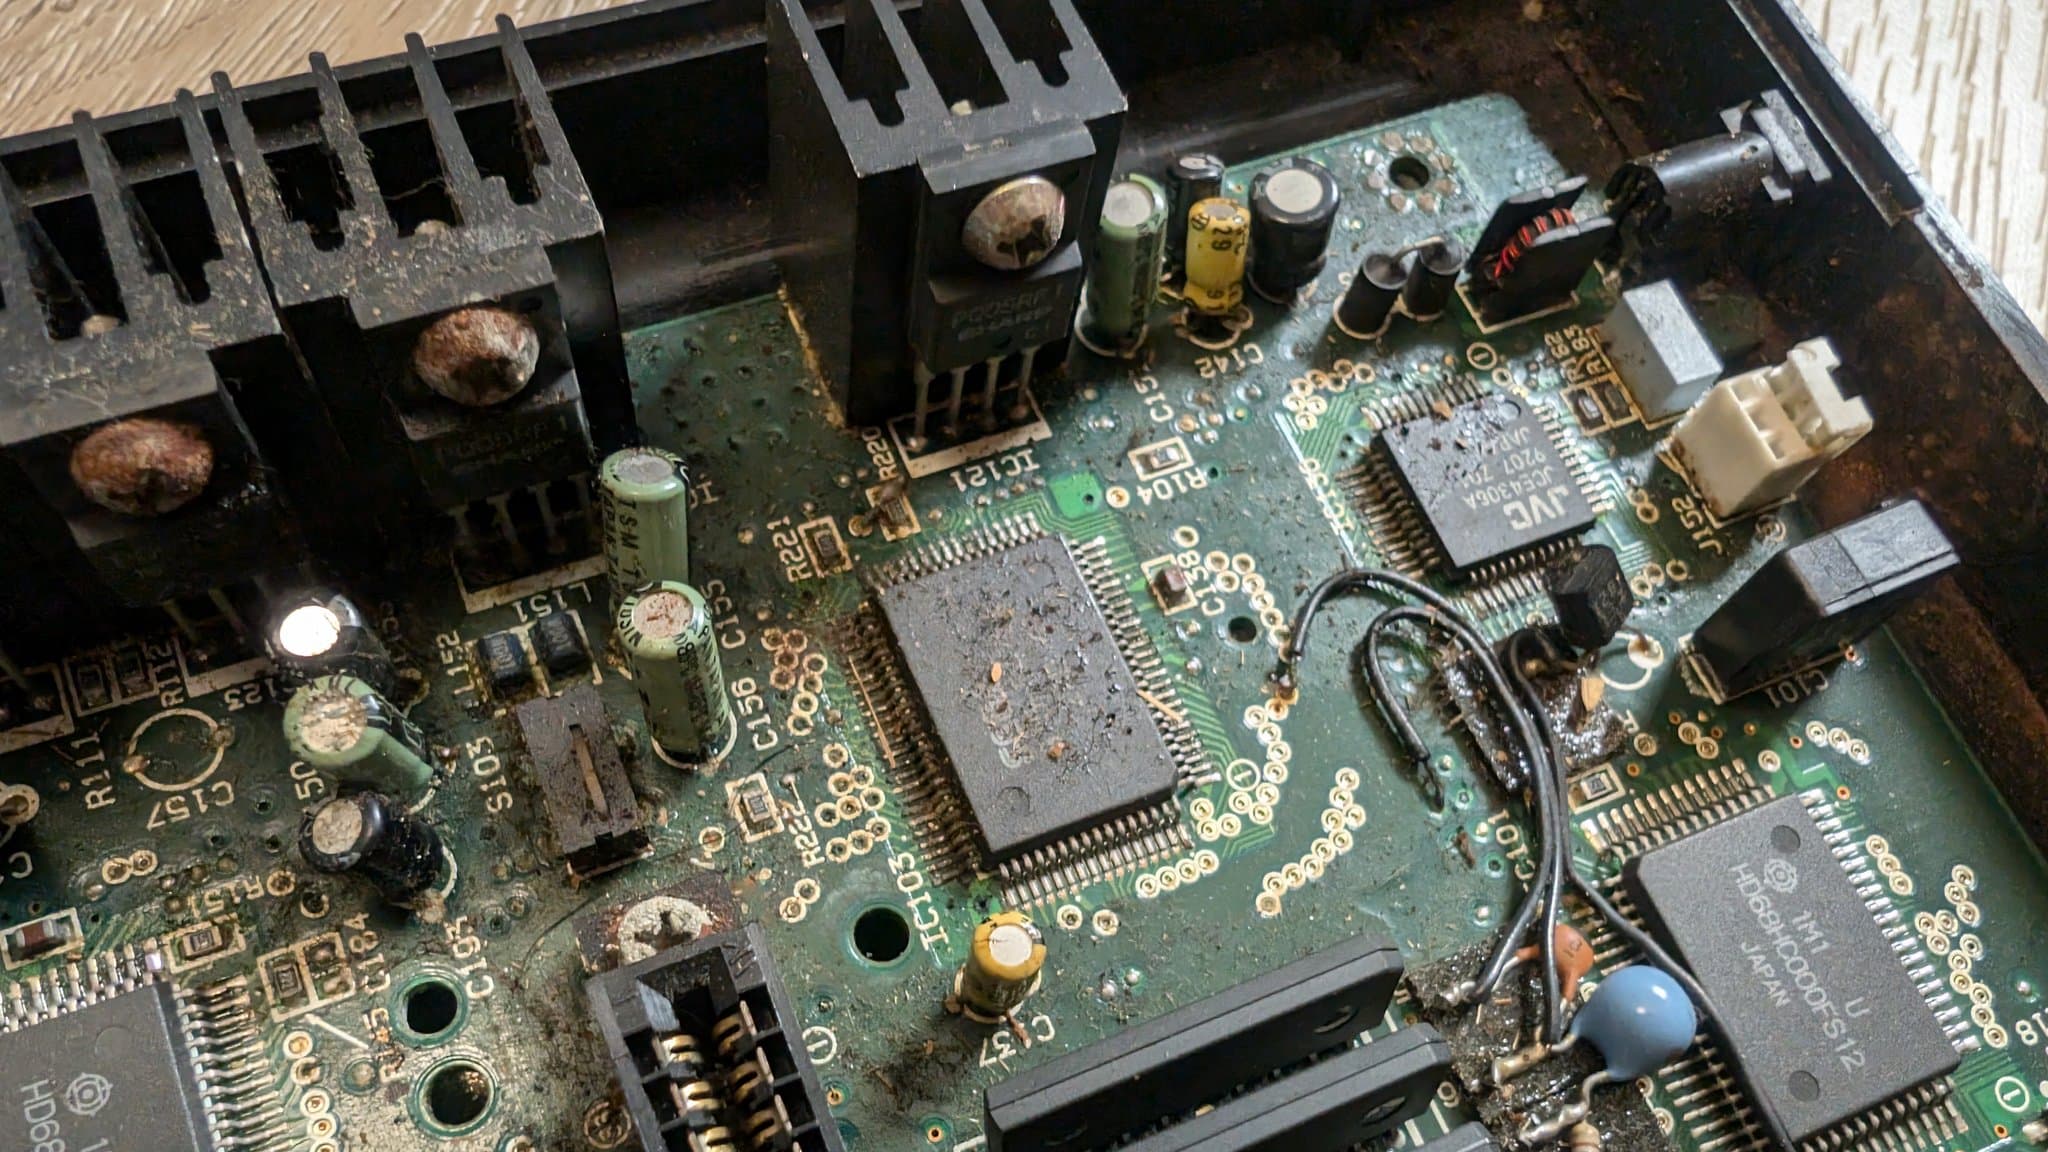
Picking up where I had left off with the X68K Compact. This is pretty much the state of every single pad, for every single capacitor, on every single board. Electrolyte contamination everywhere! 🤮
I removed all the SMDs first from the mainboard and treated the areas with white vinegar. Followed by an isopropyl alcohol rinse.
In-between the white vinegar and isopropyl baths, I circled back to treat the pads on the expansion card PCB with some fresh solder and flux, then sucking up the solder with desoldering braid and cleaning the area, to remove contamination and make way for new caps.
Same process but now for the SMD pads on the mainboard. Last pic shows that all pads are clean and none was lost.
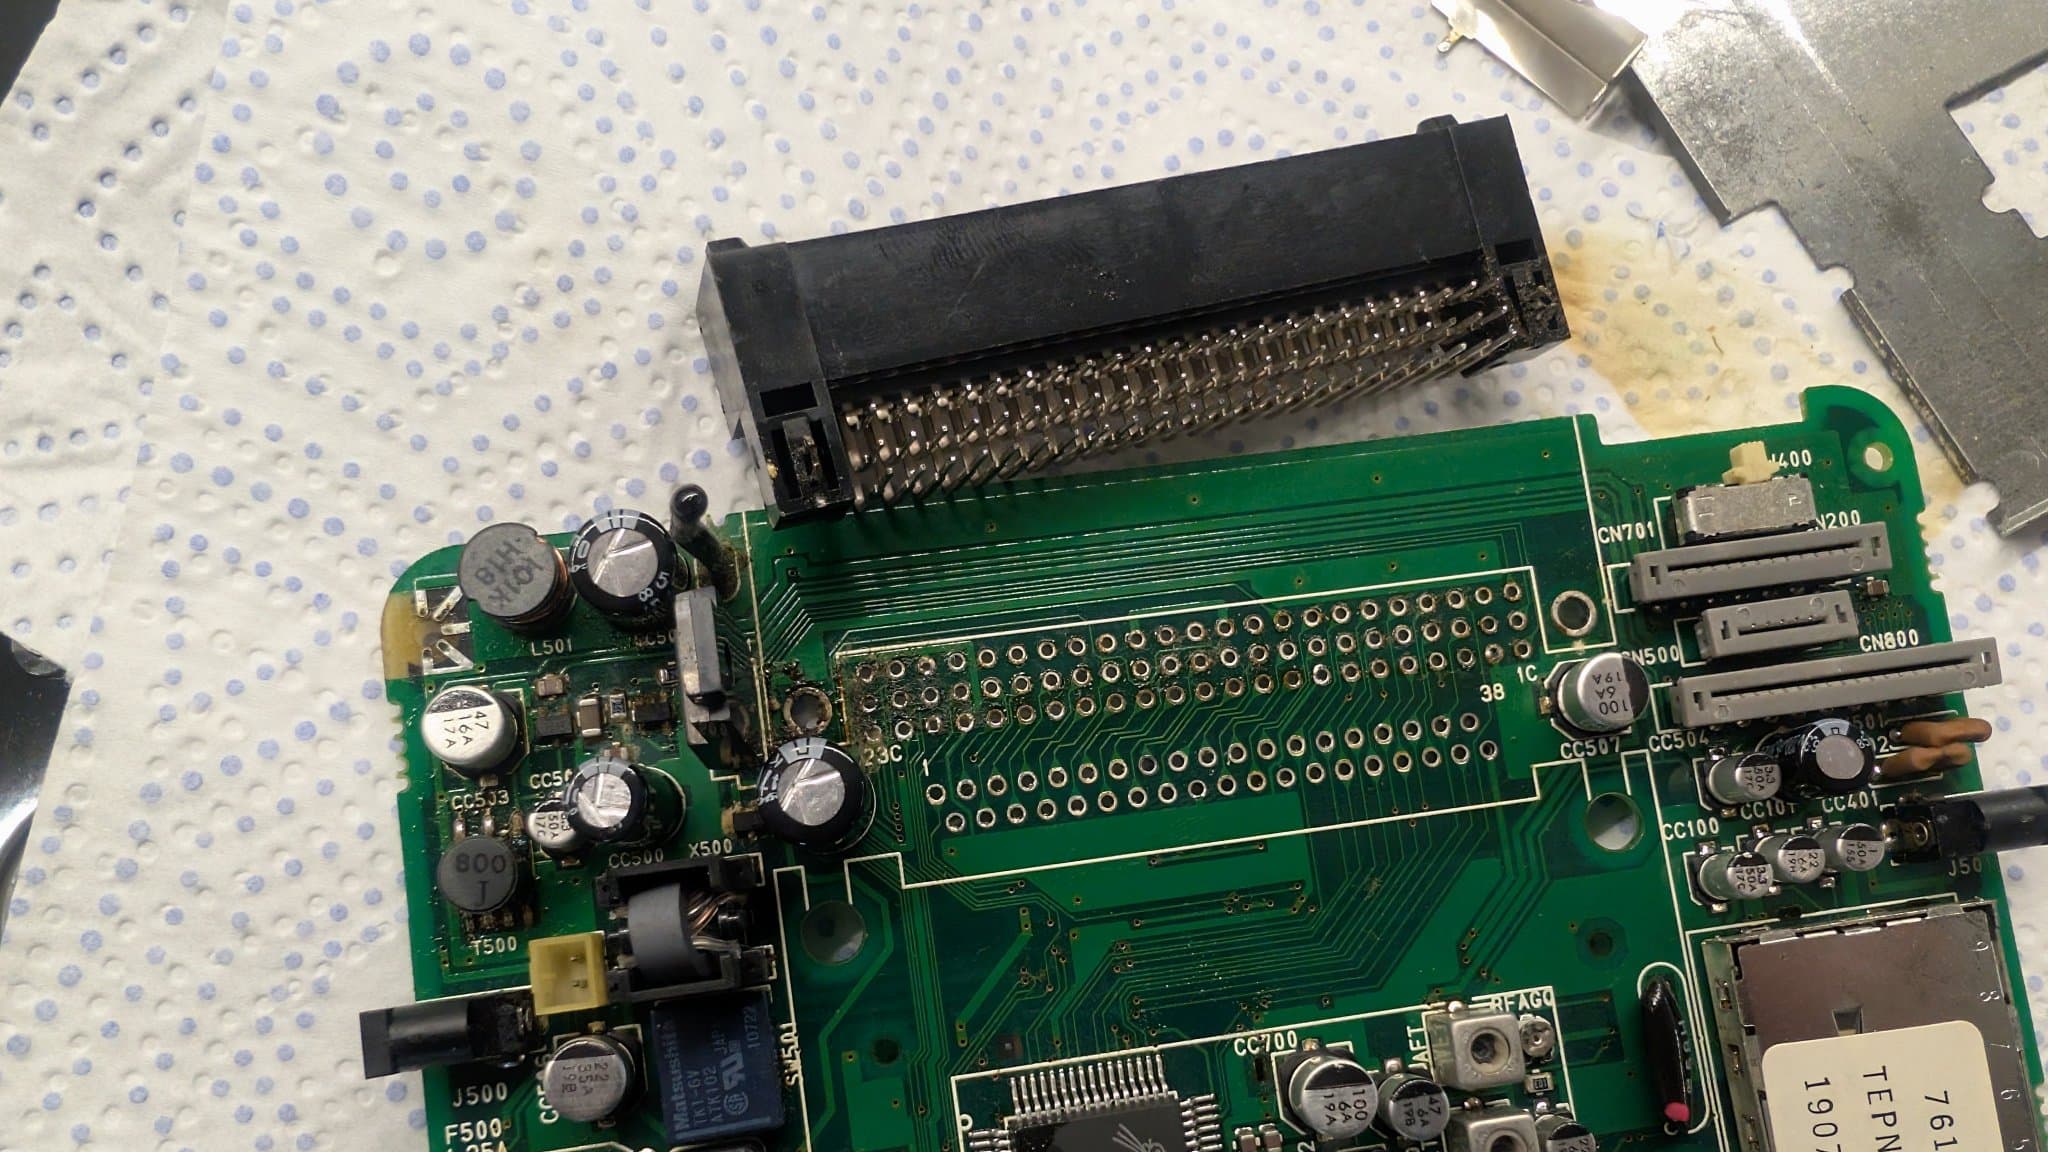
Then I proceeded to remove the THT electrolytics and fully recap the board. First pic is the board fully recapped, second pic shows the carnage in waste material generated from cleaning.
I followed up with recapping the PCBs on the FDD drives. In case you guys don't believe me when I say every single cap in the system had leaked, the very first pic shows exactly what happened inside the FDD drives. I also cleaned and lubricated the shafts for the motors.
Finally, I replaced the single capacitor on the PCB for peripheral input (keyboard, mouse, controller) and reassembled the machine.
I did a quick power-on test and nothing more because it was already very late. This was an all-day affair, pretty exhausting. Seems like it at least continues to power on, so tentatively a good result, pending further testing.
Sharp — X68000
Sega — Wondermega
Sharp — X68000 Pro II
NEC — PC Engine LT
Sega — Game Gear
NEC — PC Engine GT